If you looked at other seniors’ parking spots online and immediately thought this was not for you, that reaction makes complete sense. Not everyone is artistic, and some of those designs look seriously intimidating. But here is what those photos do not show you: most of them were made by people who also thought they could not do it.
Simple chalk parking spot ideas look just as amazing as the complicated ones. The most admired spots at schools across the country are clean, bold, and totally beginner-friendly. No shading, no fancy brushwork, no art skills required. This guide walks you through 12 ideas anyone can pull off, even if the last thing you drew was a stick figure in sixth grade.
What You Should Know Before You Pick Up a Brush
Before exploring any chalk parking spot ideas, check your school’s rules first. Most schools have an approval process, a specific painting date, and guidelines about colors or imagery. Some require you to submit your design in advance. Skipping this step could mean your finished spot gets painted over before the week is out.
Ask your student council or front office for the official guidelines, confirm what type of paint is allowed (most schools require exterior latex), and find out the painting date. Once you have that information, you are ready to go. Everything else in this guide is yours to use.
12 Easy Chalk Parking Spot Ideas for Seniors Who Just Want It to Look Good
1. The Bold Gradient
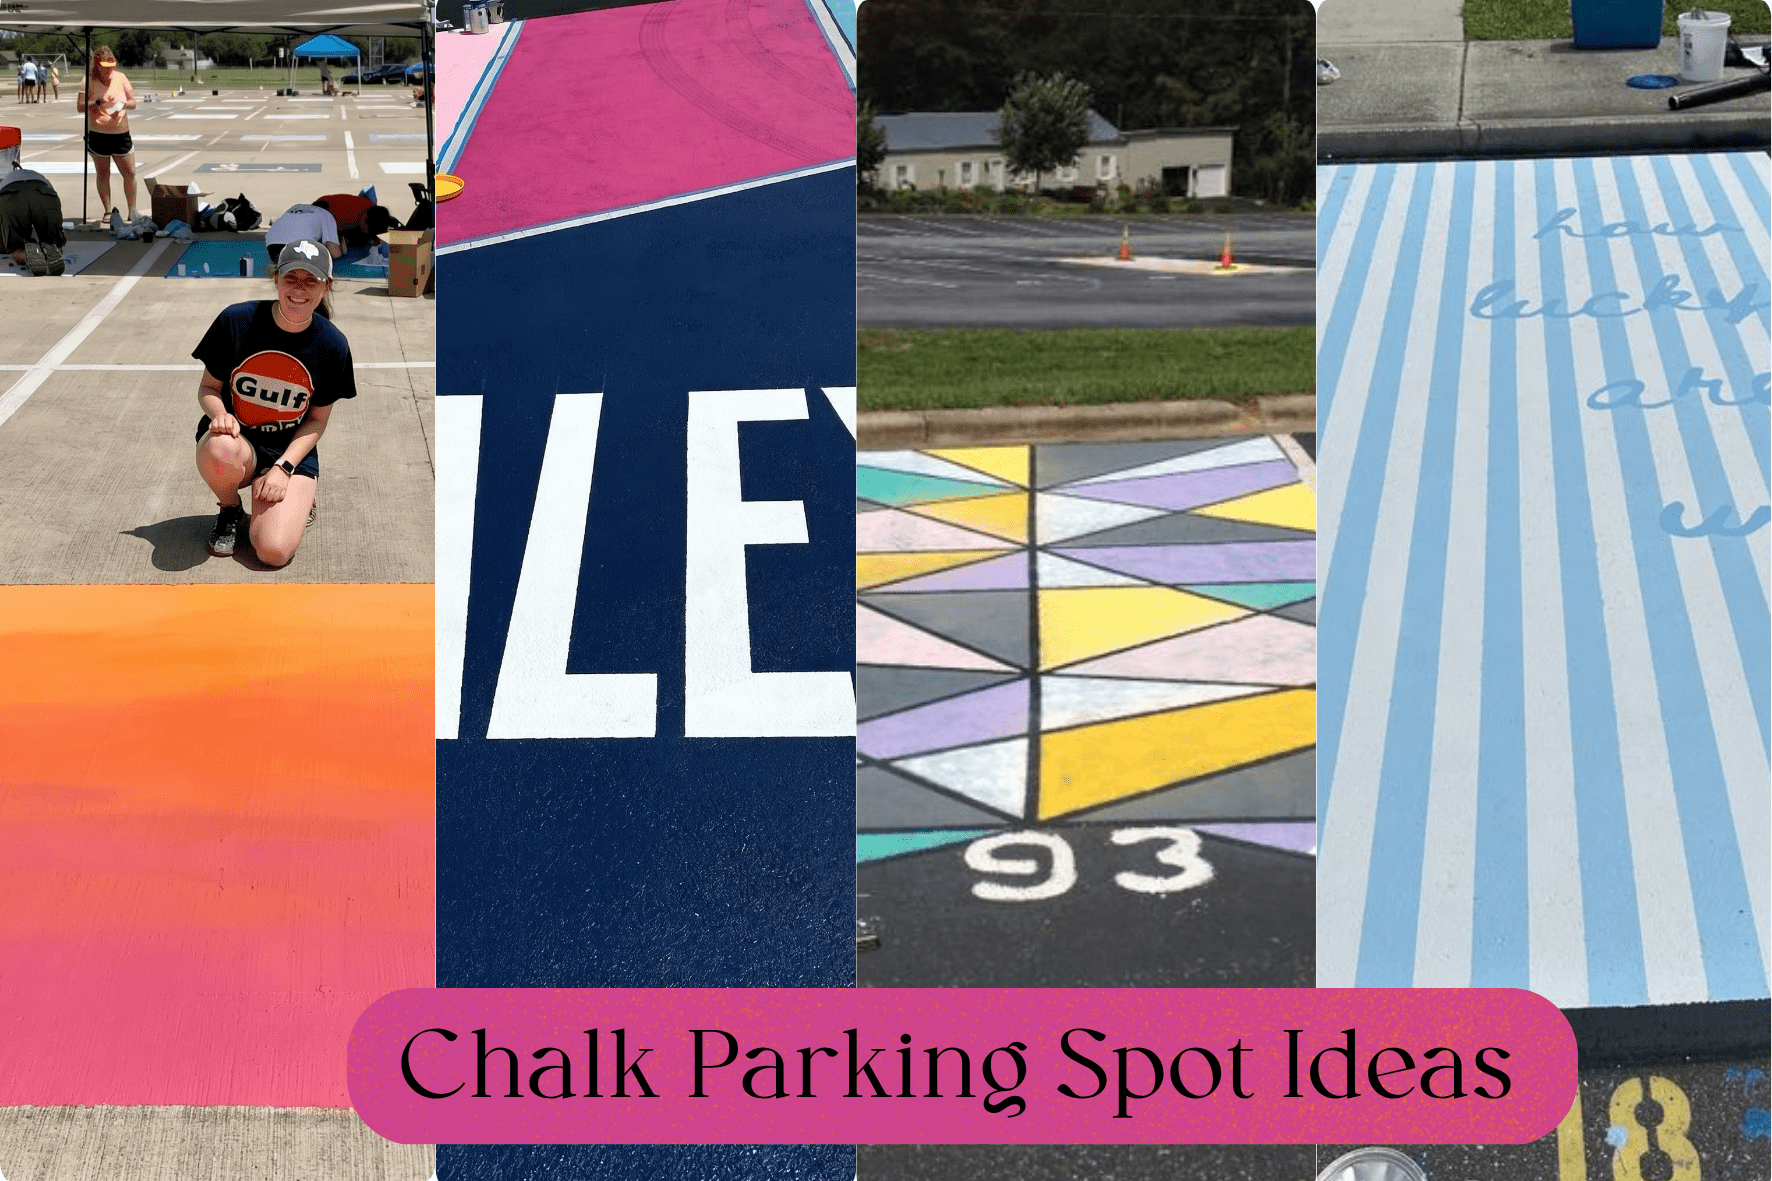
This is one of the most popular chalk parking spot ideas right now, and for good reason. You simply paint your entire spot in two or three colors that blend into each other, like blue fading into purple, or orange melting into pink. There is no design to trace, no pattern to follow, and no complicated technique involved. Just color.
Materials needed: 2 to 3 cans of exterior latex paint, wide foam rollers, painter’s tape
Beginner tip: Apply your first color and let it dry completely before adding the second. Use a dry brush to lightly blend the edge where the two colors meet while the second coat is still slightly wet.
2. The Name in Block Letters
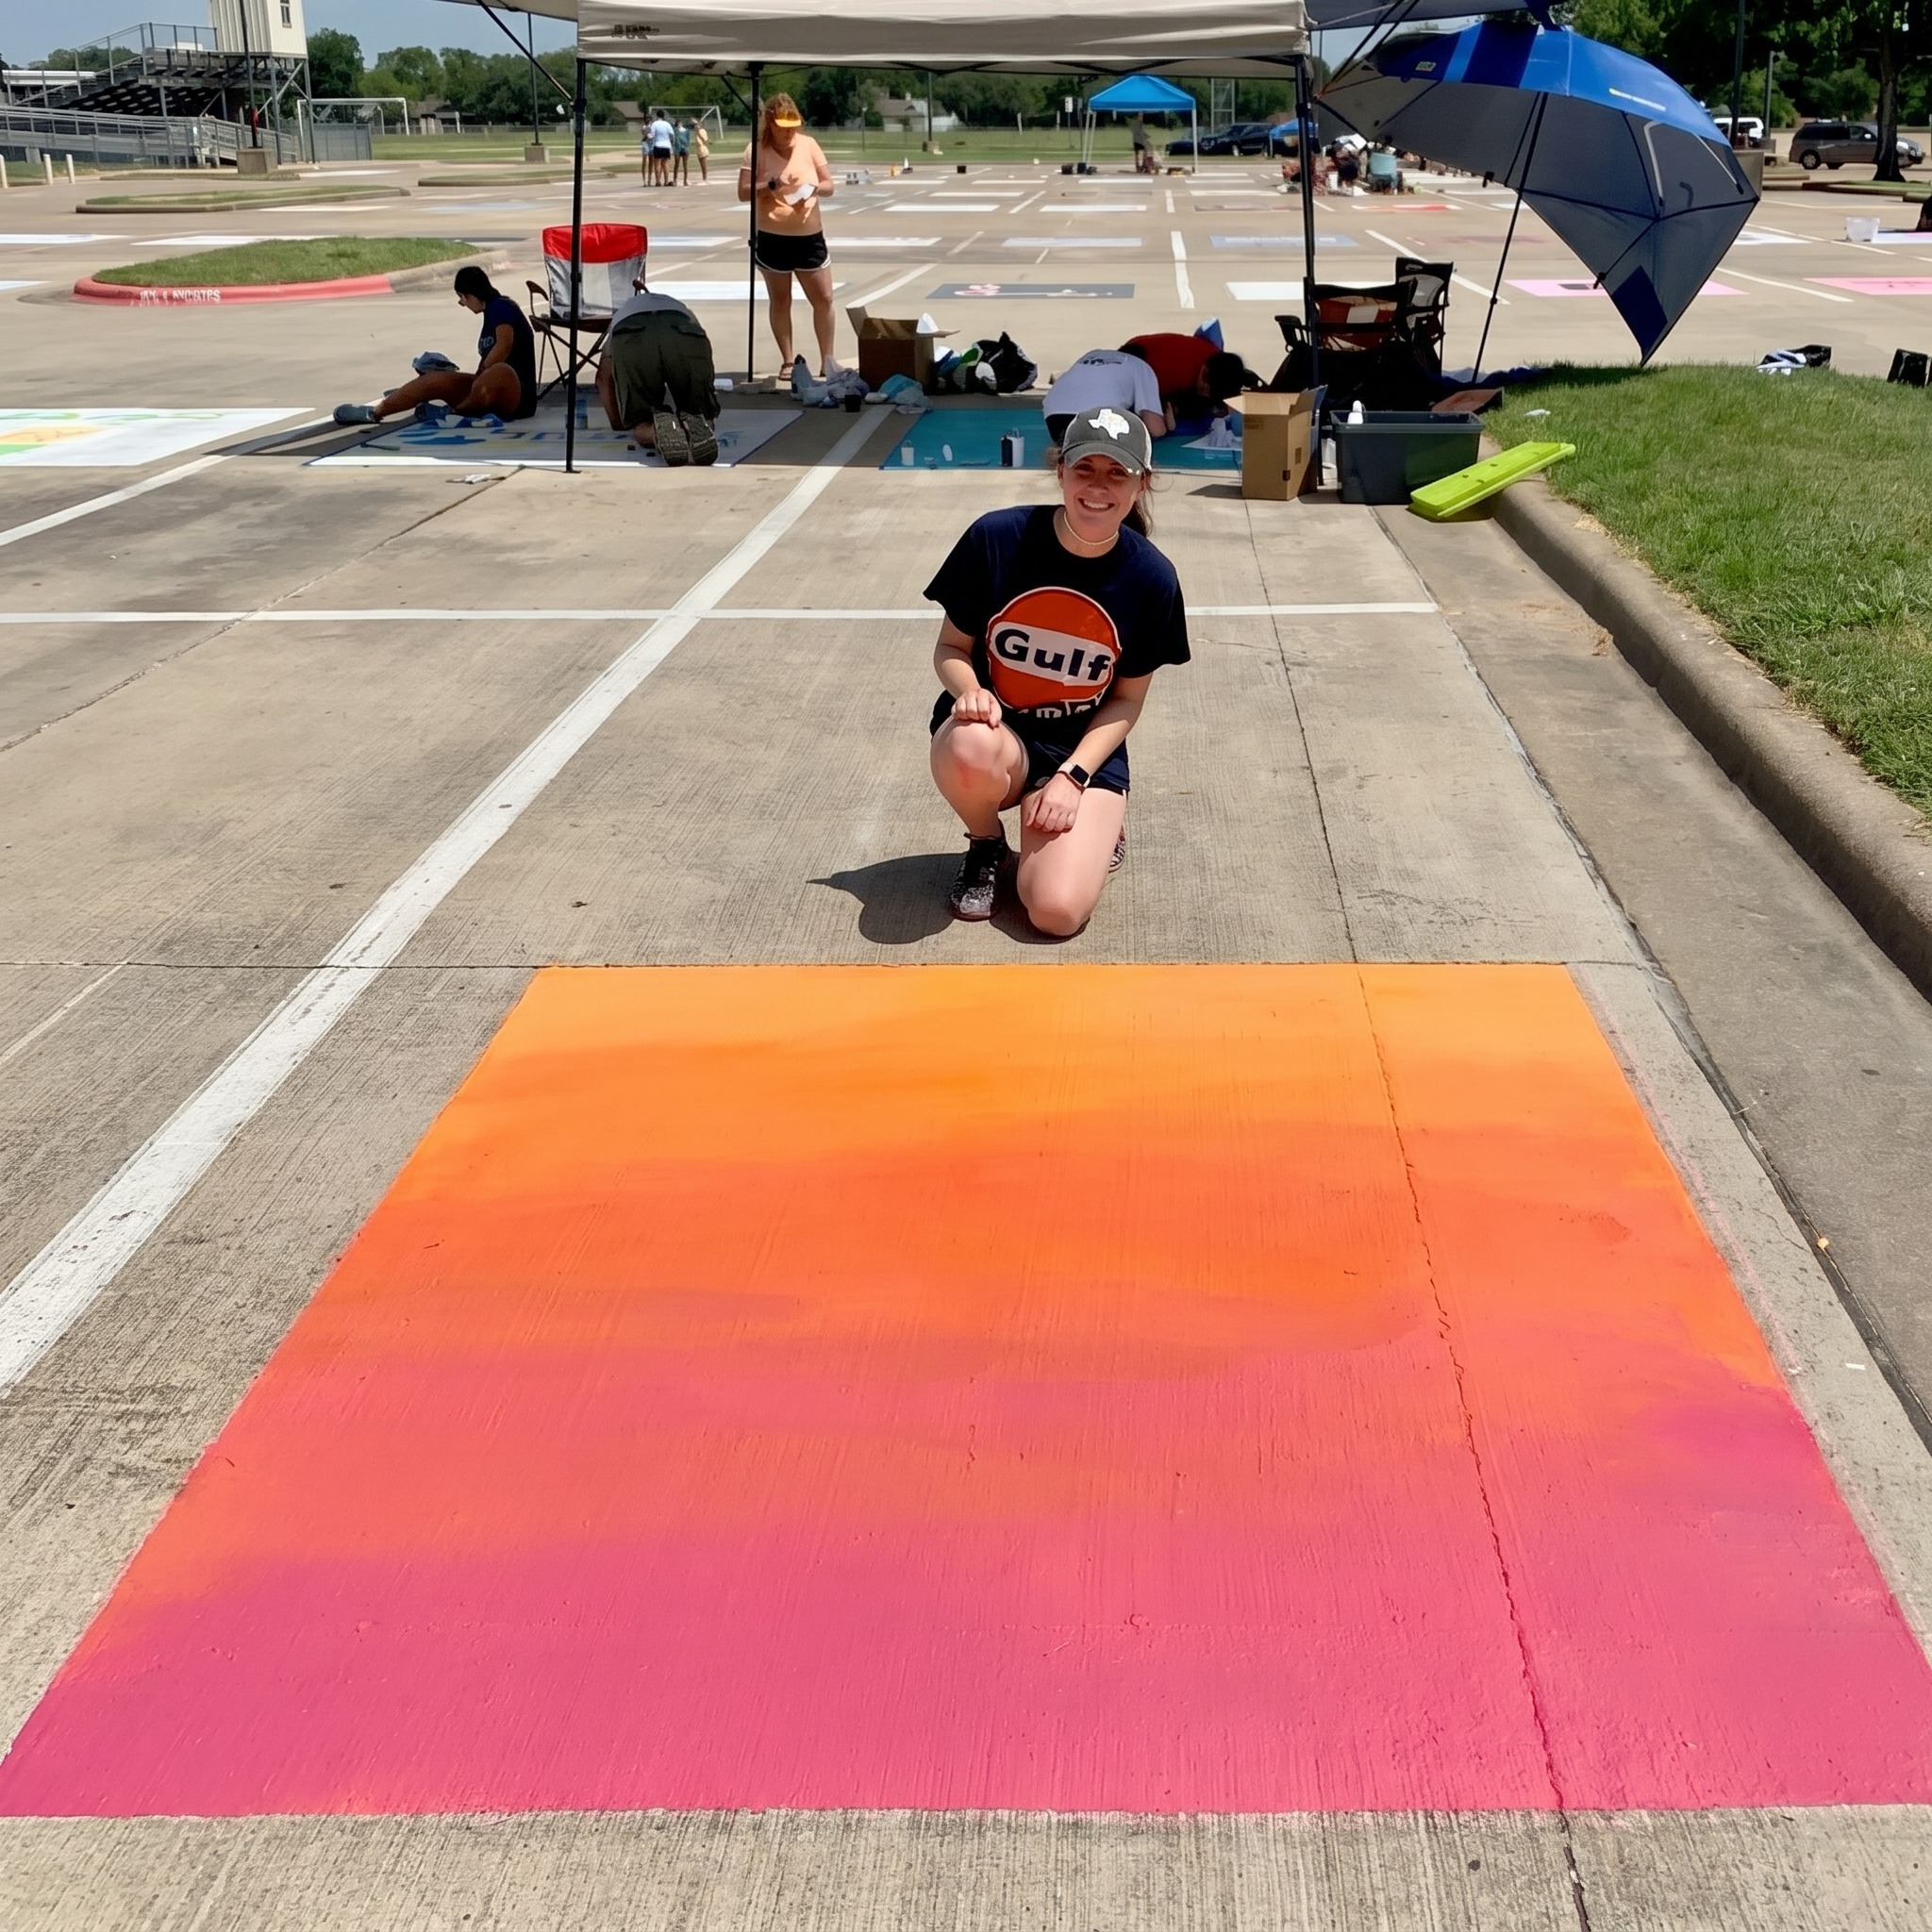
Put your name on it, literally. Big, chunky block letters centered in your spot is one of those chalk parking spot ideas that looks incredibly clean and intentional. You do not need to freehand it at all. Just print your name in a large font, trace it onto cardboard, cut it out as a stencil, and fill it in.
Materials needed: Cardboard or poster board, scissors, 1 to 2 paint colors, foam brush
Beginner tip: Use a ruler to make sure your stencil stays straight. Press the cardboard firmly against the pavement while painting to avoid bleed-through.
3. The Checkerboard
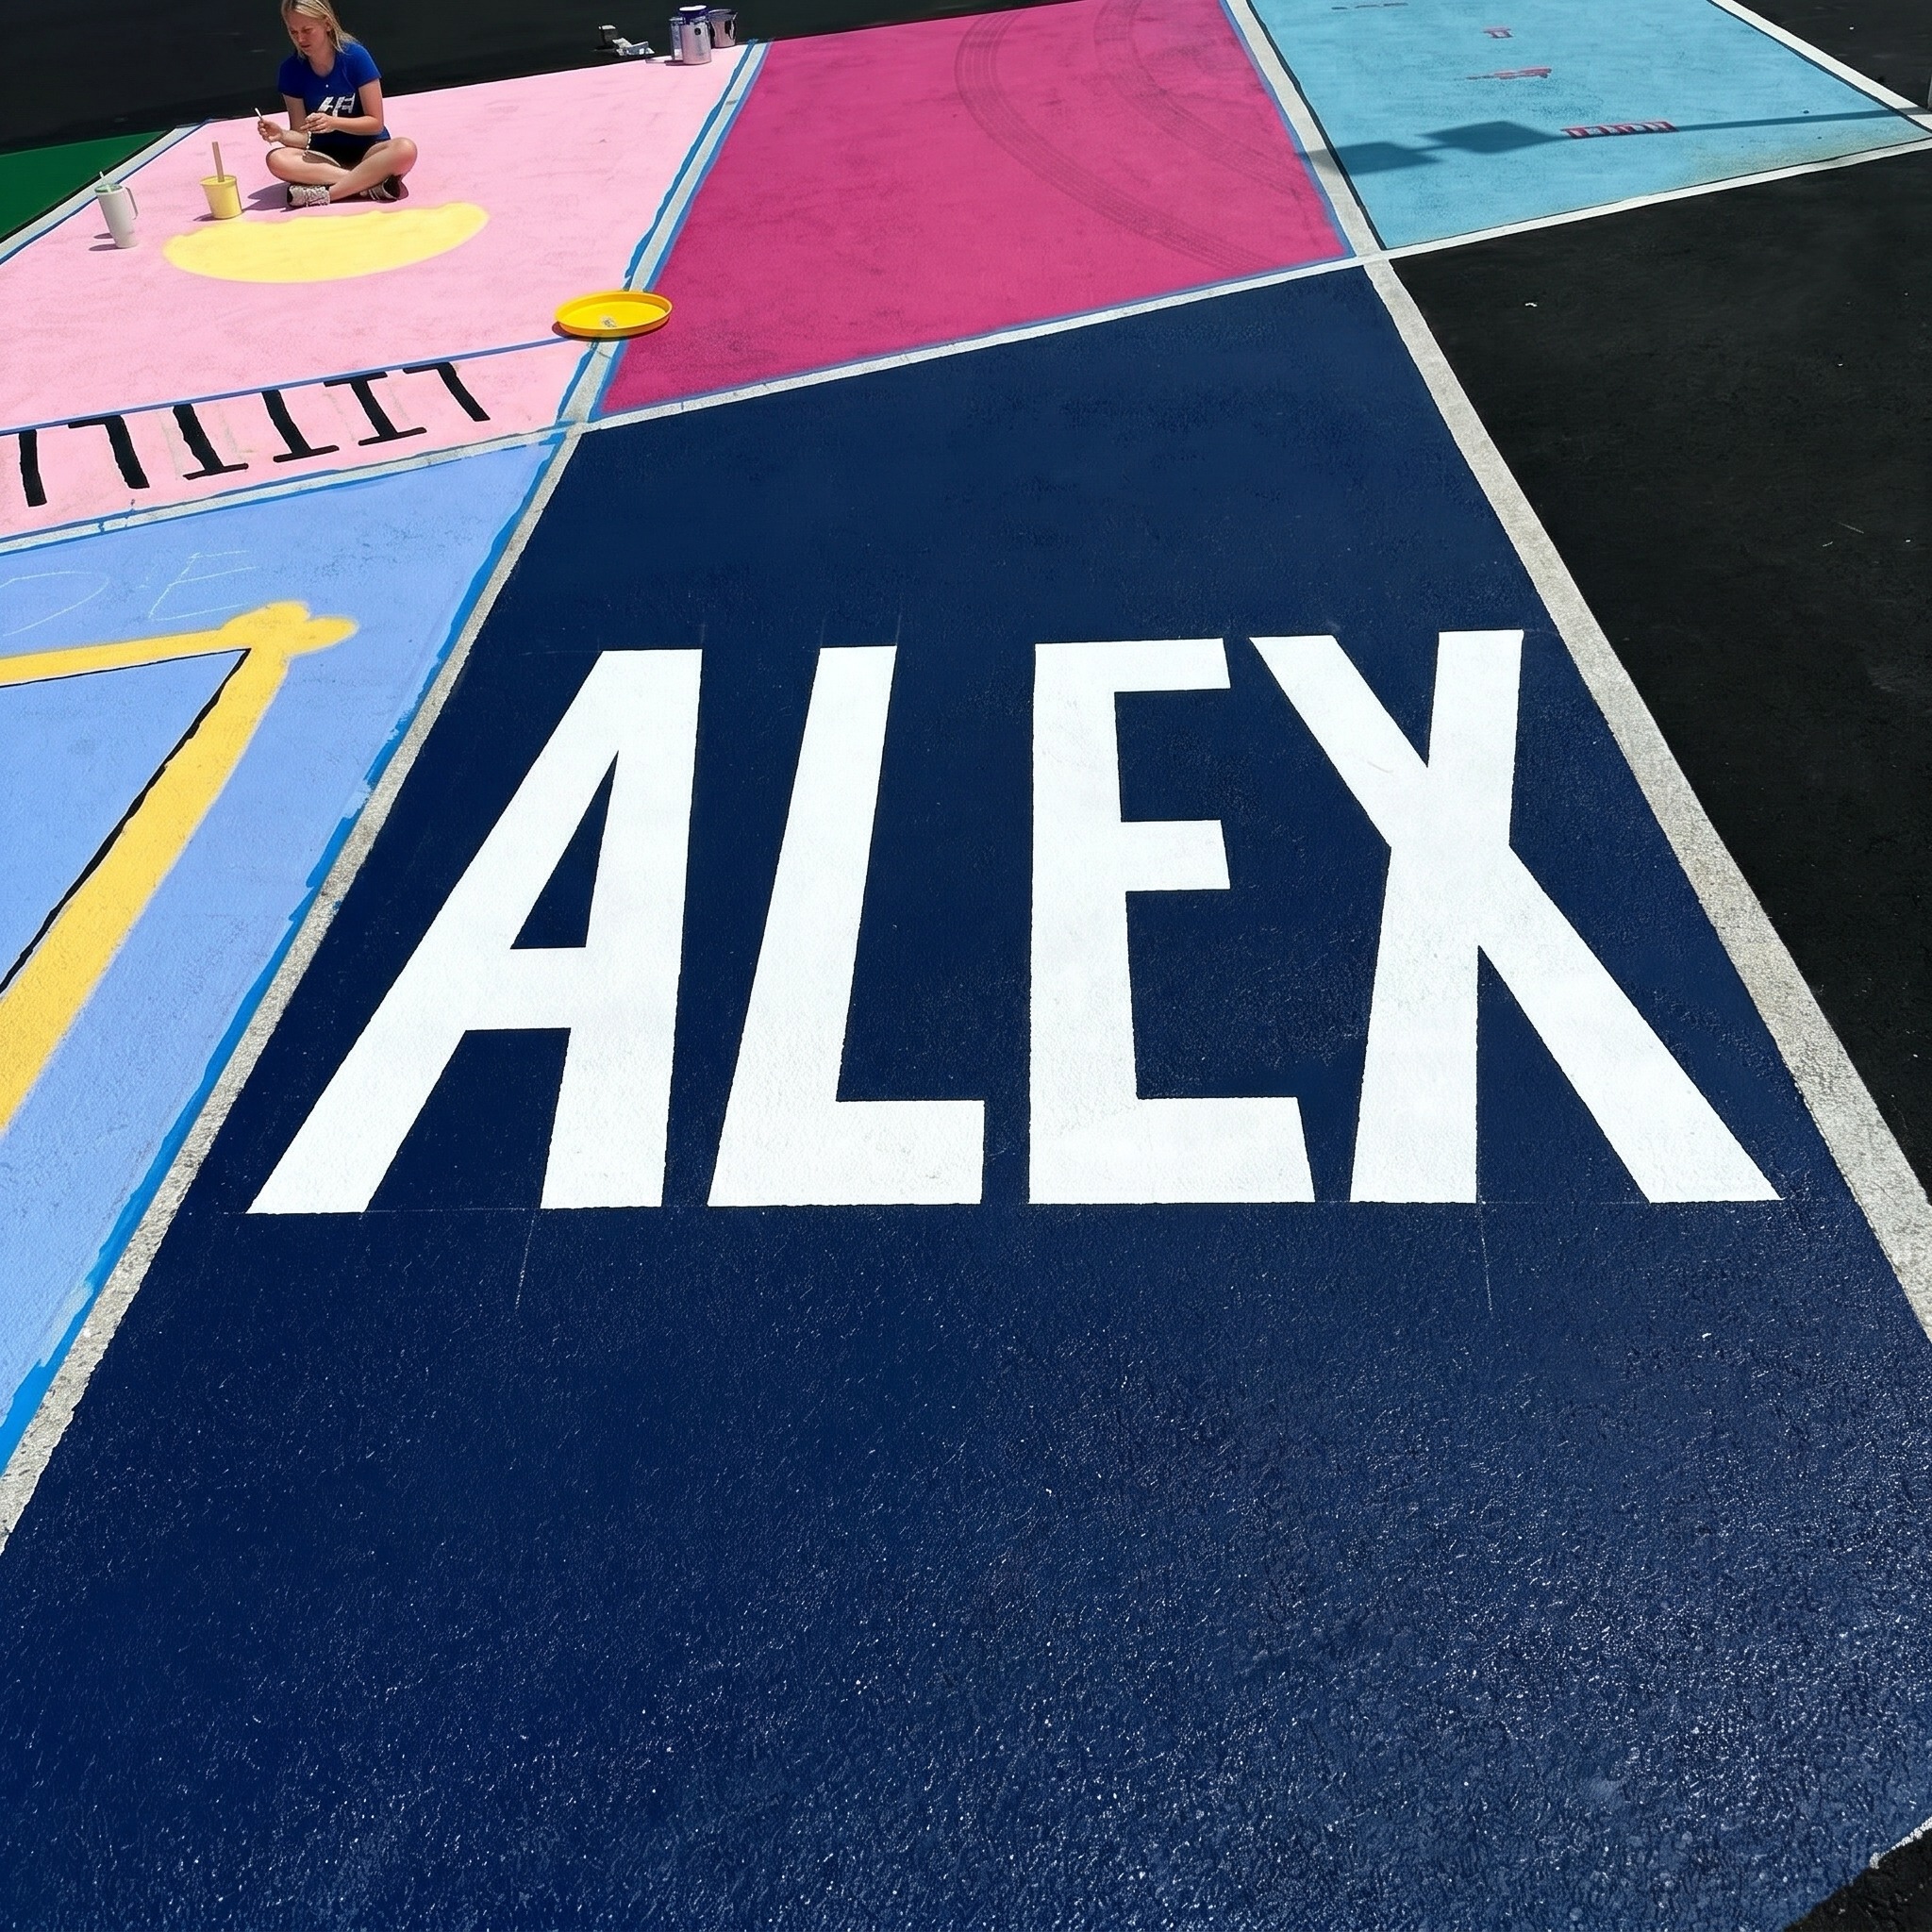
A checkerboard pattern is one of those chalk parking spot ideas that looks like it took skill but is actually just measuring and taping. You use painter’s tape to create a grid, paint every other square, peel the tape, and you have a graphic, eye-catching design that looks completely professional.
Materials needed: Painter’s tape, ruler or chalk line, 2 contrasting paint colors, foam roller
Beginner tip: Measure your squares before taping and keep them consistent at around 8 to 10 inches each. Press tape edges down firmly to prevent paint from seeping underneath.
4. The Sunset Sky
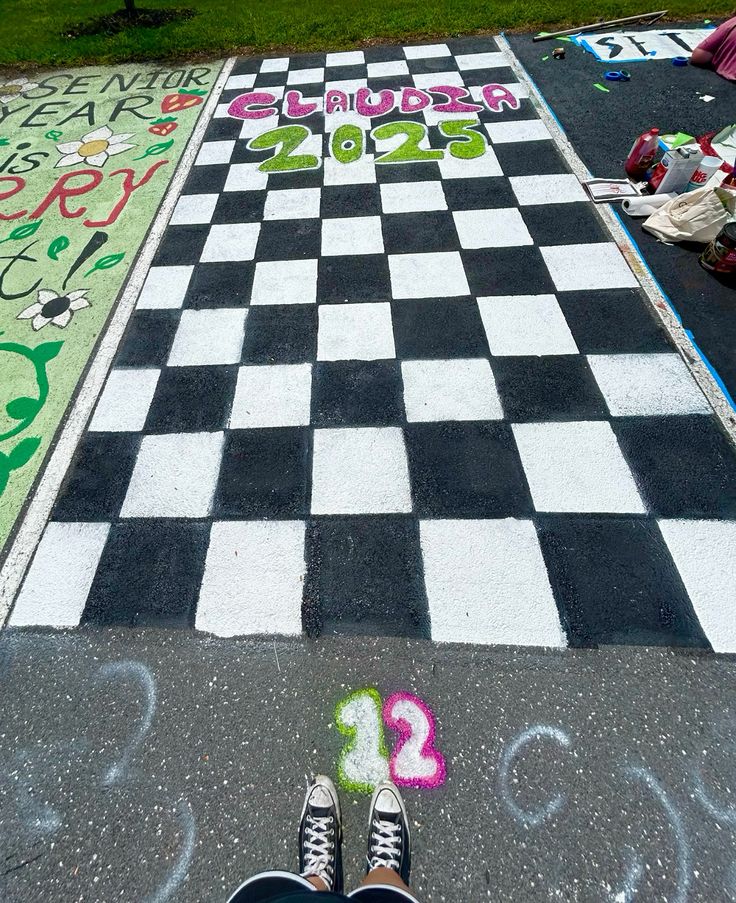
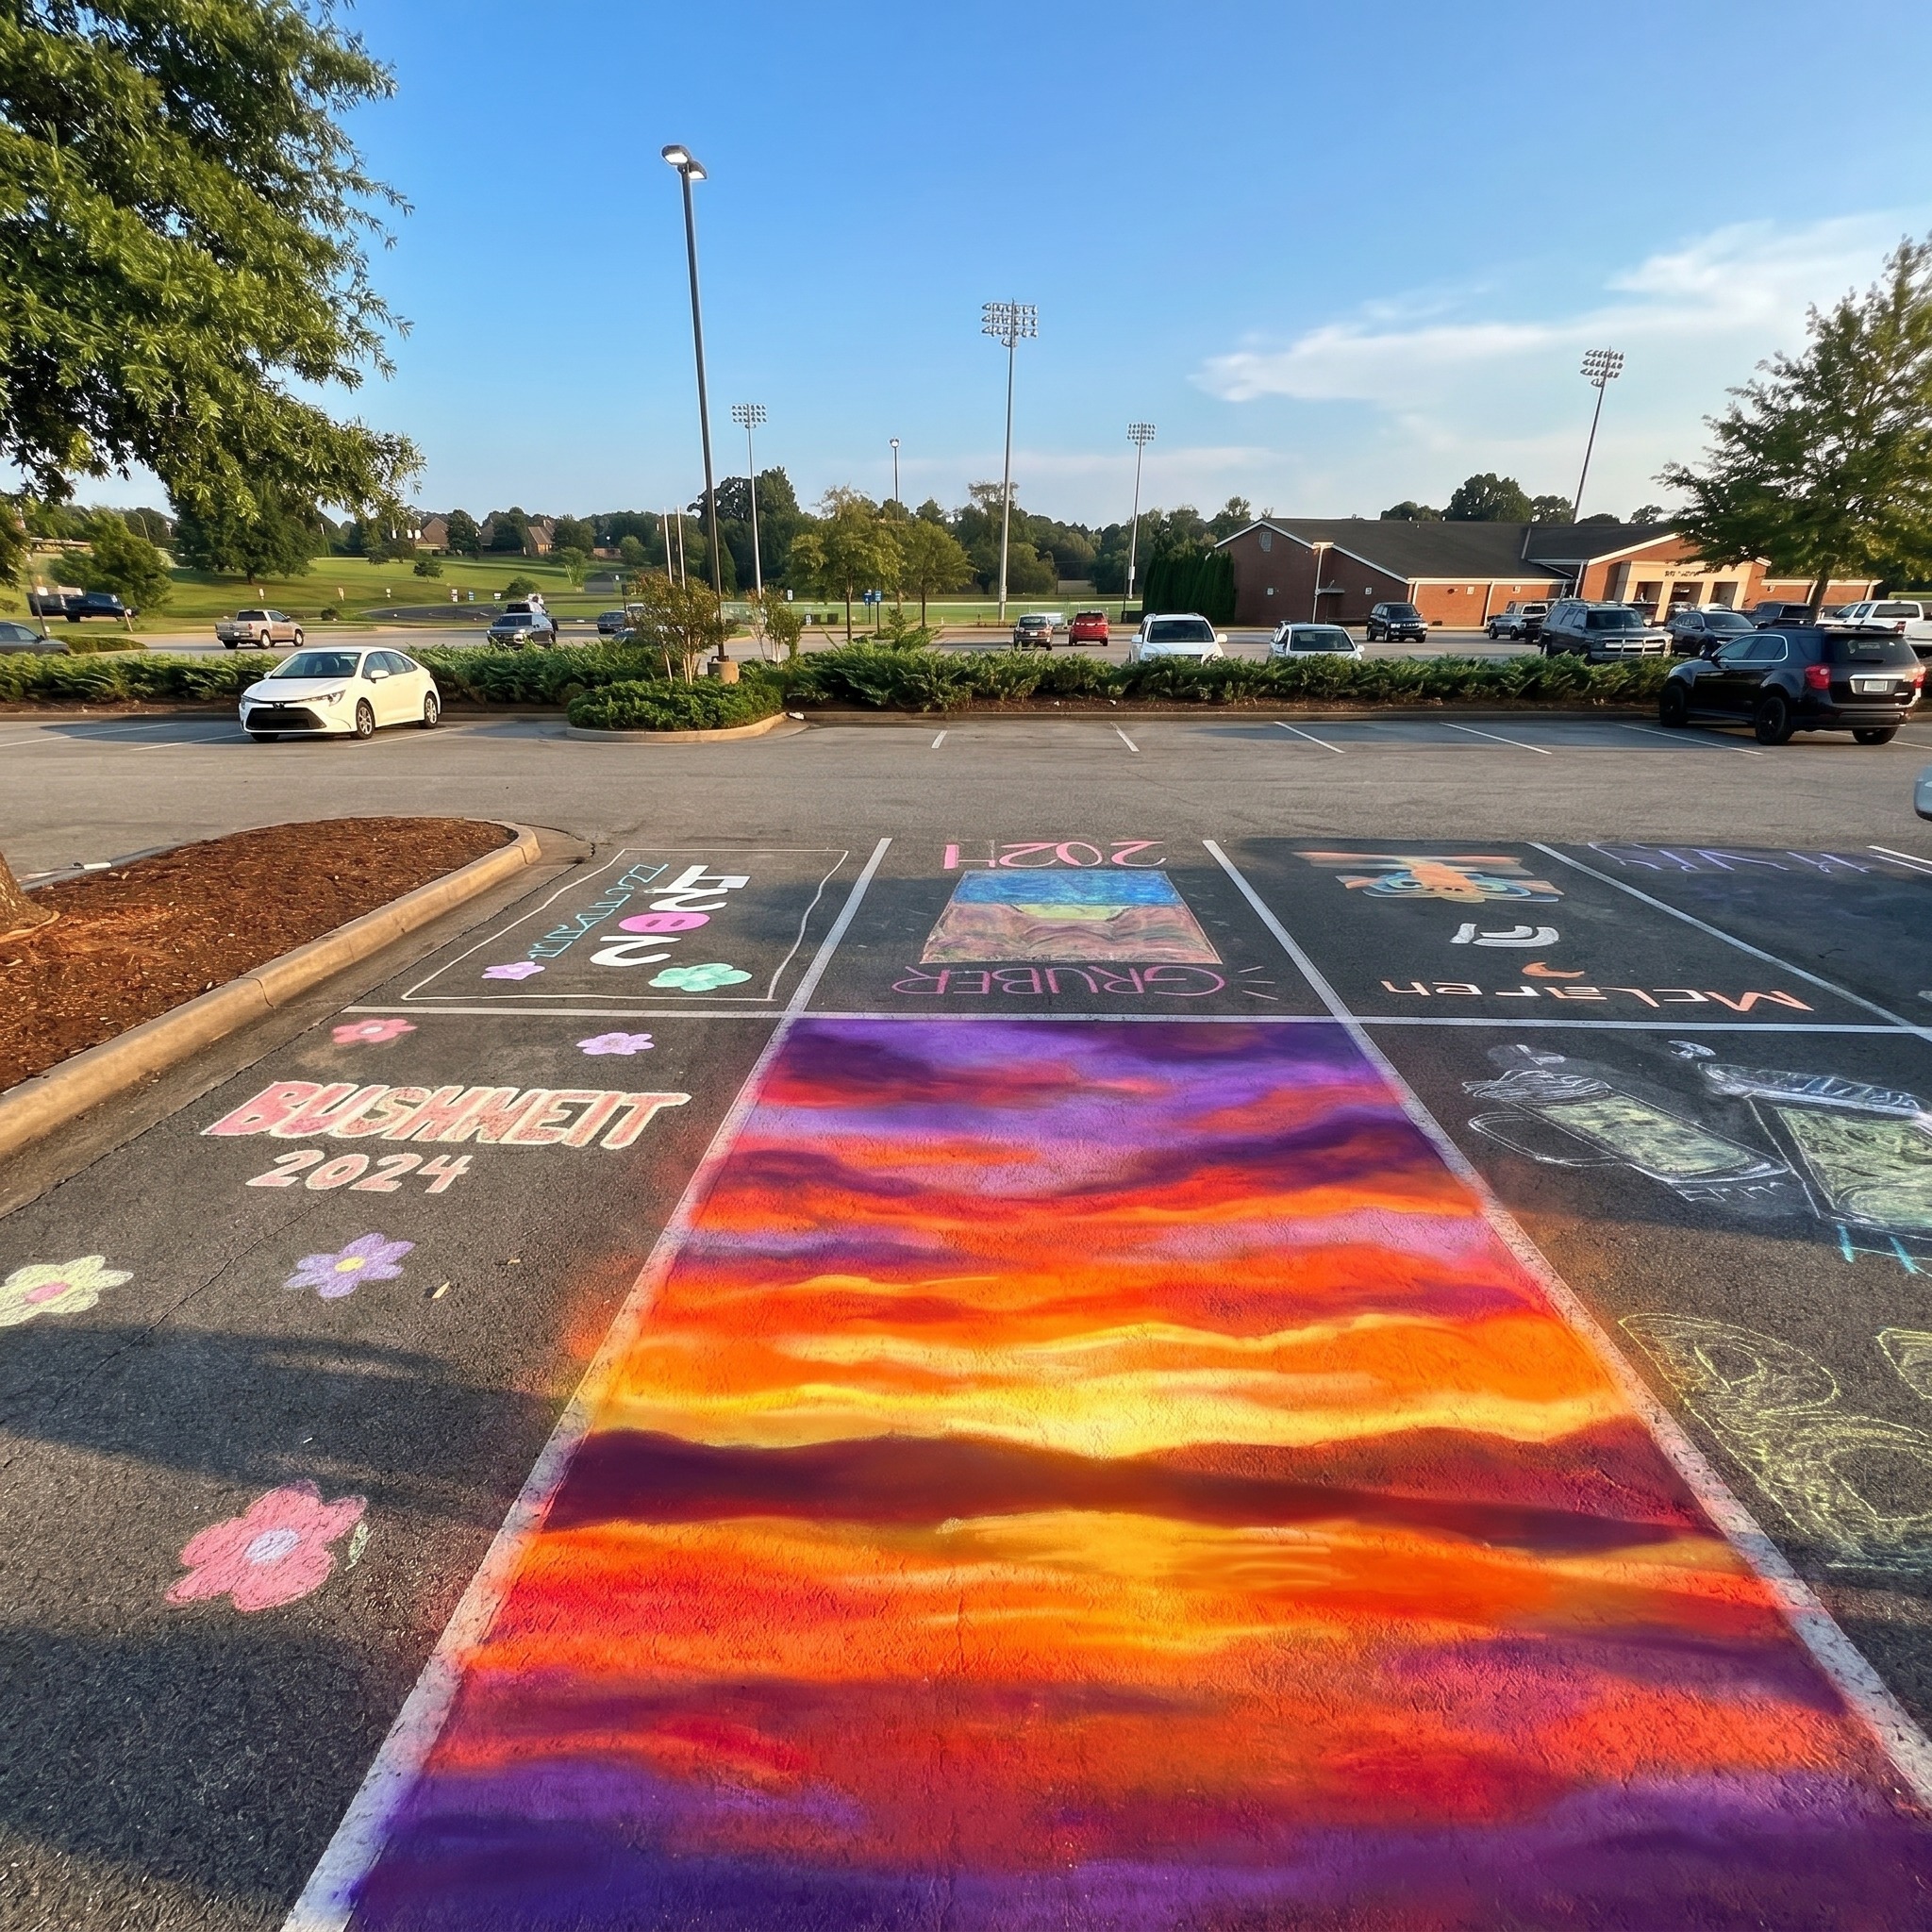
One of the most dreamy chalk parking spot ideas on this list, the sunset sky design is just horizontal bands of color layered across your spot. Think deep blue at one end fading through purple, orange, and yellow toward the other end. You paint each band separately with a wide roller and blend lightly where they meet.
Materials needed: 4 to 5 paint colors in sunset tones, wide foam rollers, painter’s tape to keep bands straight
Beginner tip: Paint your lightest color first and work toward the darkest. Blend the borders while both colors are still slightly tacky for a smooth transition.
5. Your Graduation Year
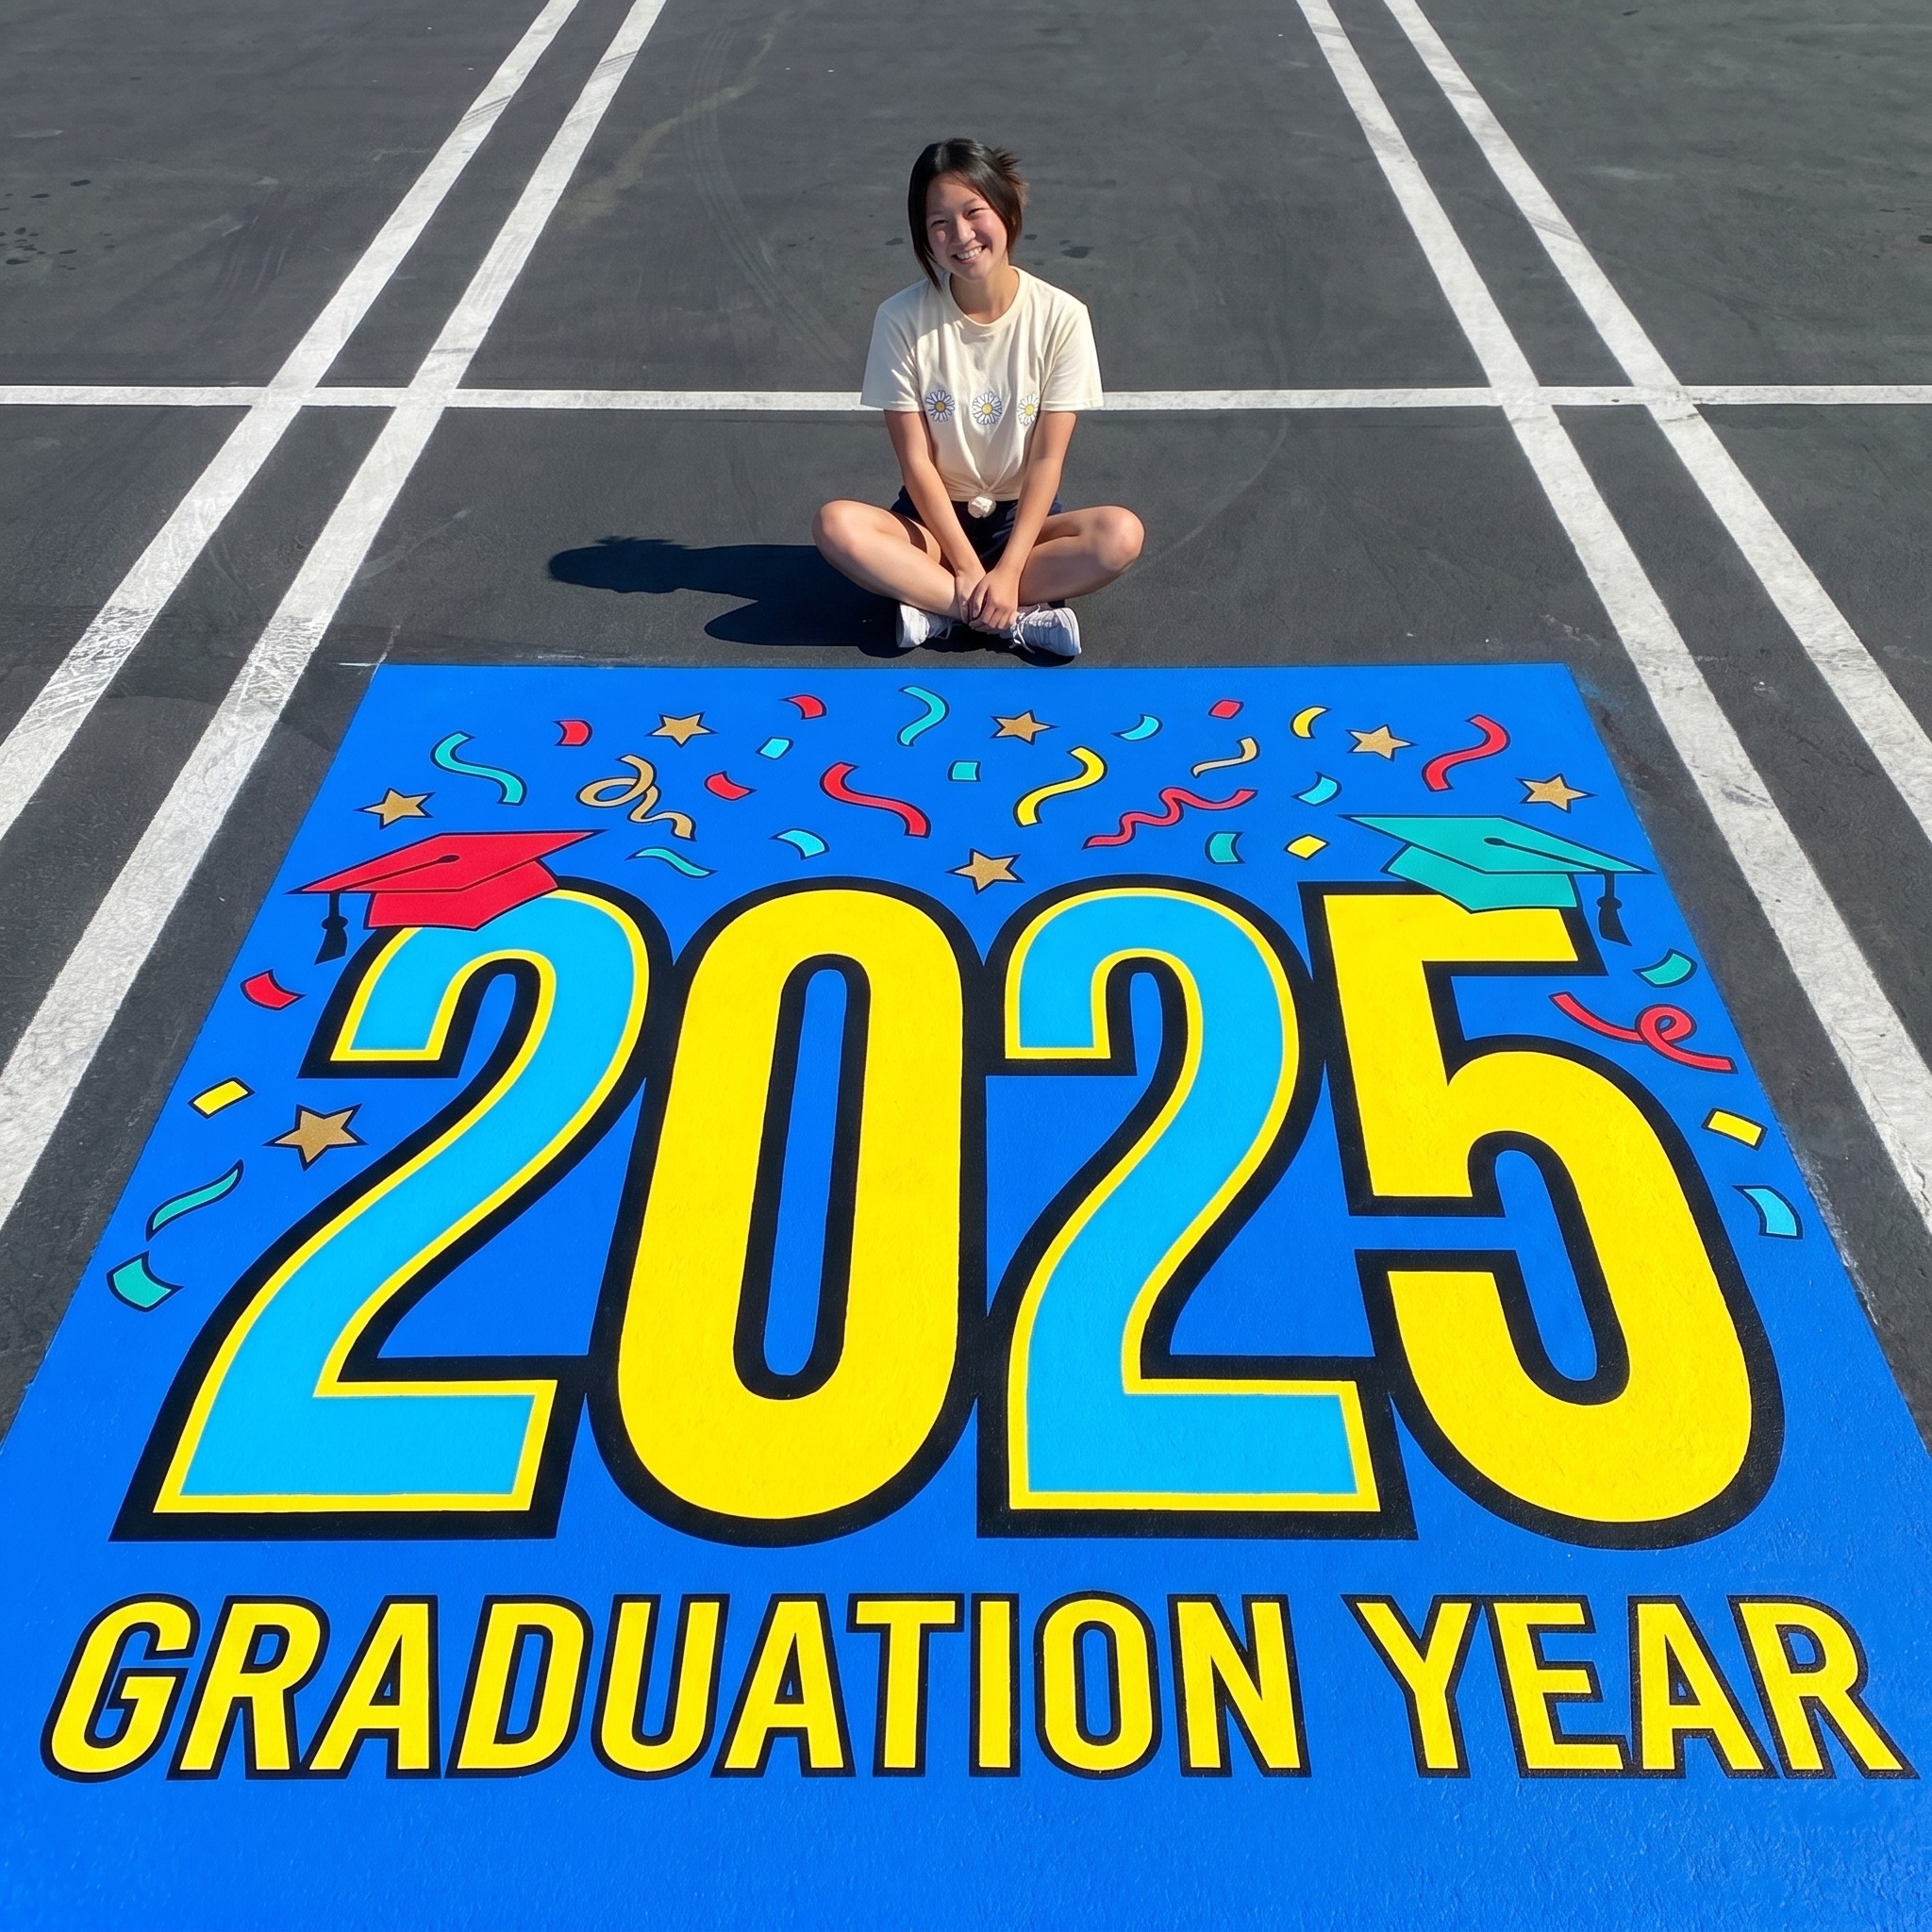
This is probably the most classic of all chalk parking spot ideas and works because it is simple by nature. Paint a solid background color, then add your graduation year in large numbers using a stencil or tape. It is clean, timeless, and immediately recognizable as a senior spot.
Materials needed: Background paint color, contrasting color for the numbers, number stencils or cardboard cutouts, foam brush
Beginner tip: Get large cardboard number stencils from a craft store or make your own by printing them large and cutting them out carefully. Weigh down the stencil corners with small rocks while painting to hold it flat.
6. The Geometric Triangle Pattern
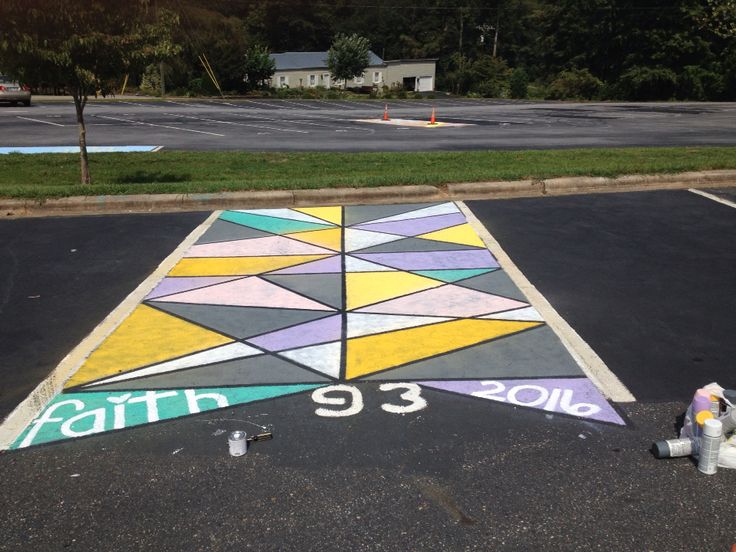
Geometric designs sound intimidating but are actually one of the best chalk parking spot ideas for non-artists because everything is just straight lines. Tape off a series of triangles across your spot using painter’s tape, fill each one with a different color, peel, and done. The tape does all the precision work for you.
Materials needed: Painter’s tape, 3 to 4 paint colors, foam brushes or small rollers, ruler
Beginner tip: Plan your triangle layout on paper first so you know which sections get which color. Alternate colors so no two touching triangles share the same shade.
7. The Galaxy Night Sky
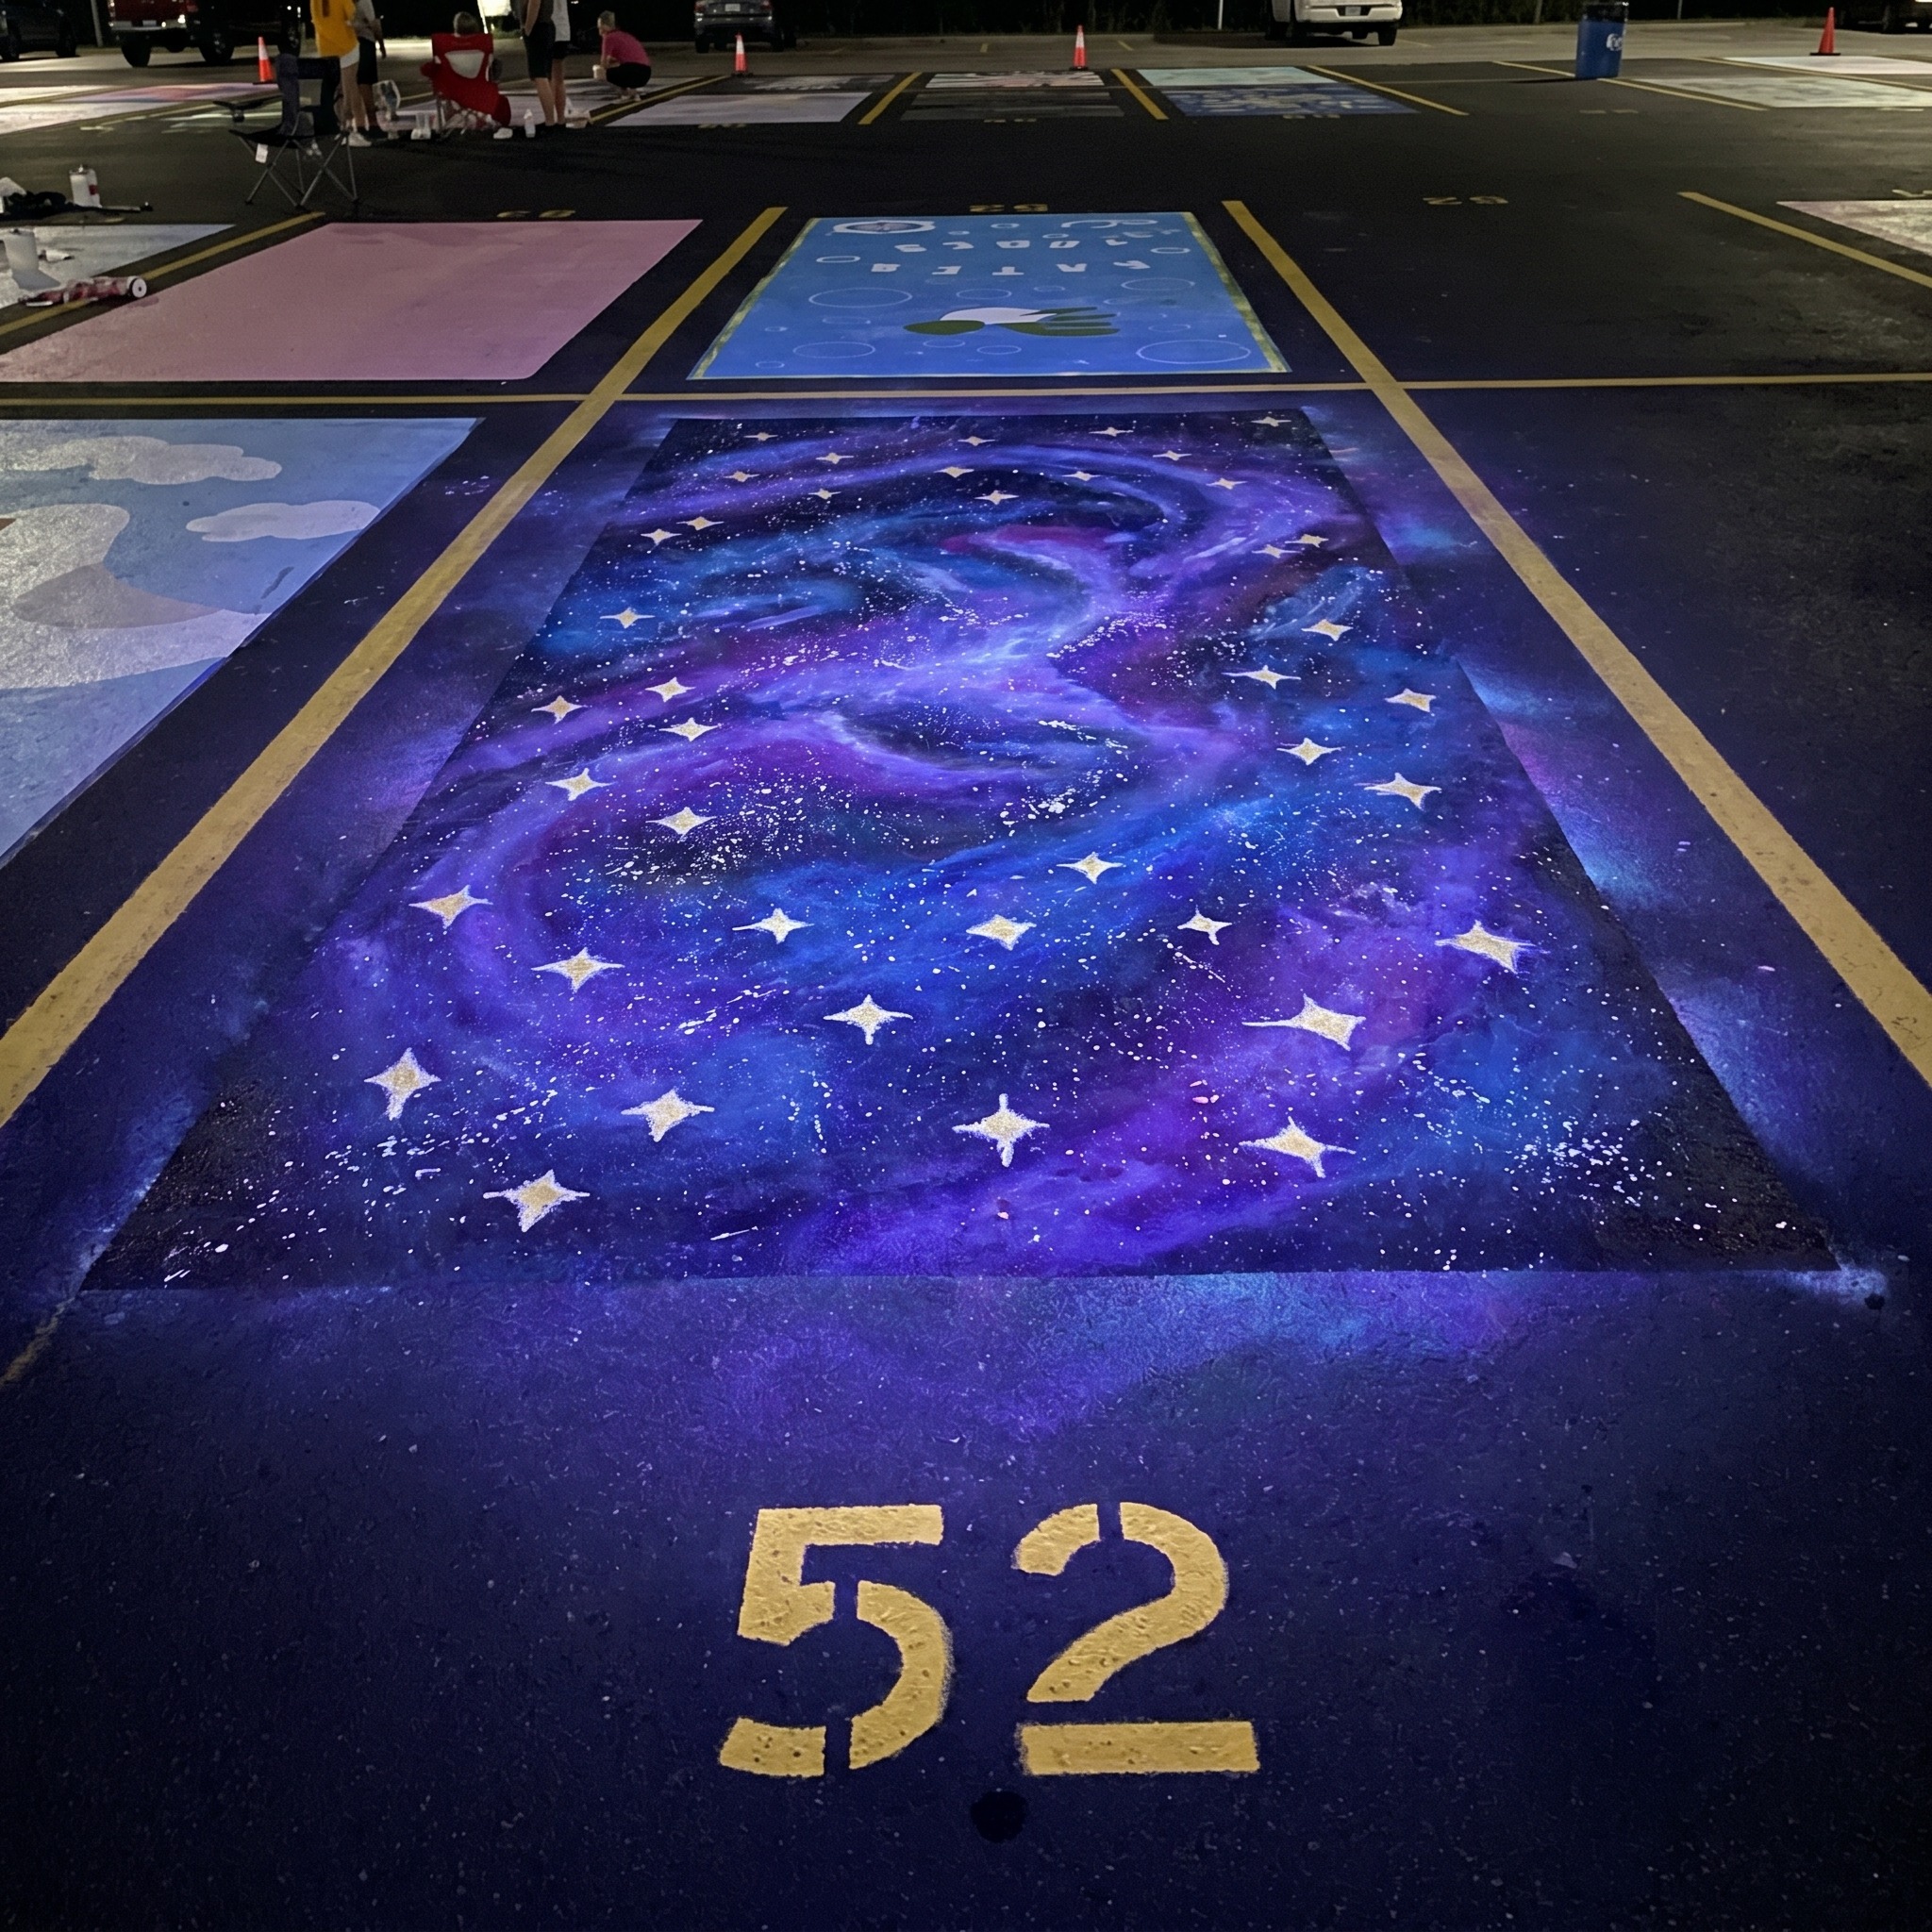
Among all the chalk parking spot ideas on this list, the galaxy might look the most complex but is genuinely one of the easiest to execute. Start with a black or dark navy background, then sponge on blobs of purple, blue, and teal. Flick white paint with a toothbrush for stars. That is literally the whole technique.
Materials needed: Black or navy base paint, 3 accent colors, a sea sponge, an old toothbrush, white paint
Beginner tip: Do not overthink the sponge work. Dab randomly, overlap colors, and trust the chaos. The more irregular it looks, the more realistic it will be.
8. The Stripe Design
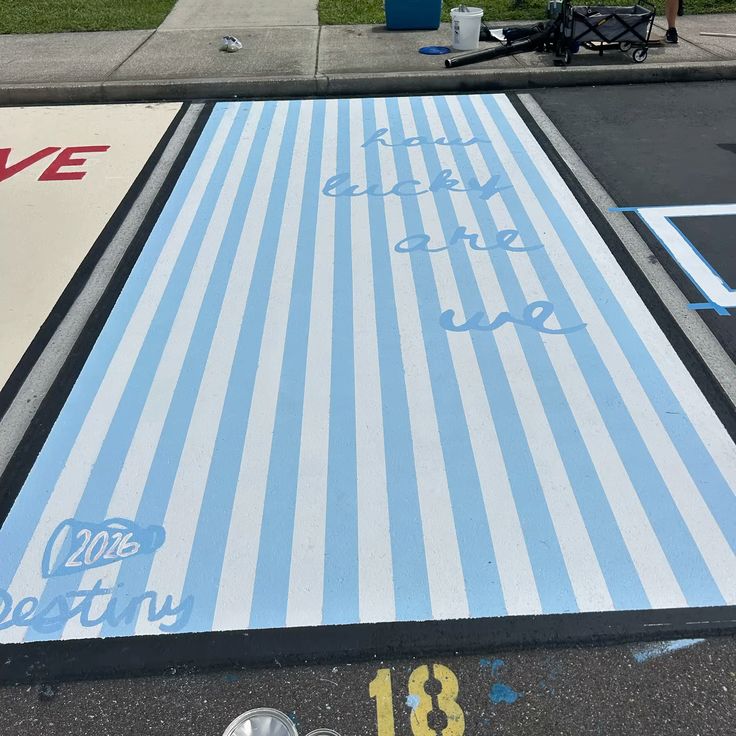
Stripes are among the most underrated chalk parking spot ideas because they are incredibly fast, look polished, and can be done in any color combination. Tape off parallel lines across your spot, paint, peel, and you have something that looks intentional and sharp.
Materials needed: Painter’s tape, 2 to 3 paint colors, foam roller
Beginner tip: Vary the stripe widths slightly for a more dynamic look. Try alternating a wide stripe with a thin one instead of making them all the same size.
9. The Ombre Single Color
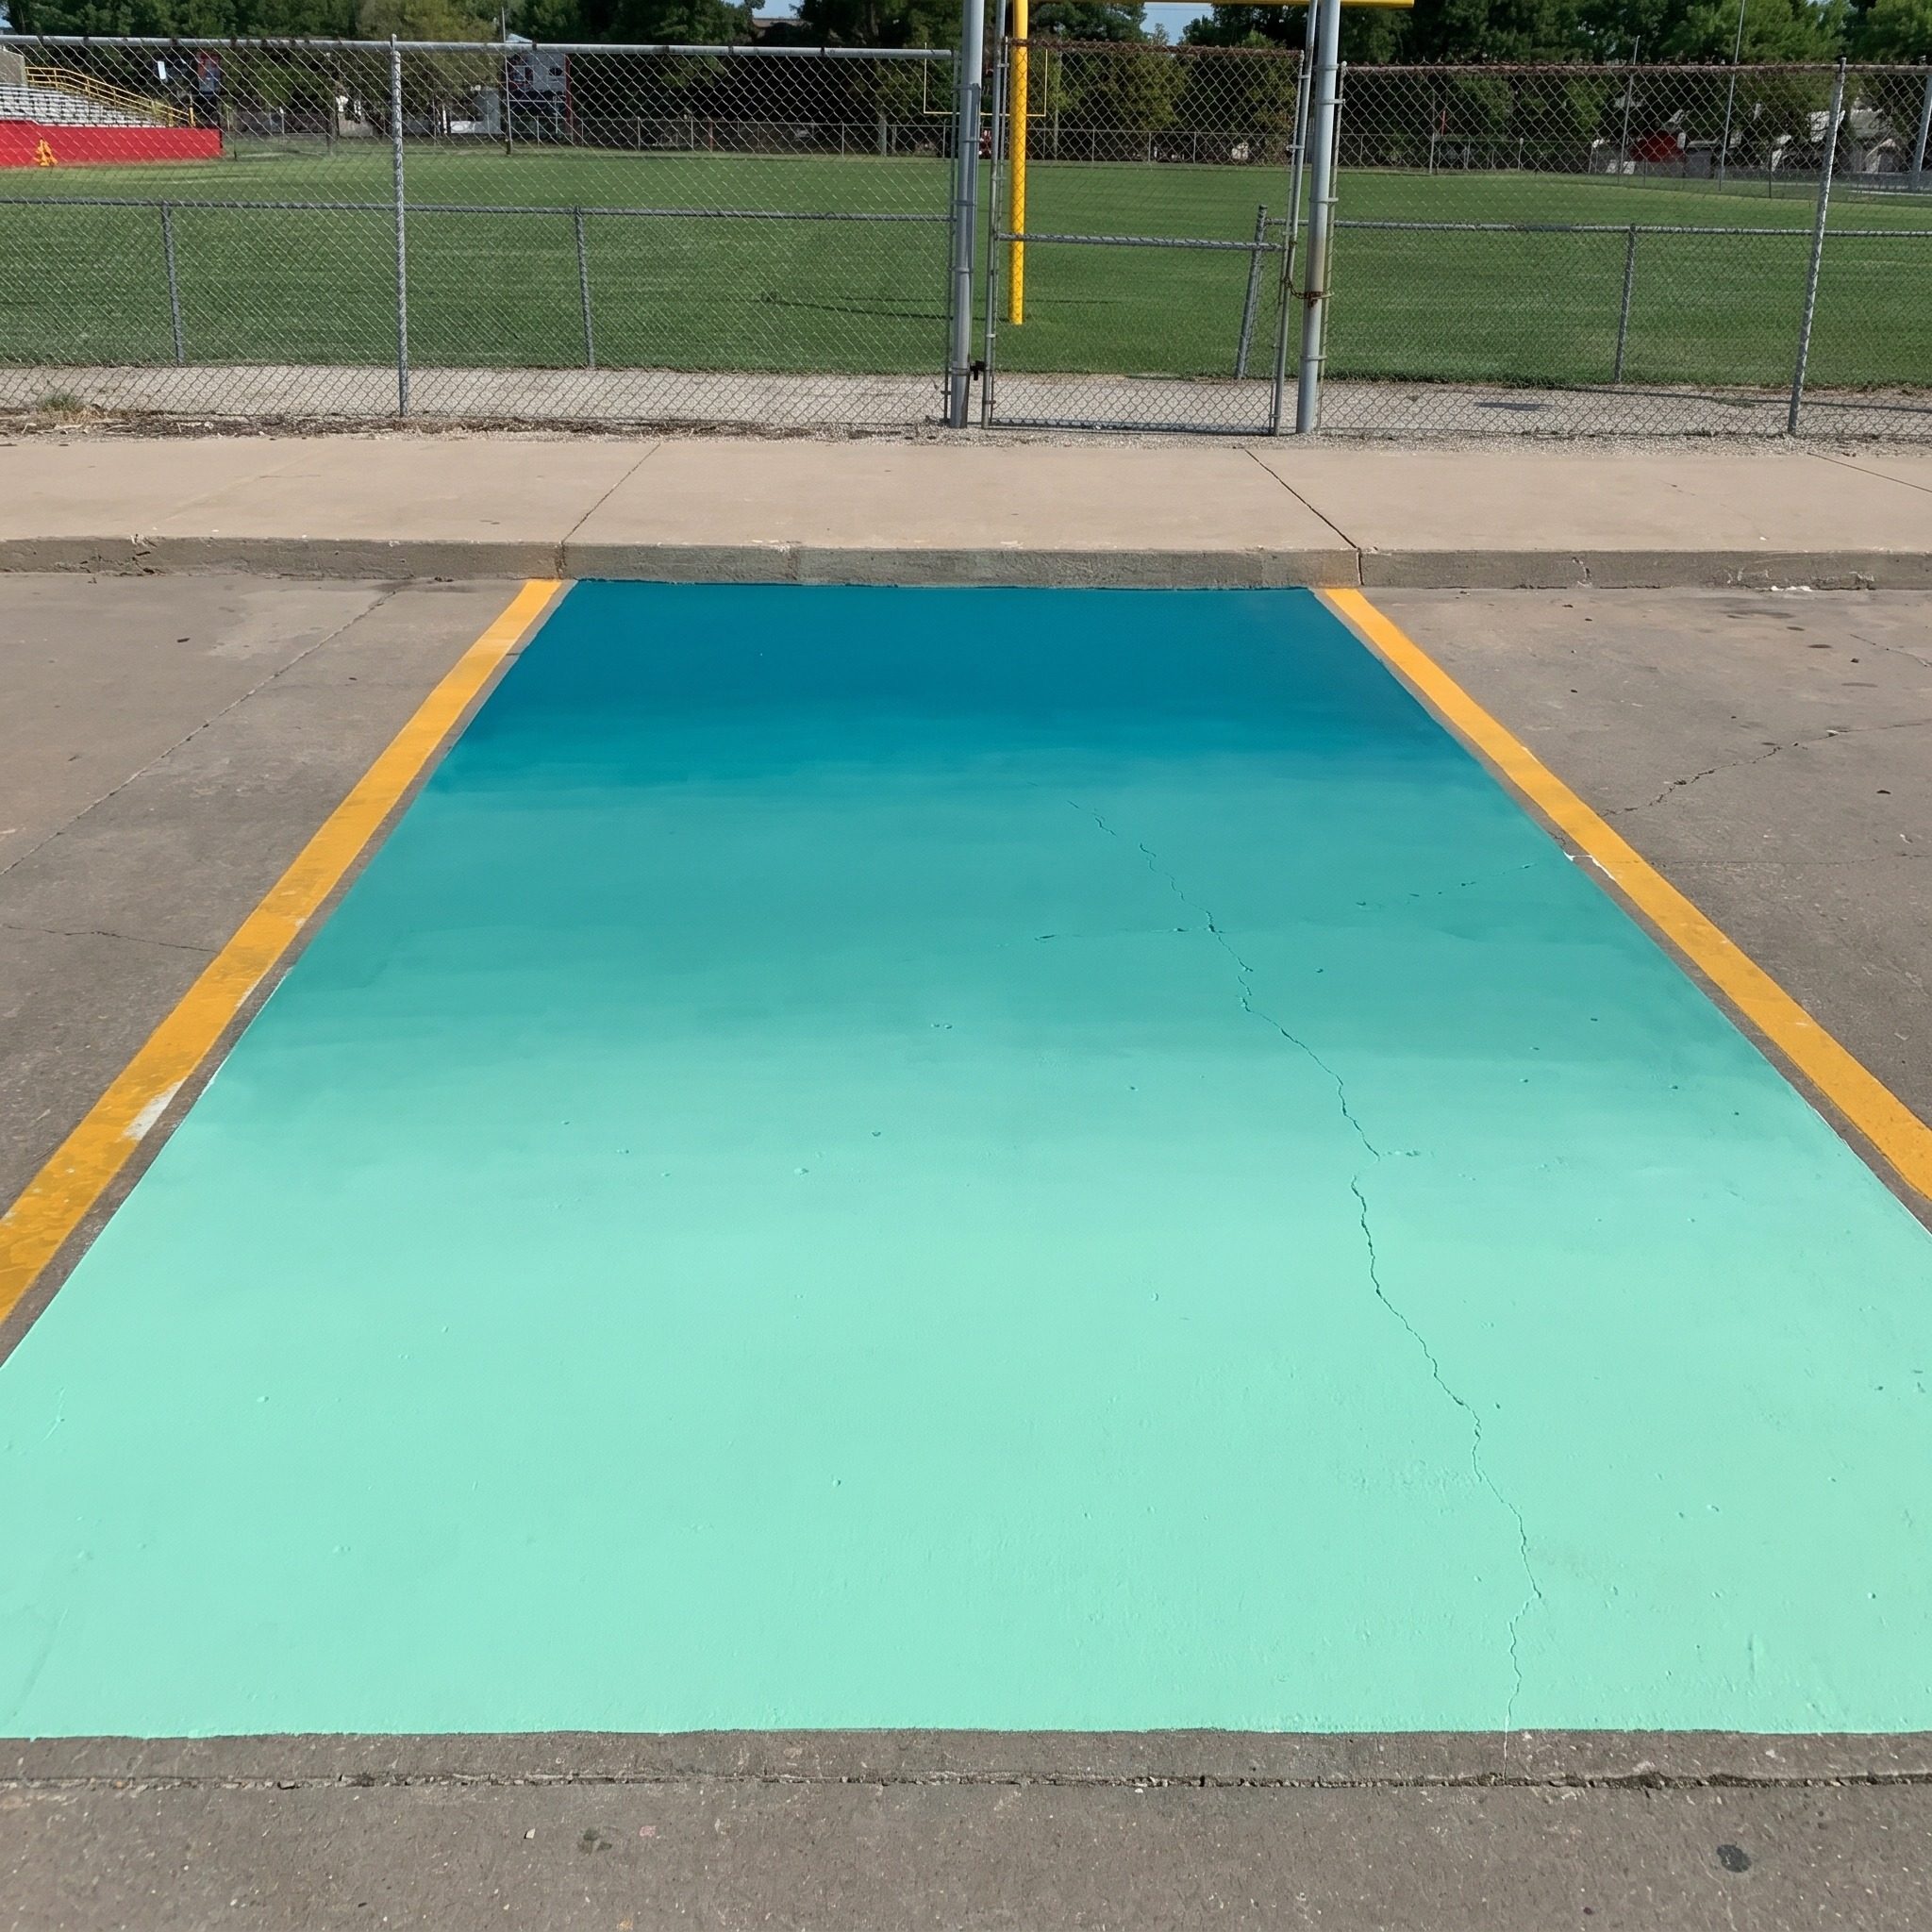
If you want one of the most elegant chalk parking spot ideas with the least amount of complexity, go with a single-color ombre. Start with your darkest shade of one color at one end of the spot and gradually lighten it toward the other end by adding white to your paint as you go. The result looks like a professional design job.
Materials needed: 1 paint color, white paint for mixing, wide foam roller, tray for mixing
Beginner tip: Mix five small cups of your color ranging from full strength to nearly white before you start. This way you are not guessing the blending mid-project.
10. The Floral Border with Solid Center
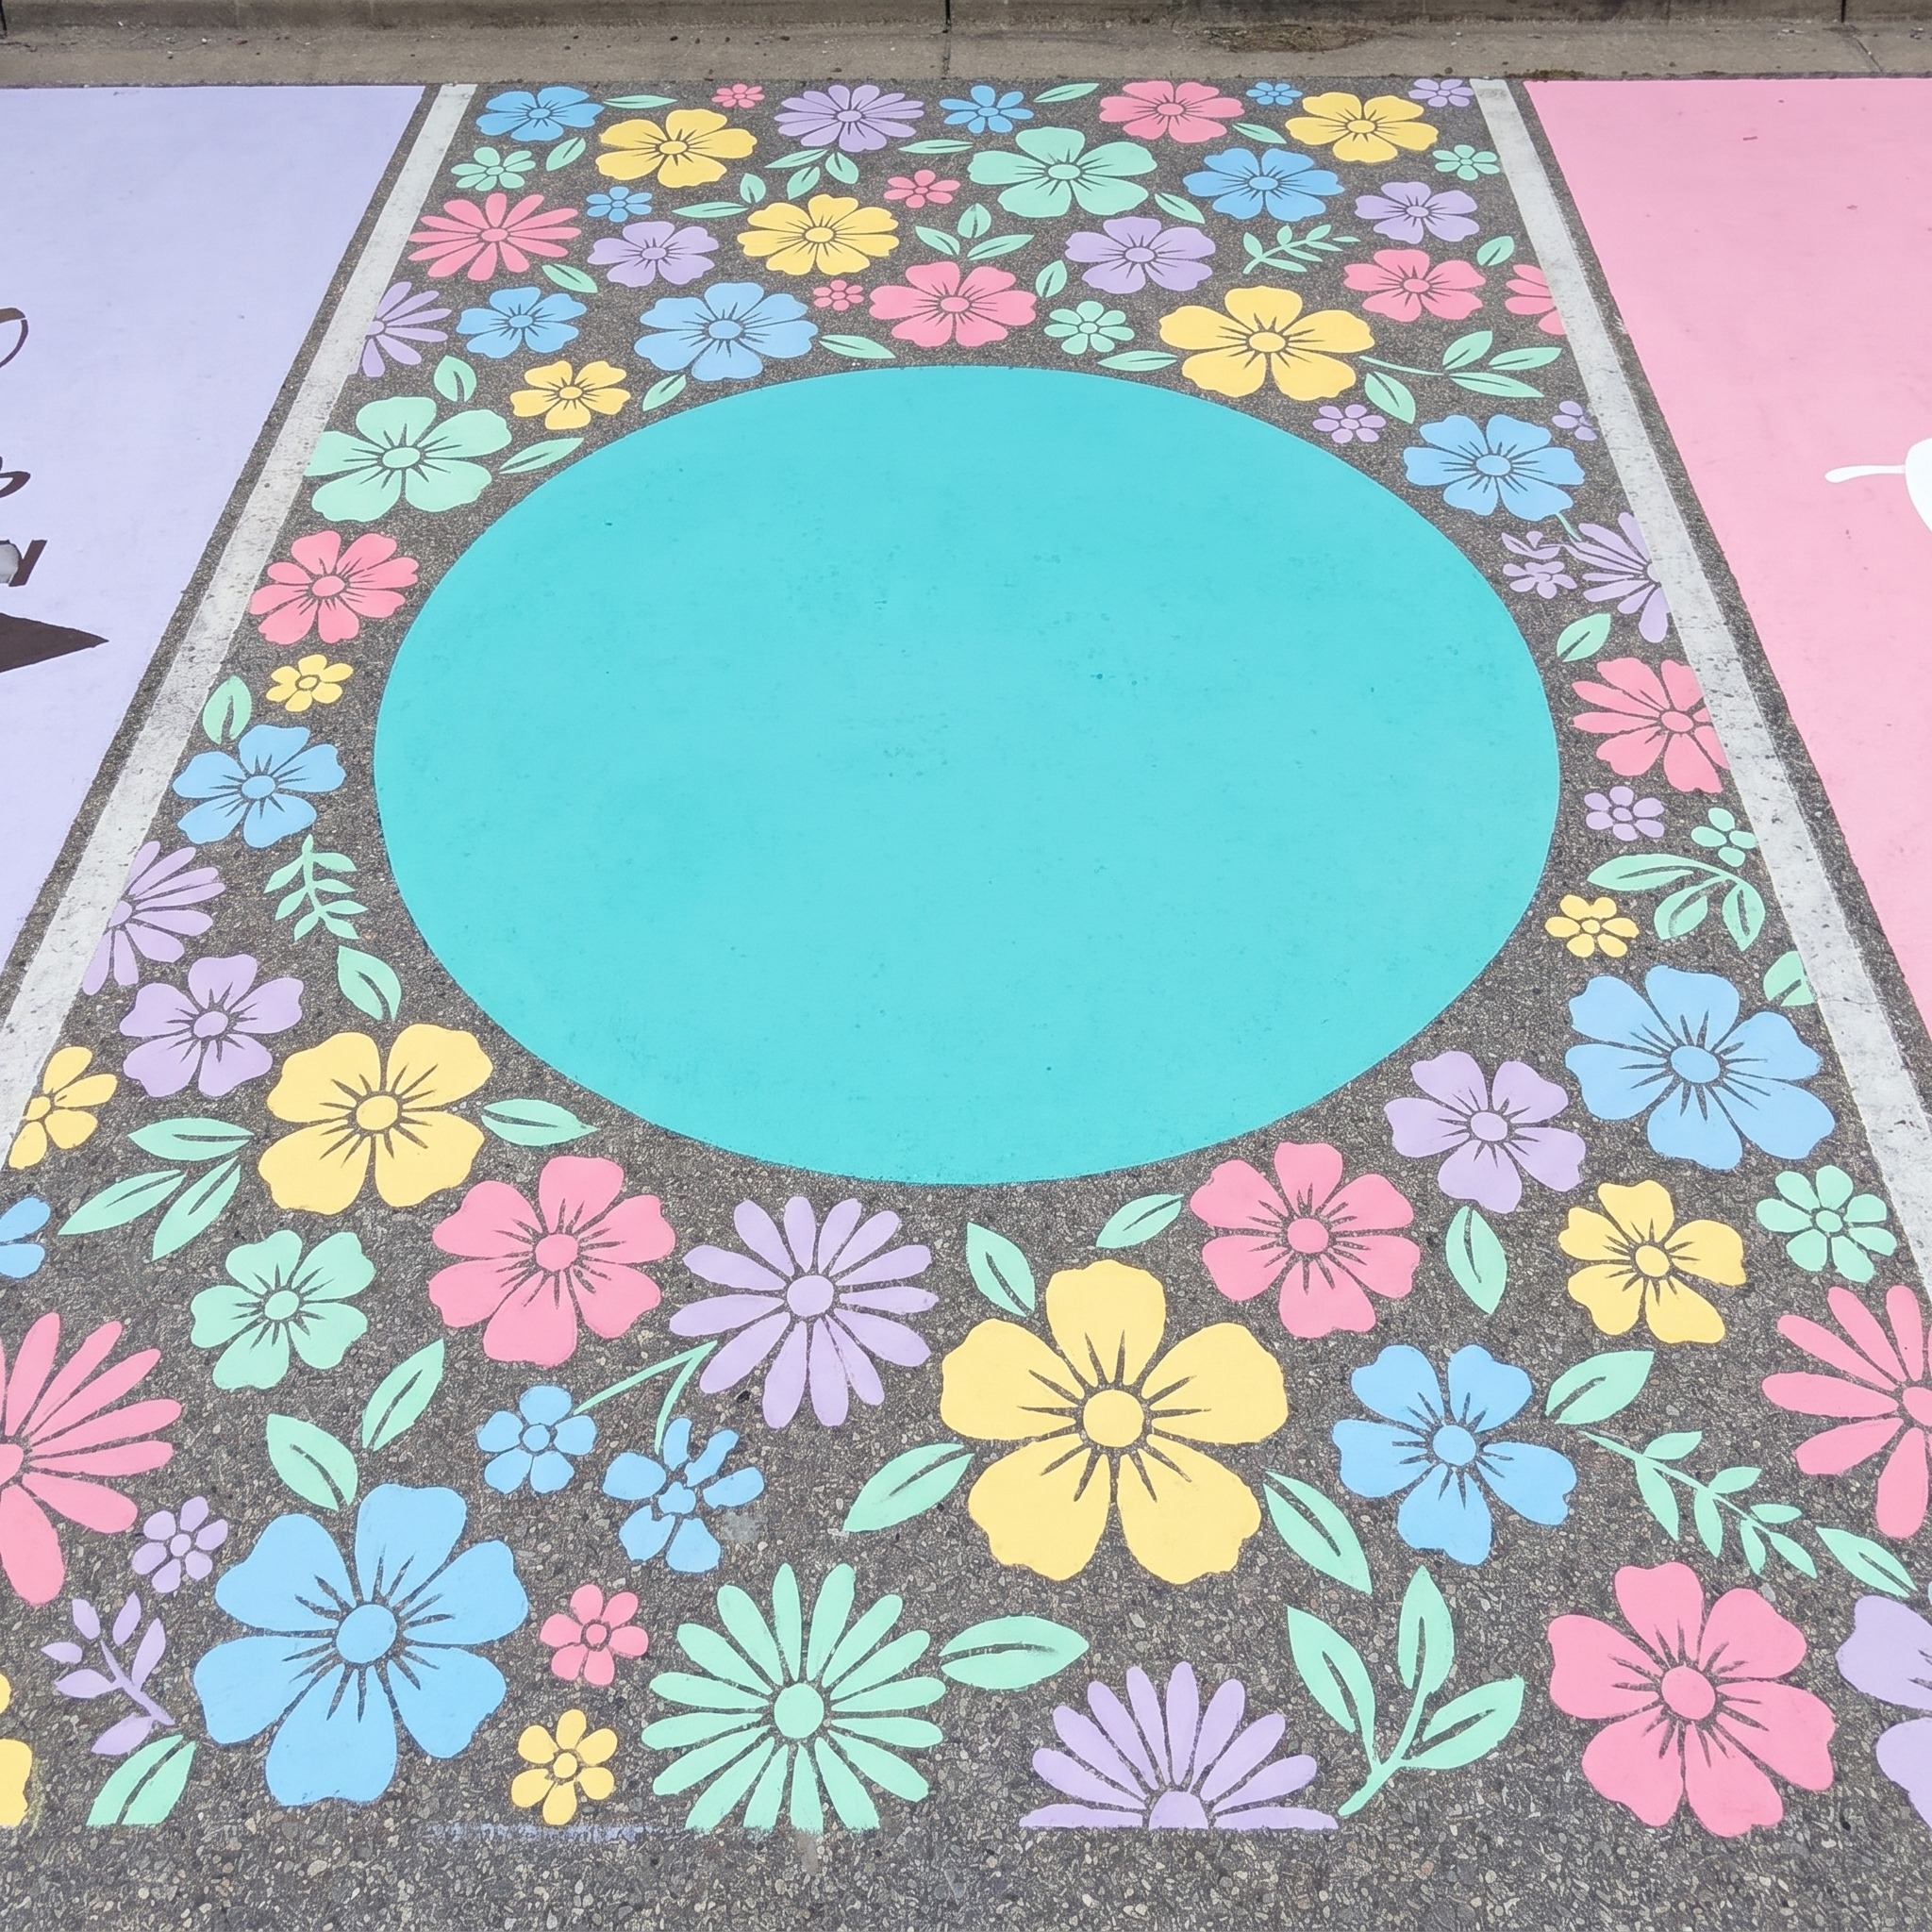
This sounds like it requires painting skills but it absolutely does not. Paint your spot a solid color first. Then, using circular sponges and paint, stamp a simple flower border around the edges. Each “flower” is just a few circular sponge prints clustered together. Add dot “centers” with the back of a pencil dipped in paint. Done.
Materials needed: Base color paint, 2 to 3 accent colors, round makeup sponges or cut sponge pieces, pencil
Beginner tip: Practice your sponge stamping on cardboard first to get comfortable with how much pressure creates the look you want before touching the pavement.
11. The Two-Tone Color Block
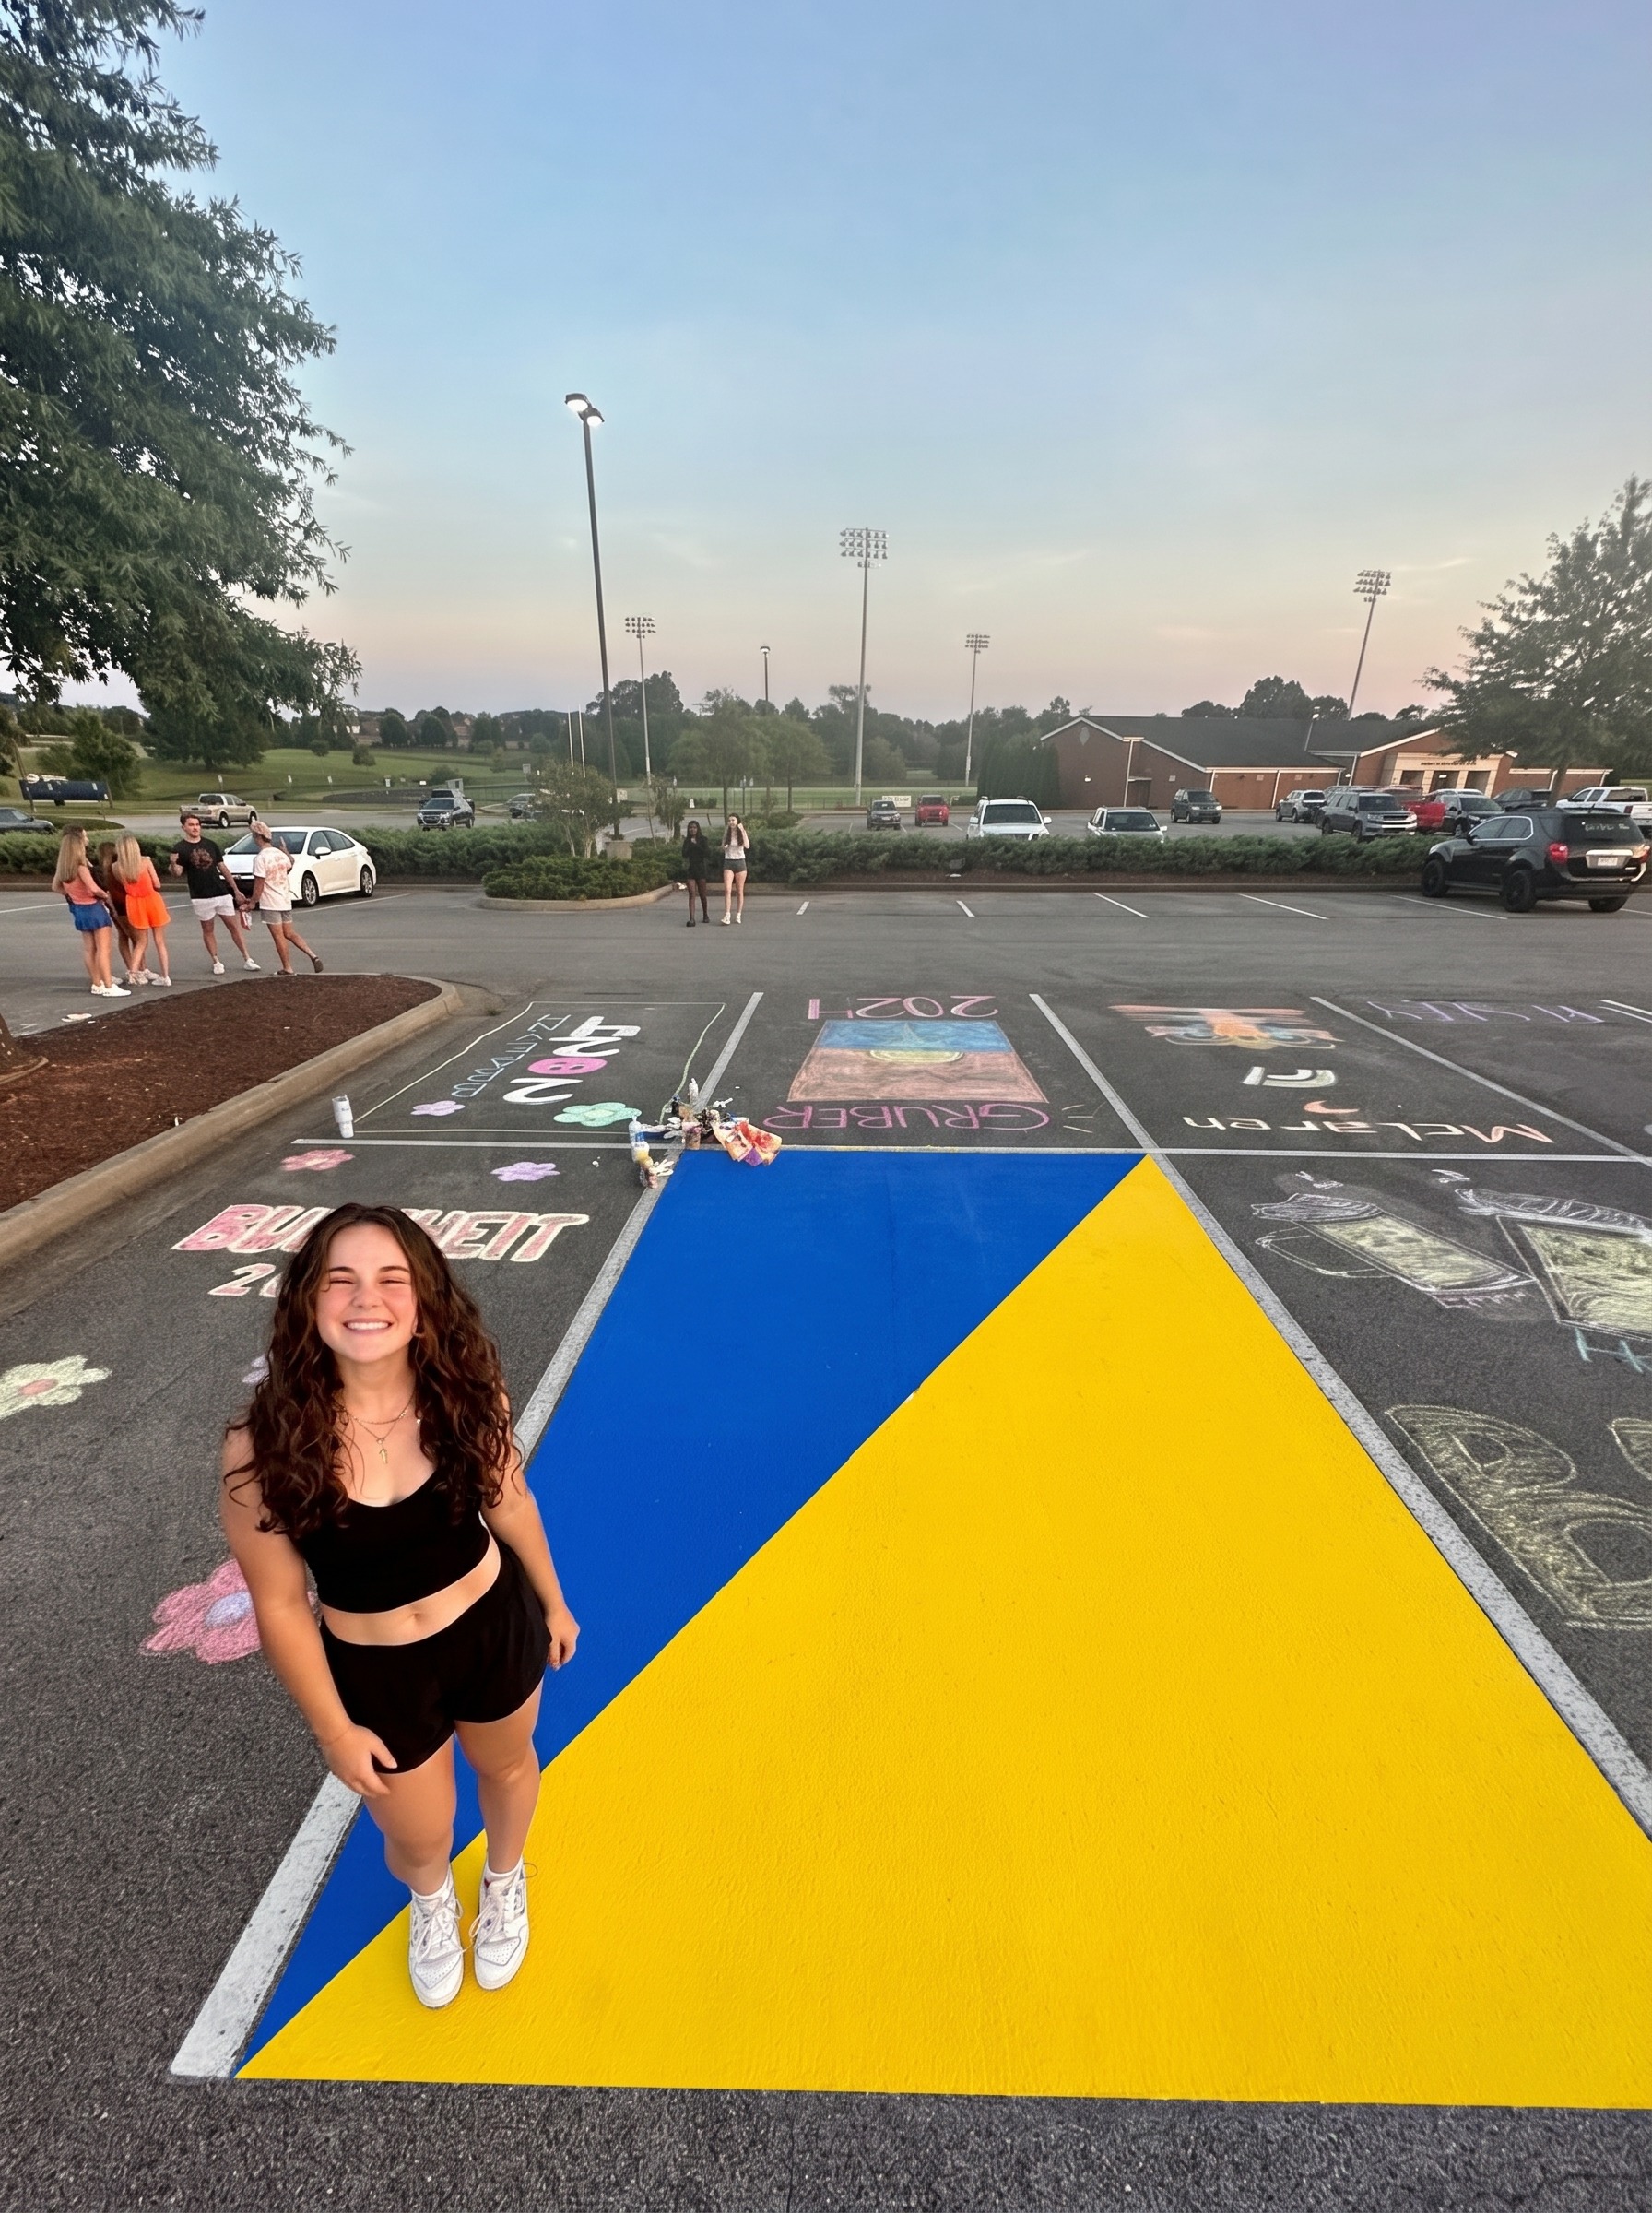
Split your spot cleanly in half, diagonally or straight across, and paint each half a different bold color. This is one of the fastest chalk parking spot ideas to execute and one of the most visually striking when the colors are chosen well.
Materials needed: 2 paint colors, painter’s tape, foam roller
Beginner tip: Use tape to mark your dividing line before you start. Pull the tape off slowly at a 45-degree angle while the paint is still slightly wet for the cleanest possible edge.
12. The Paw Print or Sports Logo Grid
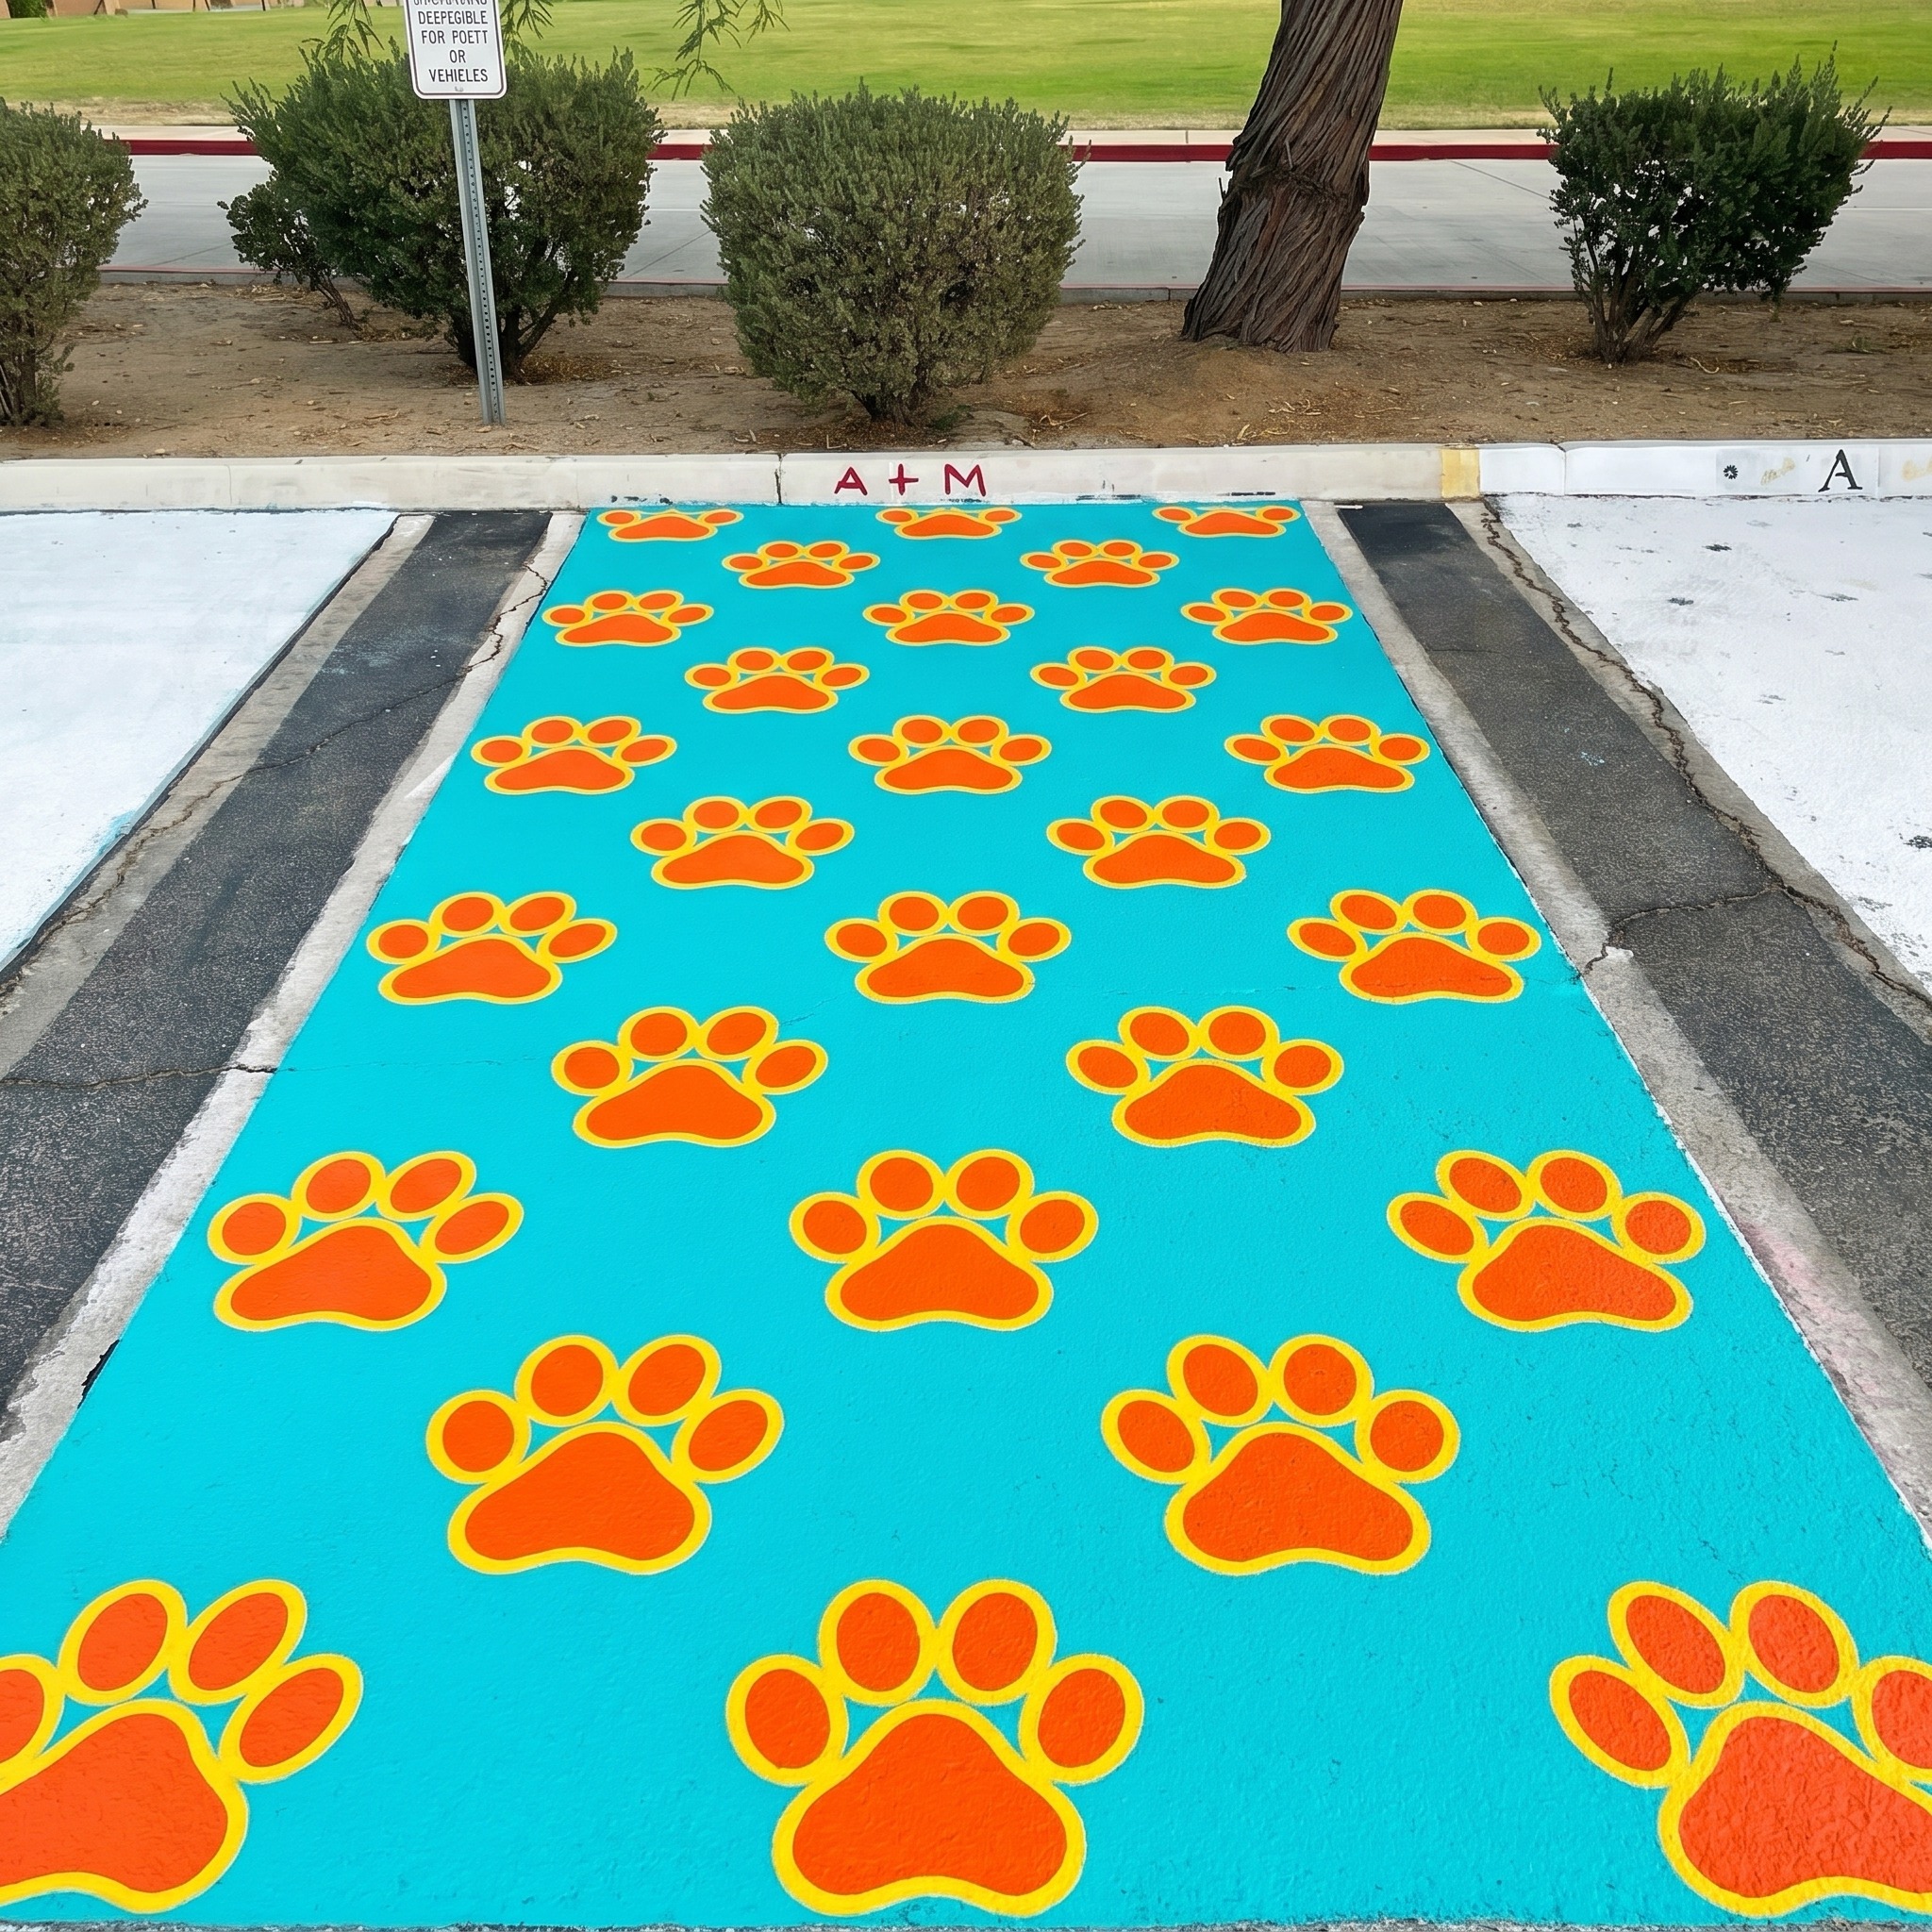
For athletes and pet lovers, this is one of the most personal chalk parking spot ideas you can choose. Use a stencil to repeat a simple paw print or your sport’s ball icon across your spot in a grid or scattered pattern. Stencils make this totally approachable.
Materials needed: Base paint color, 1 stencil (paw print or simple icon), contrasting paint for the icon, foam pouncer
Beginner tip: Space your stencil prints out evenly by measuring with a ruler before you start stamping. This gives the finished spot a polished, intentional look.
How Colors and Contrast Can Make Any Simple Design Shine
With chalk parking spot ideas, color matters more than the design itself. A basic stripe in dull beige looks forgettable. That same stripe in electric cobalt and white looks like a deliberate, confident choice. The right color combination does all the heavy lifting for you.
Go for high contrast, meaning light colors against dark ones. Combinations like black and gold, navy and white, or hot pink and black read clearly from a distance and photograph beautifully. Also start with a white base coat before painting your design. It takes 15 extra minutes but makes every color you apply on top look noticeably more vivid.
Common Mistakes That Ruin Chalk Parking Spot Ideas (And How to Avoid Them)
Most chalk parking spot ideas fall flat not because of skill, but because of a few simple mistakes made before the brush even touches the pavement. The most common one is skipping the base coat. Bare concrete is dark and uneven, and paint looks patchy without a white primer layer underneath. Apply a white base coat the day before and let it dry fully. Also, pull your painter’s tape off while the paint is still slightly tacky, not fully dry, or the edges will crack and peel.
The second mistake people regret most is not sealing the finished design. Rain, tire friction, and sun will fade your work faster than you expect. A coat of clear weatherproof sealer after the paint dries keeps your chalk parking spot ideas looking sharp all the way through graduation day. It costs around ten dollars and takes less than half an hour.
Final Thought
Nobody stops to look at a parking spot and think, “Wow, that must have taken forever.” They stop because it looks confident, personal, and like someone actually gave it thought. That is exactly what these chalk parking spot ideas give you, without requiring any talent you do not already have.
Your senior year has one parking spot and one chance to make it yours. Keep it simple, pick colors you love, and just go for it. Simple is not settling. Simple is a statement. Now go make your spot worth pulling into every morning.