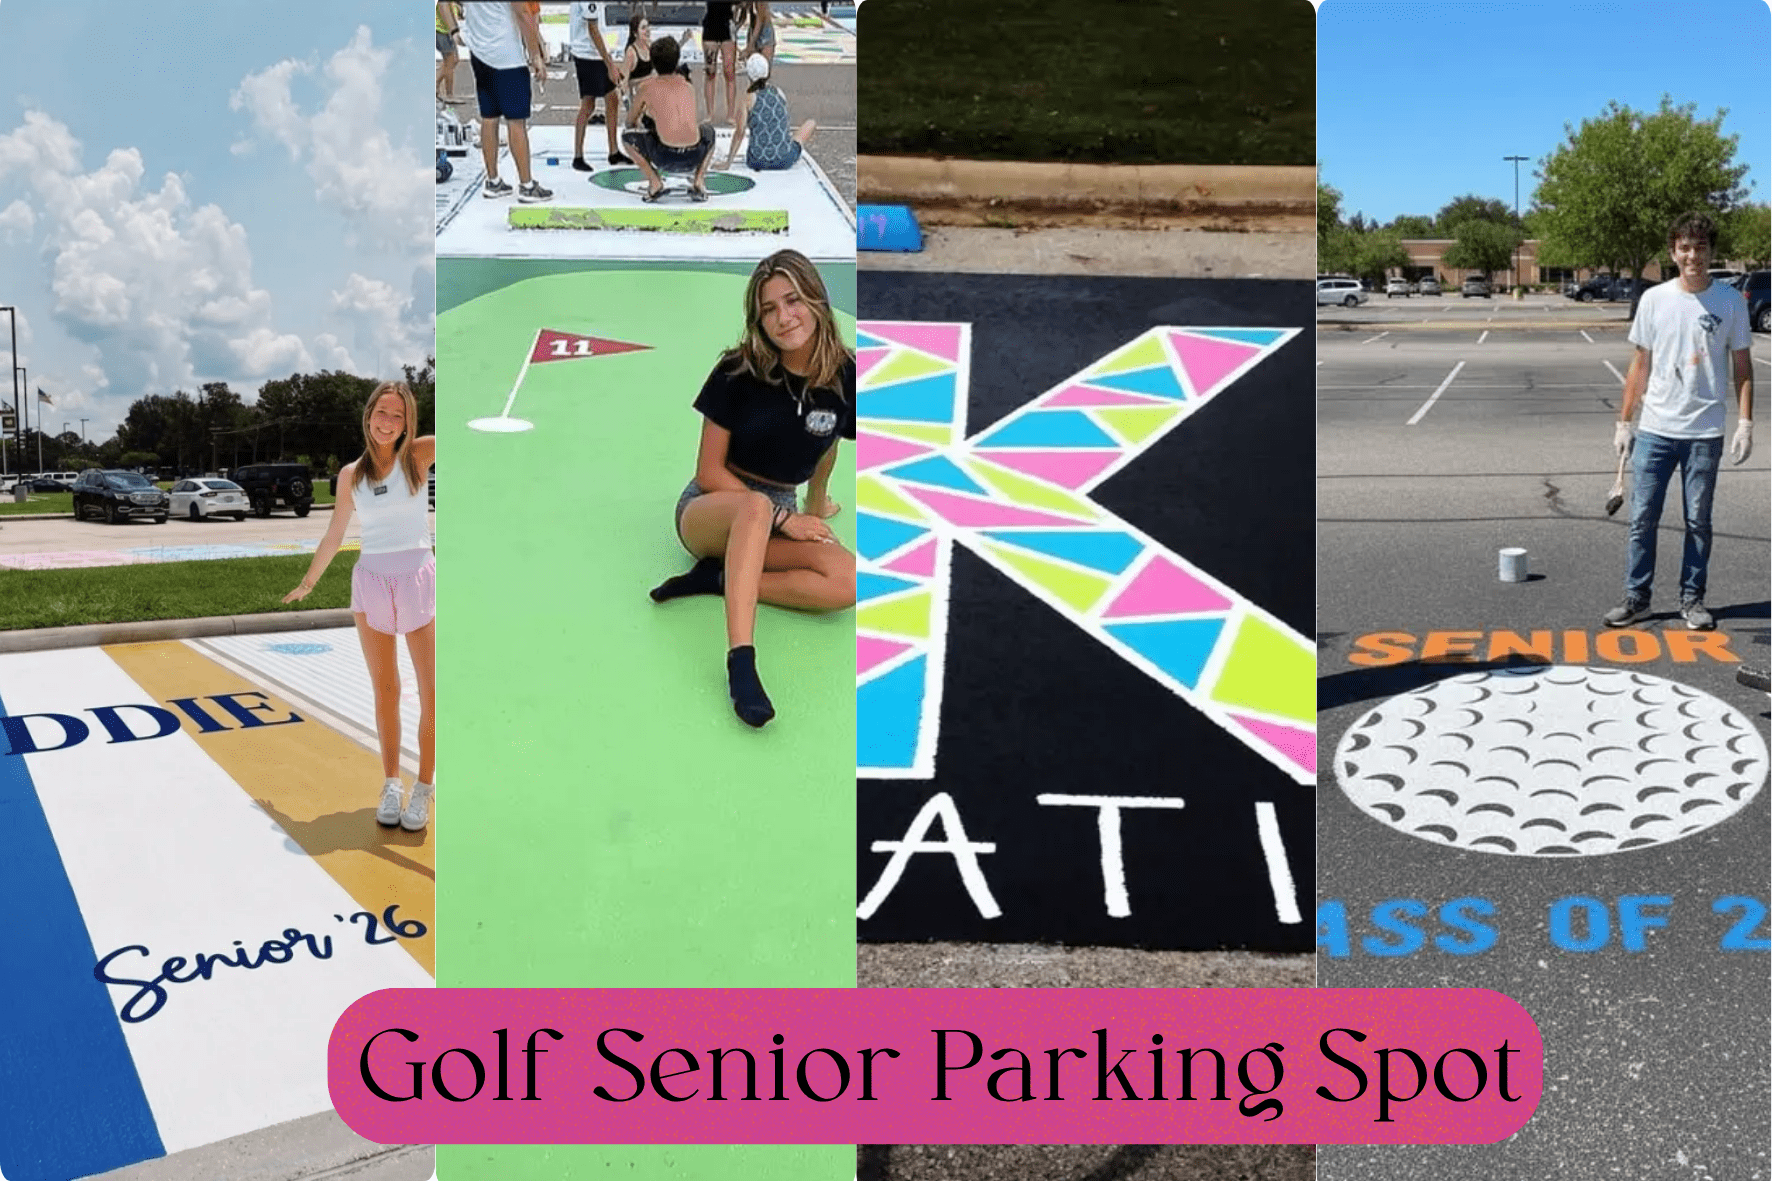
Golf senior parking spot ideas can feel overwhelming when you scroll through photos of detailed murals and think there is absolutely no way you could pull that off. But here is the honest truth: not every senior is an artist, and that is completely fine. You do not need to be creative, talented with a brush, or experienced with paint to end up with a parking spot that looks genuinely great on painting day.
Simple designs can look just as amazing as complicated ones. A clean two-color golf senior parking spot with straight tape lines can turn more heads than a shaky freehand drawing ever will. This guide is all about keeping things easy, affordable, and totally doable in a single afternoon, no matter what your current skill level looks like. No pressure, no stress, just good ideas you can actually use.
Table could not be displayed.13 Easy Golf Senior Parking Spot Ideas for Non-Artists
Every golf senior parking spot idea below can be completed in one day, needs fewer than five materials, and requires zero art skills. Pick the one that fits your personality and go from there.
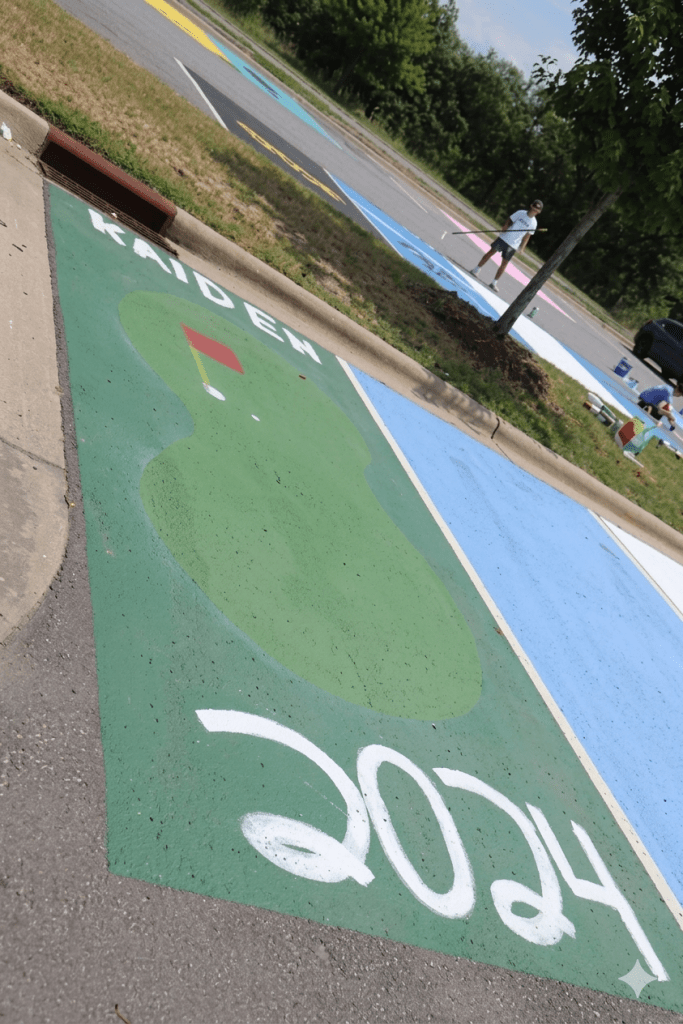
1. The Classic Golf Green
A golf senior parking spot painted solid green with a small flag stenciled in one corner is one of the most recognizable and easiest themes you can choose. The design comes down to one background color and one stencil shape. There is nothing to draw freehand and nothing complicated to figure out.
Materials: Green exterior paint, flag stencil, painter’s tape, foam roller
Beginner Tip: Press your painter’s tape down firmly along all edges before rolling on paint. Firm tape gives you clean borders, and clean borders are what make the whole thing look sharp.
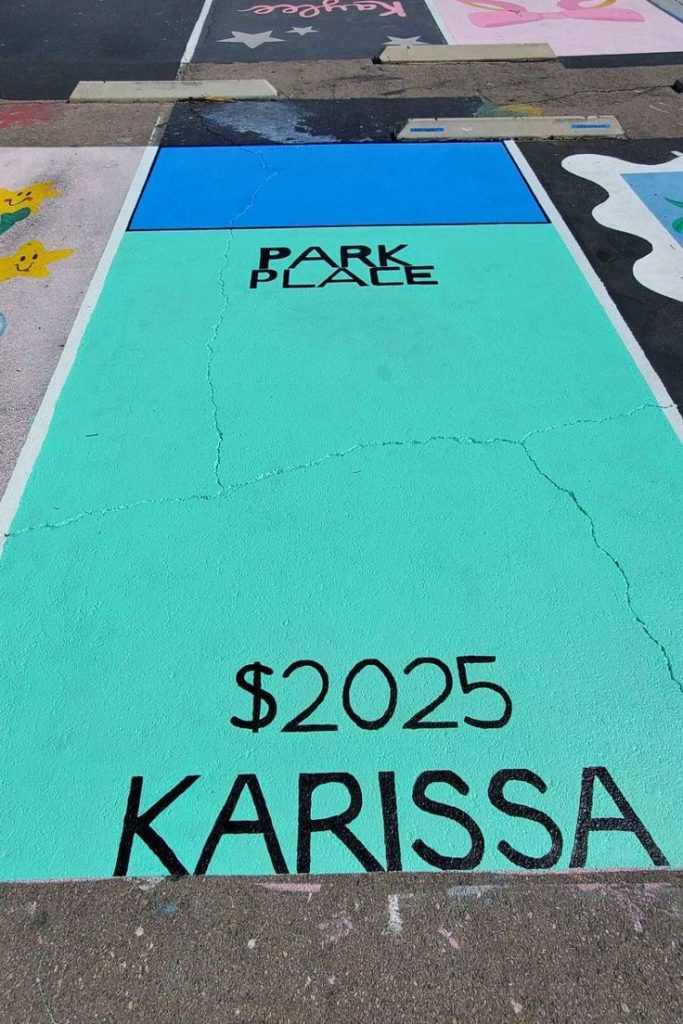
2. Bold Number Plate
This golf senior parking spot style uses your graduation year or initials in large stenciled letters on a flat base color, similar to a license plate. Large letter stencils do all the work for you since all you do is hold them down and fill them in with a brush or light spray. It reads clearly from a distance and looks intentional every time.
Materials: Base color paint, large letter stencils, spray paint, painter’s tape
Beginner Tip: Use spray paint for stencil fills rather than a brush. It dries faster and gives smoother, more even coverage without any streaks showing through.
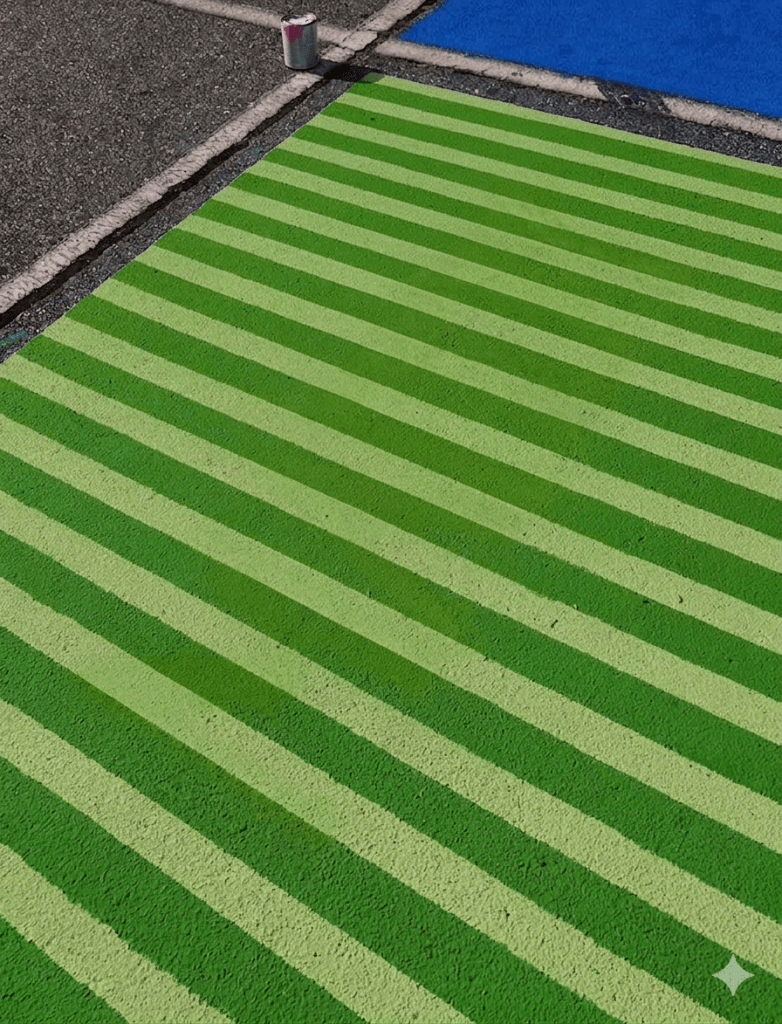
3. Striped Fairway
A striped golf senior parking spot using two shades of green mimics the look of a freshly mowed golf course fairway and is one of the most beginner-proof patterns on this list. Stripes are entirely straight lines, which means all tape work and absolutely no drawing required. The contrast between light and dark green handles the visual interest on its own.
Materials: Two shades of green paint, painter’s tape, foam roller, chalk line
Beginner Tip: Snap a chalk line across the space first so every stripe starts from a true straight reference point before you lay a single piece of tape.
4. Golf Ball Dots
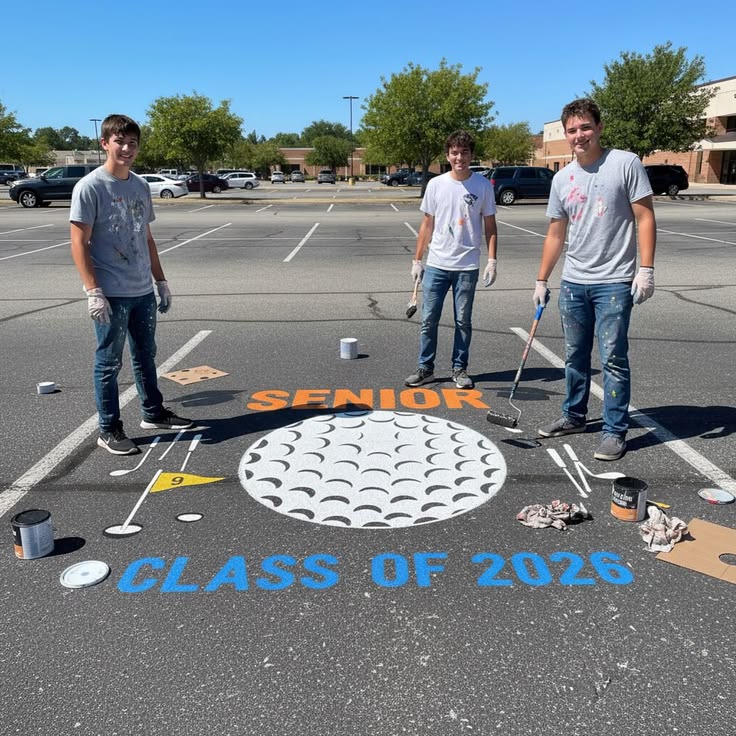
Repeating white circles across a dark background turns a golf senior parking spot into something fun and eye-catching without requiring you to draw a single thing. Cut a circle from cardboard, trace it, fill it in with white paint, and repeat across the space. Consistency in spacing matters more than perfection in the circles.
Materials: Dark base paint, white paint, cardboard circle template, small brush
Beginner Tip: Cut your circle template from a cereal box and keep spacing even by leaving roughly one hand-width between each circle as you move across the space.
5. Two-Color Block
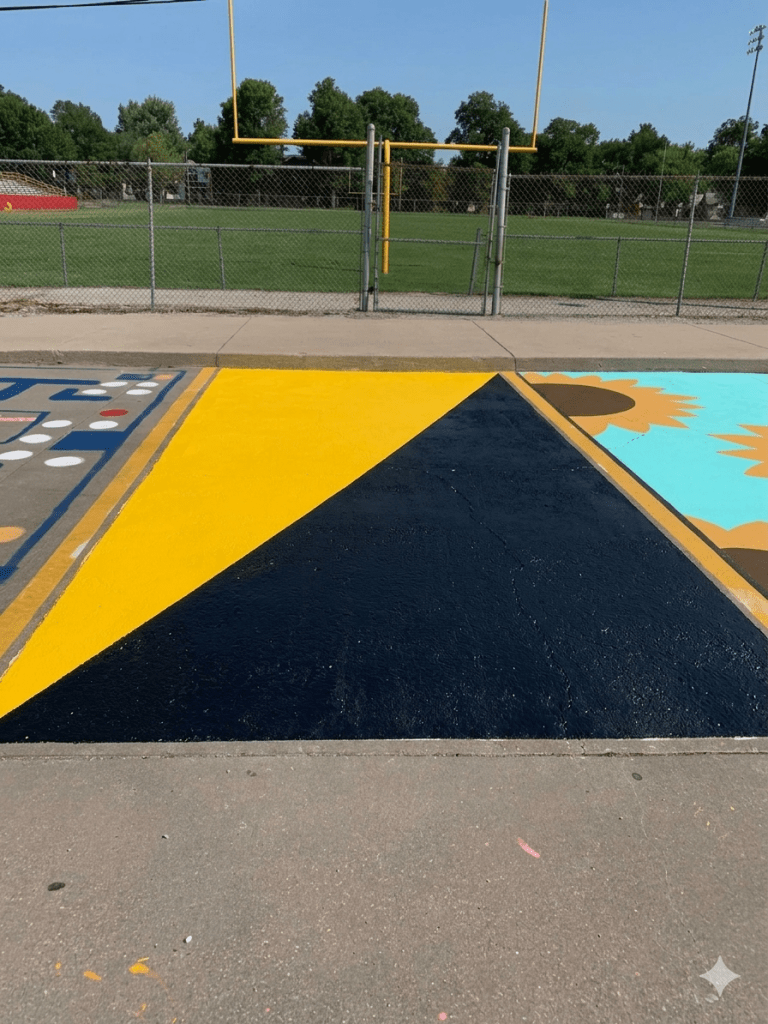
Dividing a golf senior parking spot diagonally or straight down the center in two contrasting colors is a geometric design that looks bold and modern with almost no effort. Tape handles everything. You place the tape line, roll one side, let it dry completely, then roll the other side. That is the entire process from start to finish.
Materials: Two paint colors, painter’s tape, foam roller, chalk
Beginner Tip: Hold a long straight board against the pavement as your guide when running diagonal tape. It keeps your line perfectly straight from one end of the space to the other.
6. Big Block Initials
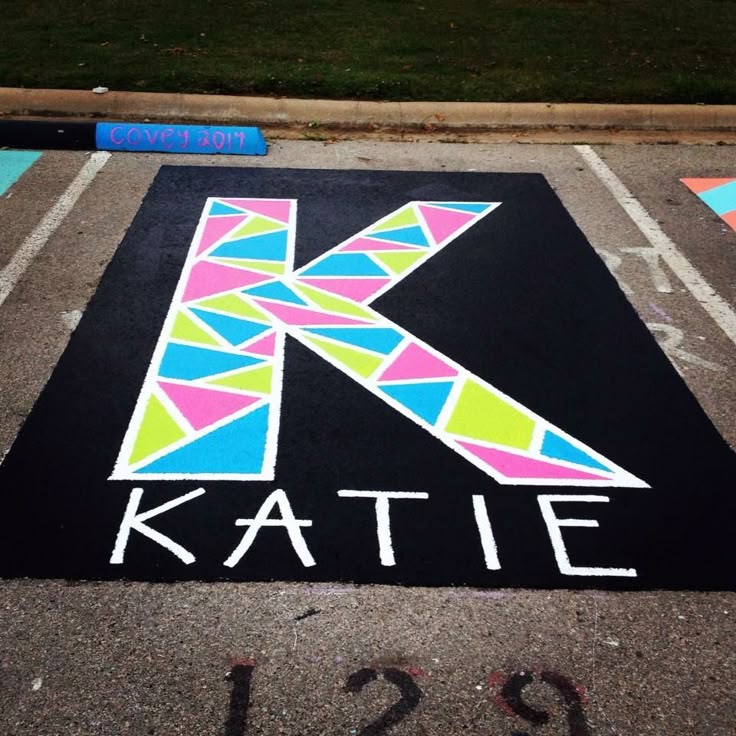
Painting your initials in oversized block letters on a solid background gives a golf senior parking spot a personal feel while keeping the execution completely simple. Extra-large stencils take all the difficulty out of the lettering. Center them in the space, hold them flat, and fill in the shapes with a foam brush.
Materials: Base color paint, oversized letter stencils, contrasting paint, foam brush
Beginner Tip: Measure the total width of your stenciled letters and the width of the space. Divide the difference in half and mark both sides with chalk so your letters are perfectly centered before you paint anything.
7. Flag and Hole
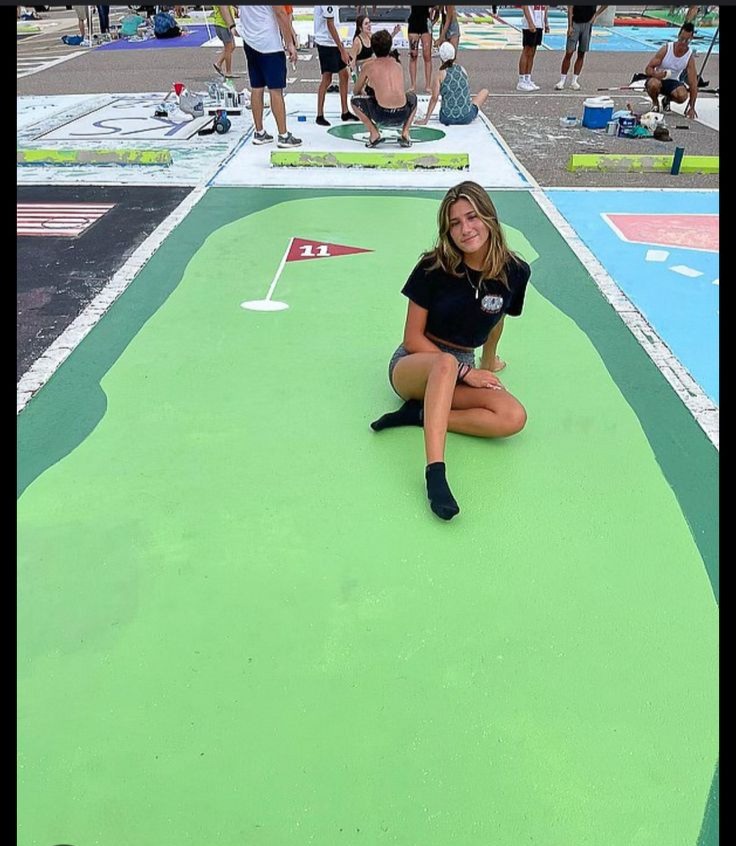
An overhead view of a golf hole with a painted circle and a small flag is one of the most iconic images in the sport, and as a golf senior parking spot design it only takes two shapes to complete. Trace a circle using a bucket lid, add a flag stencil nearby, and the theme reads instantly from any angle.
Materials: Green paint, white paint, bucket lid circle guide, flag stencil
Beginner Tip: Outline both shapes in chalk first and step back to check the placement before committing to any paint. Moving chalk costs nothing. Moving dried paint costs a lot of extra work.
8. School Color Stripes
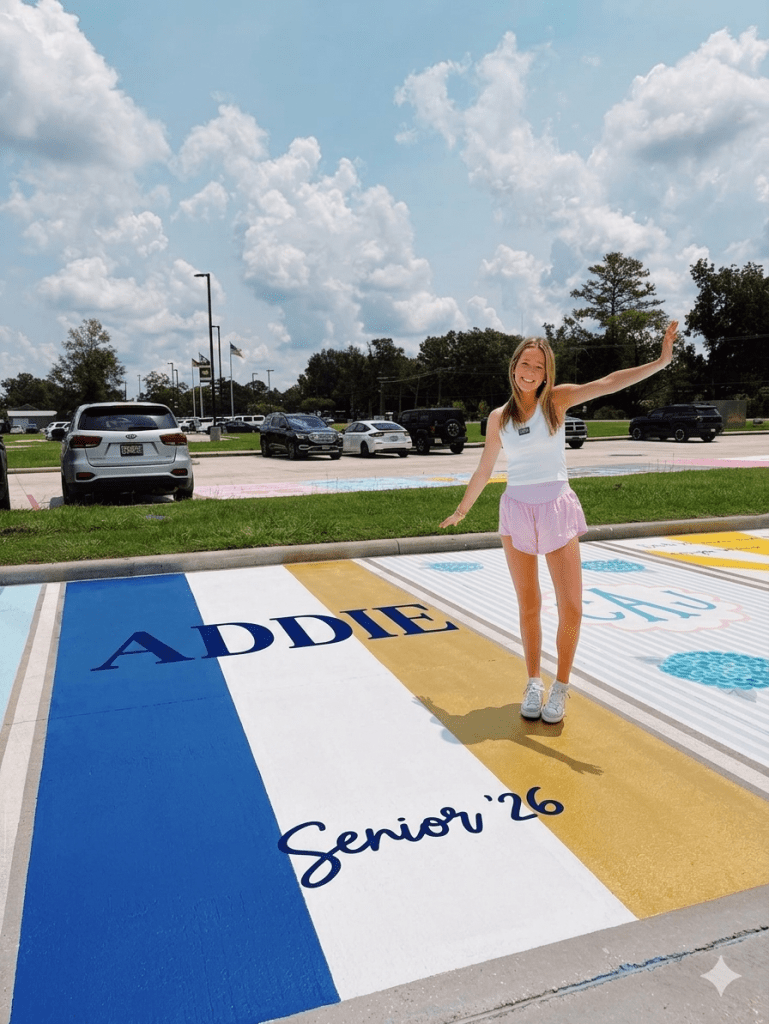
A golf senior parking spot painted in your school colors with horizontal or vertical stripes is spirited, fast to execute, and entirely tape-driven from start to finish. Pick two or three school colors, tape off equal-width bands across the space, and roll each stripe. The result looks energetic and clean every time.
Materials: School color paints, painter’s tape, foam roller, chalk line
Beginner Tip: Always paint your lightest color first. Darker colors cover light ones far more cleanly than the reverse, which saves you from needing multiple extra coats later.
9. Minimalist Single Stripe
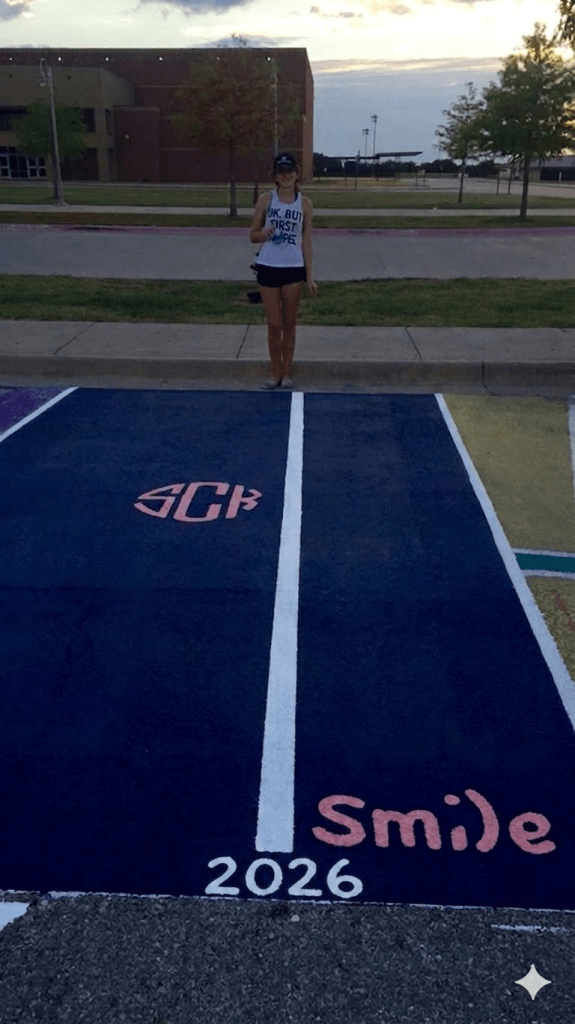
A dark base with one bold white stripe running down the center and your graduation year at one end is one of the cleanest-looking golf senior parking spot options available and also one of the fastest to execute. Minimalist designs work because every element is intentional and nothing is competing for the viewer’s attention.
Materials: Dark exterior paint, white paint, painter’s tape, foam roller
Beginner Tip: Apply two full coats of your base color before adding the stripe. A fully opaque, solid base makes the white stripe pop much more dramatically than one thin coat ever could.
10. Checkerboard Corner
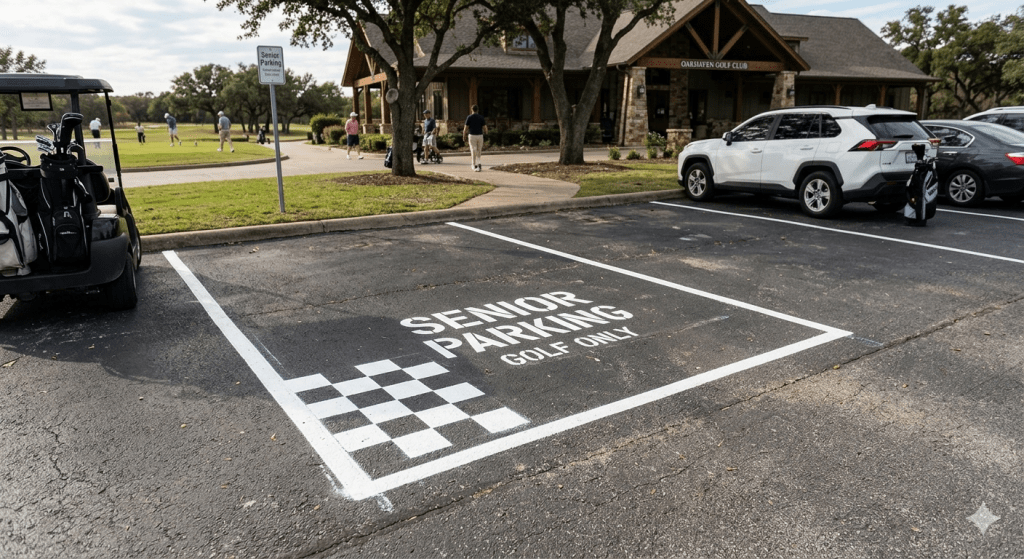
A checkerboard pattern placed in one or two corners gives a golf senior parking spot a graphic visual accent without taking over the whole space. It is an all-tape process where you grid off small squares, paint alternating ones, and let the rest of the space stay open and clean. No freehand work involved at any point.
Materials: Base paint, contrasting paint, painter’s tape, ruler
Beginner Tip: Mark your grid lightly with chalk and a ruler before applying any tape. Having a drawn grid to follow makes taping fast, consistent, and completely stress-free.
11. Golf Club Silhouette
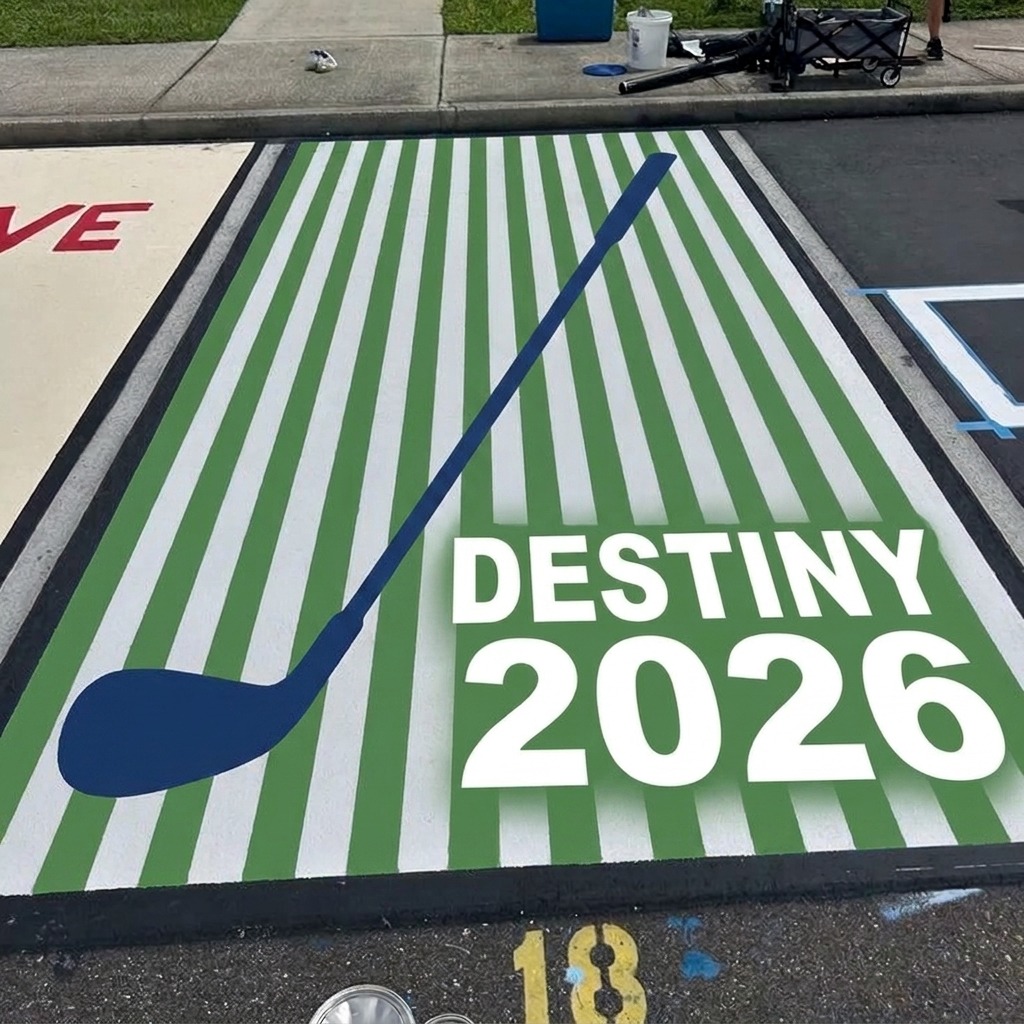
Paint a large golf club silhouette diagonally across your golf senior parking spot, with the club head positioned near one corner and the shaft stretching toward the opposite side. Add your name or graduation year beside it for a simple, personalized finish.
Materials: Dark base paint, white or school-color paint, chalk, painter’s tape, and a foam brush.
Beginner Tip: Use a ruler or straight board to create the shaft instead of drawing it freehand. For the club head, trace around a small rectangular object and add a slightly rounded edge.
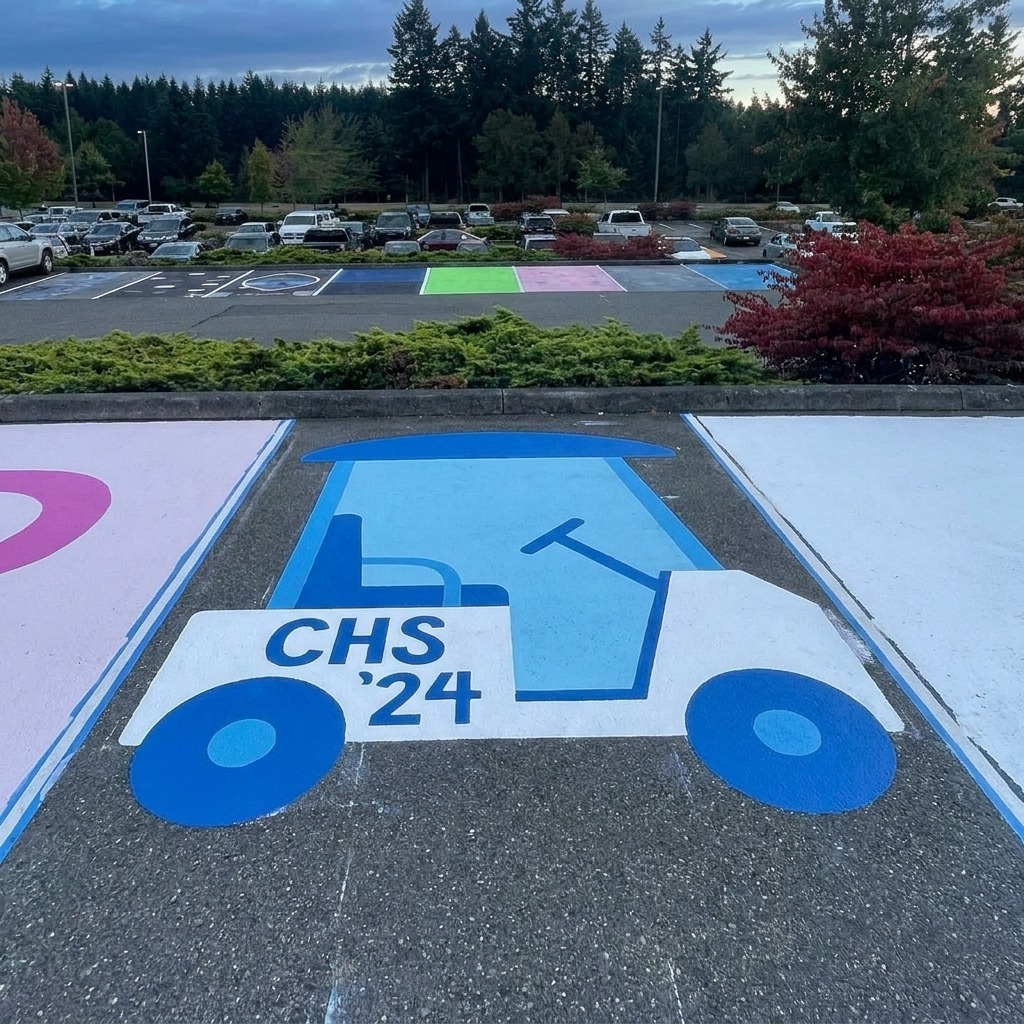
12. Golf Cart Design
Turn your golf senior parking spot into a simple side-view golf cart. Use basic rectangles and circles for the cart body and wheels, then add your initials or graduation year on the side. It keeps a clear golf connection without relying on a ball, flag, hole, or putting green.
Materials: Green, white, black, and school-color paint, chalk, painter’s tape, and a small round object for the wheels.
Beginner Tip: Break the cart into basic shapes before painting, rectangles for the body and roof, circles for the wheels, and straight lines for the frame. Sketch everything in chalk first so you can adjust the proportions easily.
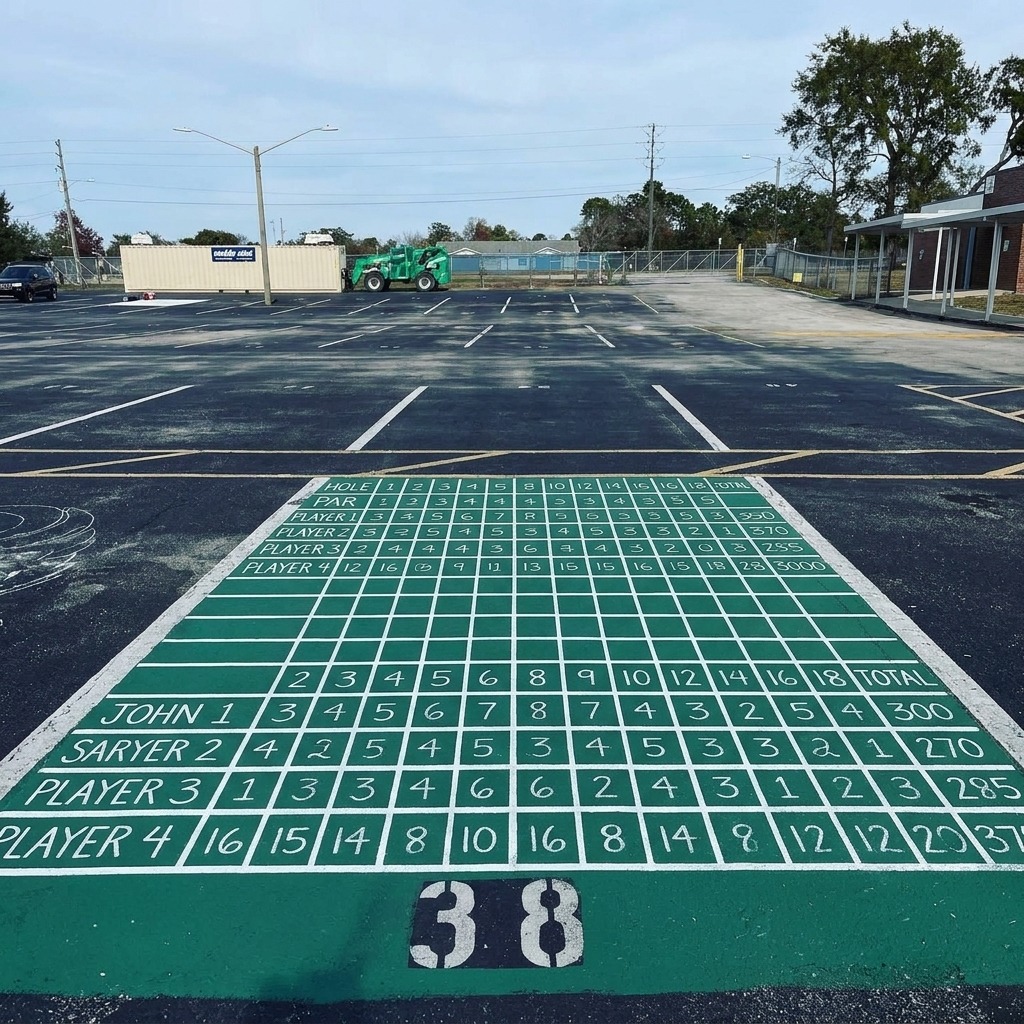
13. Golf Scorecard Theme
Design your golf senior parking spot to resemble a golf scorecard. Divide the space into simple rows and columns, then fill them in with your name, graduation year, favorite numbers, or playful golf scores. The grid-based layout makes this one of the more beginner-friendly ideas on the list while still giving the spot a distinctive theme.
Materials: White or light-colored base paint, green or black paint, painter’s tape, ruler, and letter/number stencils.
Beginner Tip: Tape the main grid before painting the smaller sections. Use stencils for every number and letter so the scorecard looks neat and evenly aligned without requiring freehand lettering.
Common Mistakes to Avoid When Painting Your Golf Senior Parking Spot
The biggest mistake most people make with a golf senior parking spot is skipping the chalk sketch and going straight to tape. Spending just ten minutes planning your layout on the pavement first will save you from crooked shapes, off-center letters, and the frustration of starting over halfway through painting your golf senior parking spot.
Pulling your tape off too late is the other mistake that catches people off guard on their golf senior parking spot. Once the paint dries completely solid, it cracks along the tape edge and ruins your clean lines. Peel slowly at a 45-degree angle while the final coat is still slightly tacky and your edges will come out sharp every time.
How to Make Your Golf Senior Parking Spot Last All Year
The most important thing you can do to protect a golf senior parking spot is use exterior-grade concrete or asphalt paint from the start. Regular craft paint or interior paint will fade, peel, and wash out within weeks. Exterior paint costs only a few dollars more and keeps your golf senior parking spot looking solid from the first day of school through graduation.
Once the paint is fully dry, roll or spray a thin coat of clear outdoor sealer over your finished golf senior parking spot. It protects against rain, shoe scuffs, and vehicle drips while making your colors look brighter. The whole step takes under fifteen minutes and makes a noticeable difference in how long your golf senior parking spot holds up.
Final Thoughts
A golf senior parking spot is one of the few chances you get in senior year to put something personal on display for the whole school every single day. You do not need talent or experience to pull it off. You just need a clear plan, the right paint, and one solid afternoon.
Simple done well always looks great on a golf senior parking spot. Pick the design that feels most like you, follow the steps, and commit to it fully. Your golf senior parking spot will be something worth being proud of all year long.
1 thought on “13 Secret Golf Senior Parking Spot Ideas That Work in 2026”