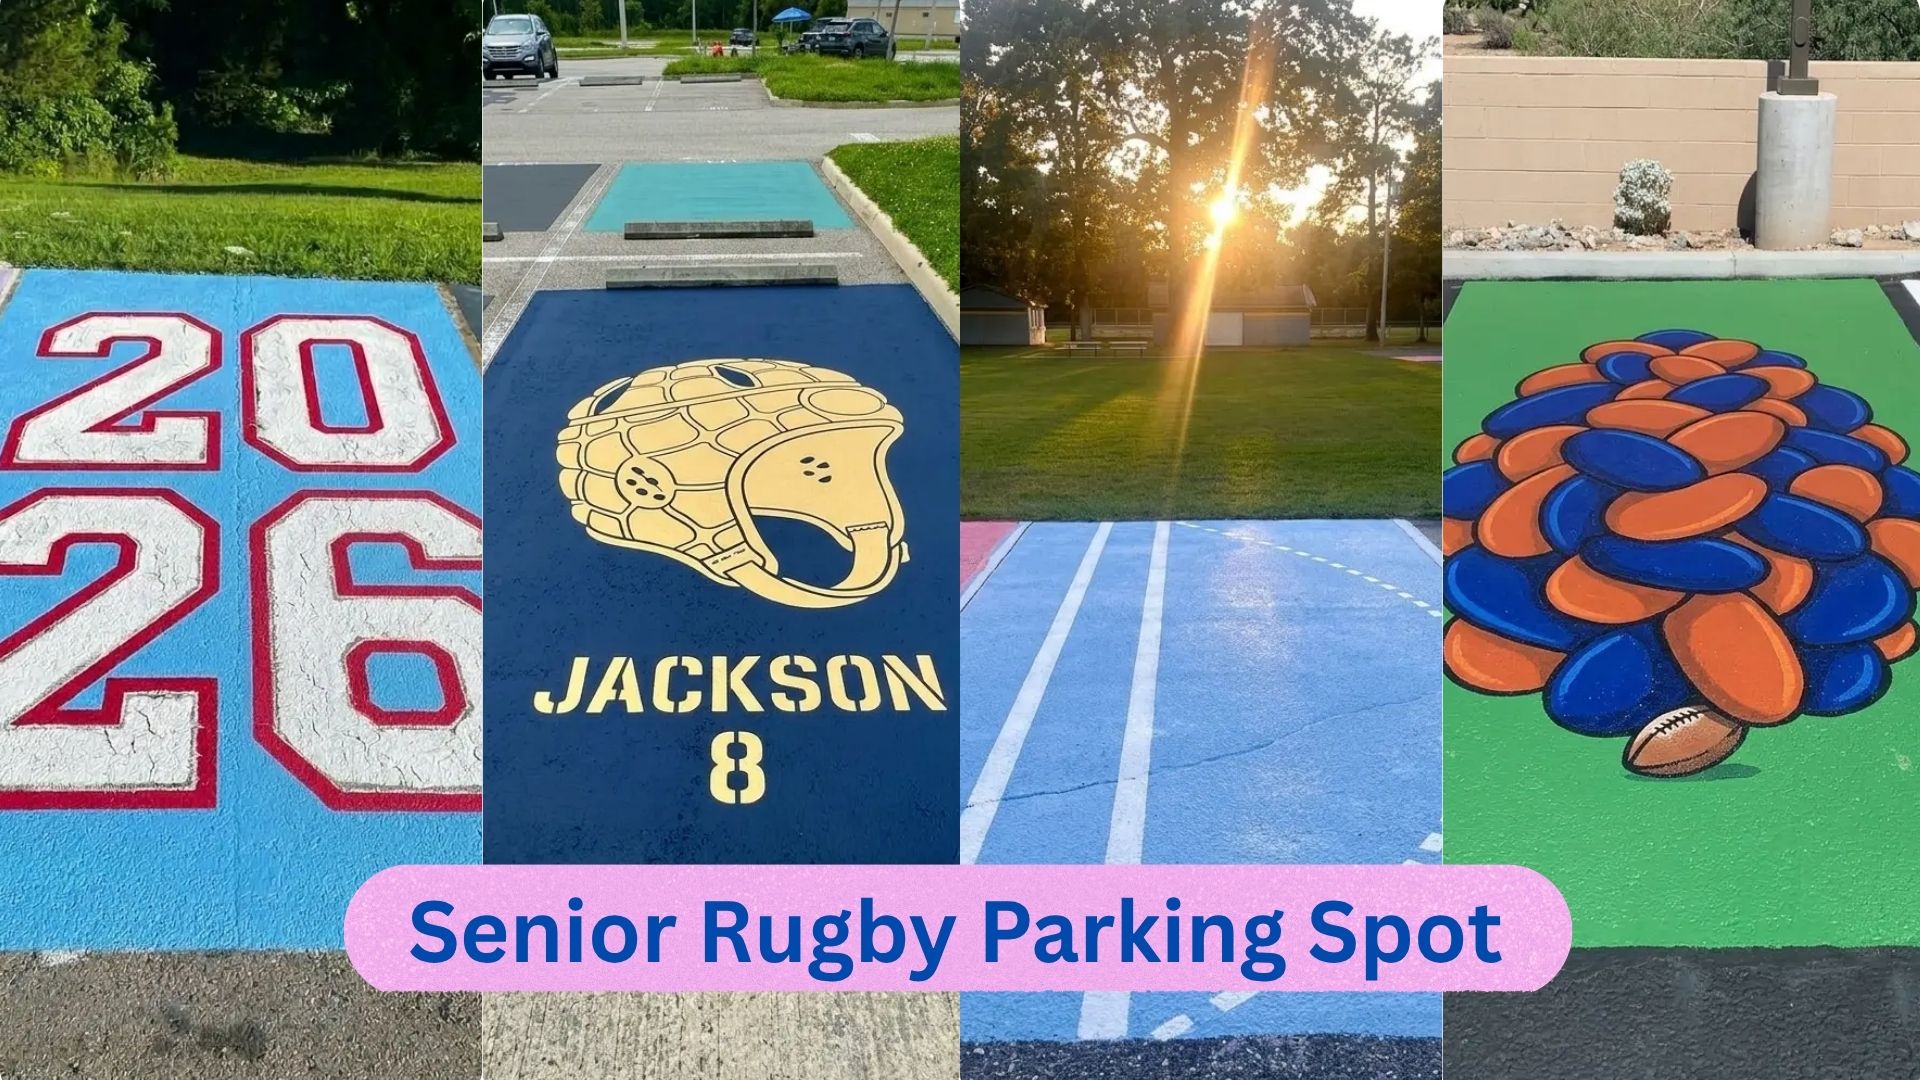
So your school does the whole painted parking spot thing, and you play rugby, and you are finally a senior. Cool. Then you open Pinterest looking for senior rugby parking spot inspiration and every single result looks like someone hired a mural artist for a week straight. Deep breath. That is not what this is going to be.
Good senior rugby parking spot ideas share one thing in common: they actually get finished. Not half painted, not abandoned after the first coat, finished. This guide sticks to eleven ideas that a first timer with zero art background can pull off in a weekend, and they still look genuinely sharp once the tape peels away.
Why Simple Beats Fancy for a Senior Rugby Parking Spot
Here is the thing nobody tells you going in. People do not stop and study your parking spot. They walk past it on the way to homeroom, or they glance over while backing out at 3pm, and that is basically it. A senior rugby parking spot gets a few seconds of attention, tops. Bold shapes win in that window. Fine detail just does not.
And asphalt is brutal to paint on. It is bumpy, it is porous, it eats crisp lines for breakfast. So those gorgeous, highly detailed designs floating around online? Half of them turn into a blurry smear once real paint hits real pavement under real tires. Big shapes, thick lines, strong contrast. That combination is what actually holds up on a senior rugby parking spot, not intricate shading nobody can see from six feet away.
Every idea below leans into that. No steady hand required, no years of practice, just shapes anyone can tape out and fill in.
11 Senior Rugby Parking Spot Ideas Worth Trying
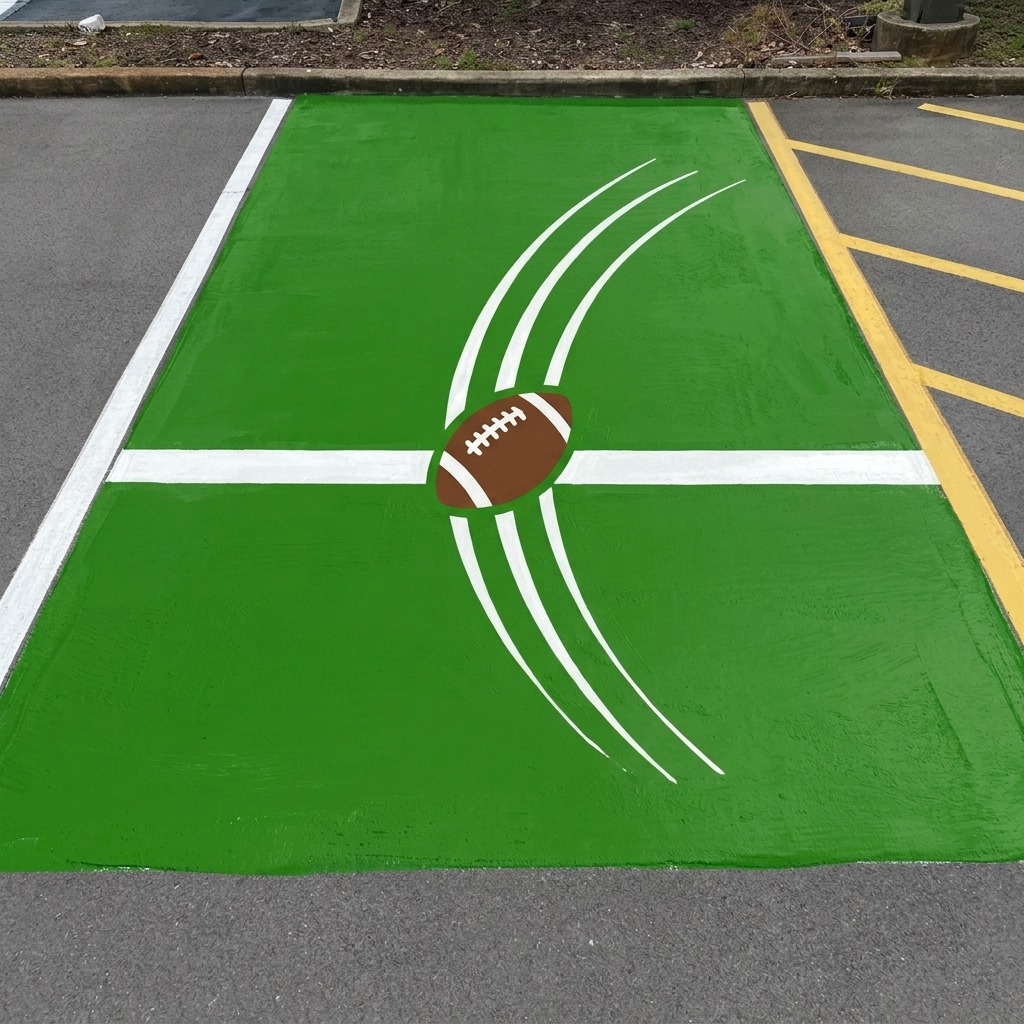
1. Try Line Dive
Picture the split second a player dives over the line, ball stretched out ahead of them. That is this senior rugby parking spot idea in a nutshell. Paint a bold white line across the middle for the try line, then a rounded ball just past it with a few motion lines trailing behind for movement.
Materials needed: green or team color base paint, white paint for the line, brown paint for the ball, painter’s tape.
Beginner tip: Skip the player entirely. Honestly, the ball crossing the line and a couple of speed lines tell the whole story on their own.
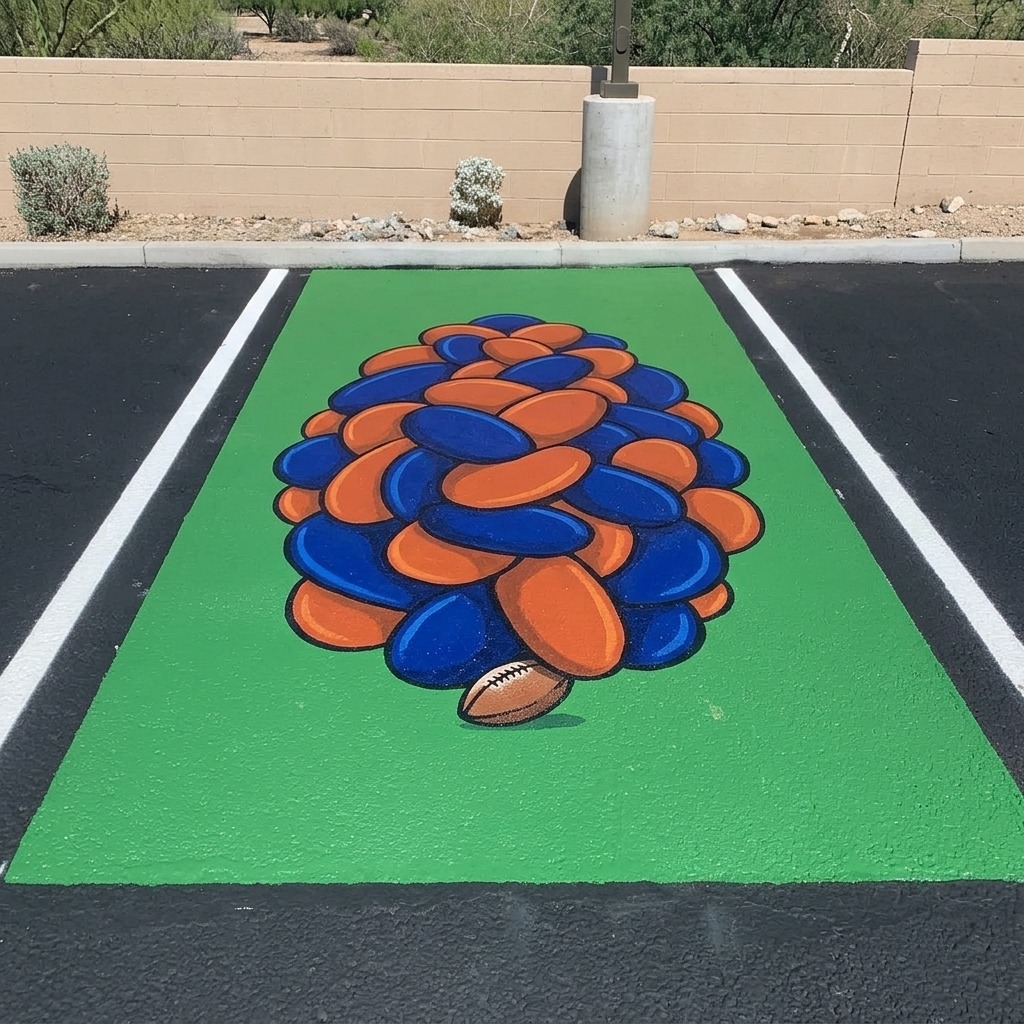
2. Scrum Formation Shapes
This one looks like it would take forever, but for a senior rugby parking spot it really will not. Overlapping rounded shapes clustered together stand in for bound players, with a small ball peeking out at the base. From a distance it reads as a proper scrum. Up close it is just circles and ovals stacked on each other.
Materials needed: two team colors, chalk, one wide brush, painter’s tape.
Beginner tip: Chalk out every overlapping circle before you touch a brush, so you already know exactly where each shape starts and stops.
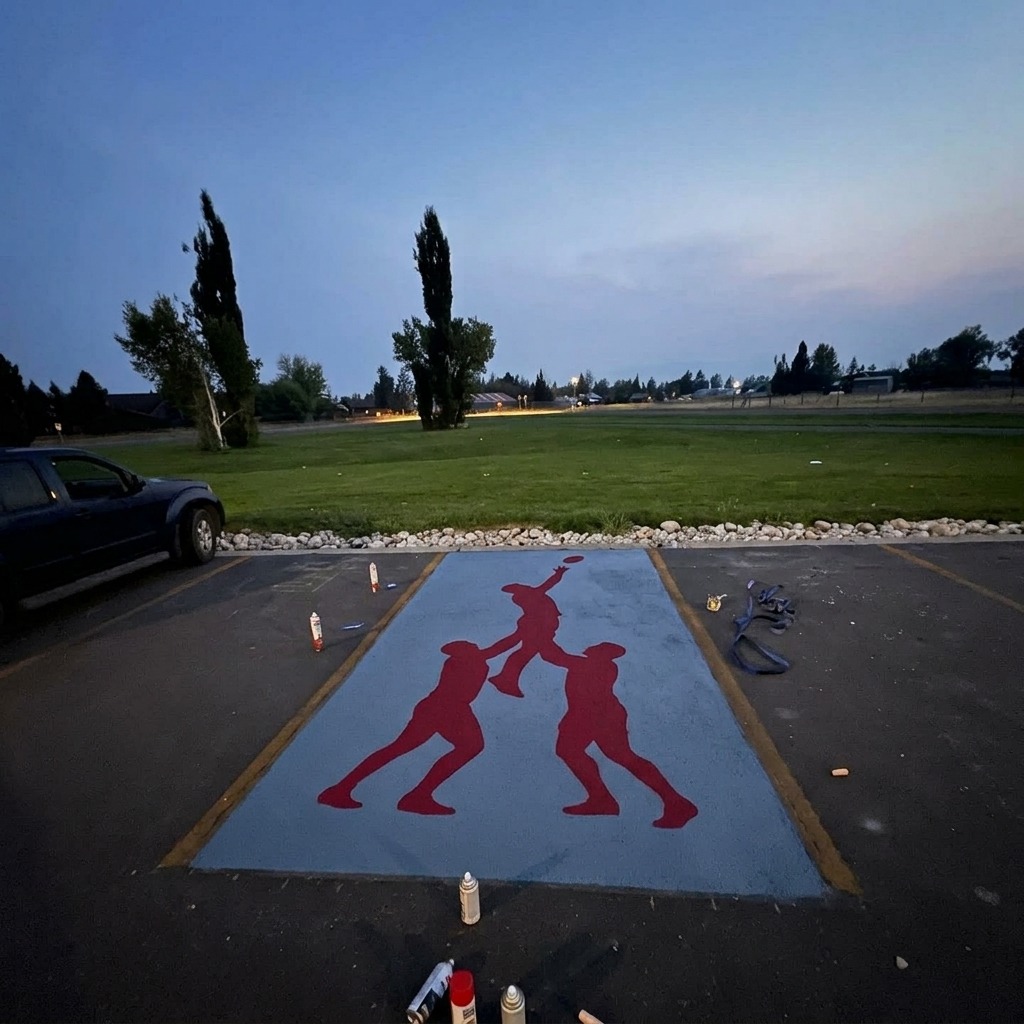
3. Lineout Lift Silhouette
Nobody else at your school is going to think of this senior rugby parking spot idea. Two shorter silhouettes lift a taller central figure, arm stretched up, catching an imaginary throw. It is a lineout frozen mid air, and it reads as pure rugby the second someone glances over.
Materials needed: one background color, one contrasting silhouette color, chalk, medium brush.
Beginner tip: Keep every figure flat, rounded, and detail free. No faces, no fingers. Plain silhouettes just hold up better on rough pavement than anything fussy.
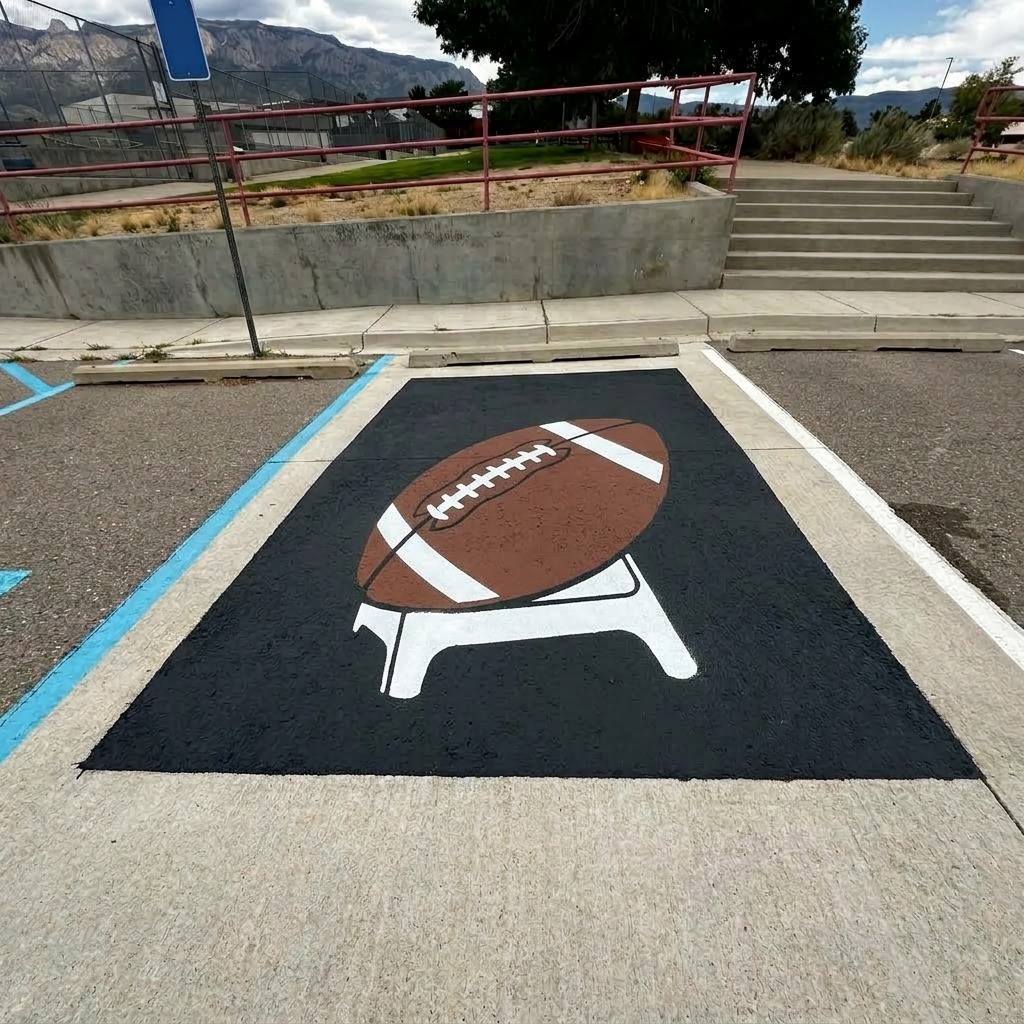
4. Kicking Tee and Ball
Sometimes quiet wins on a senior rugby parking spot. No crowd of figures here, just one kicking tee holding a ball at an angle, like it is about to sail through the posts. Scale it up so it fills most of the spot and it reads as confident rather than empty.
Materials needed: white and brown paint, one accent color for the tee, chalk, small brush.
Beginner tip: Get the tee down first as a simple triangle, let it dry, then add the ball on top so the colors do not run into each other.
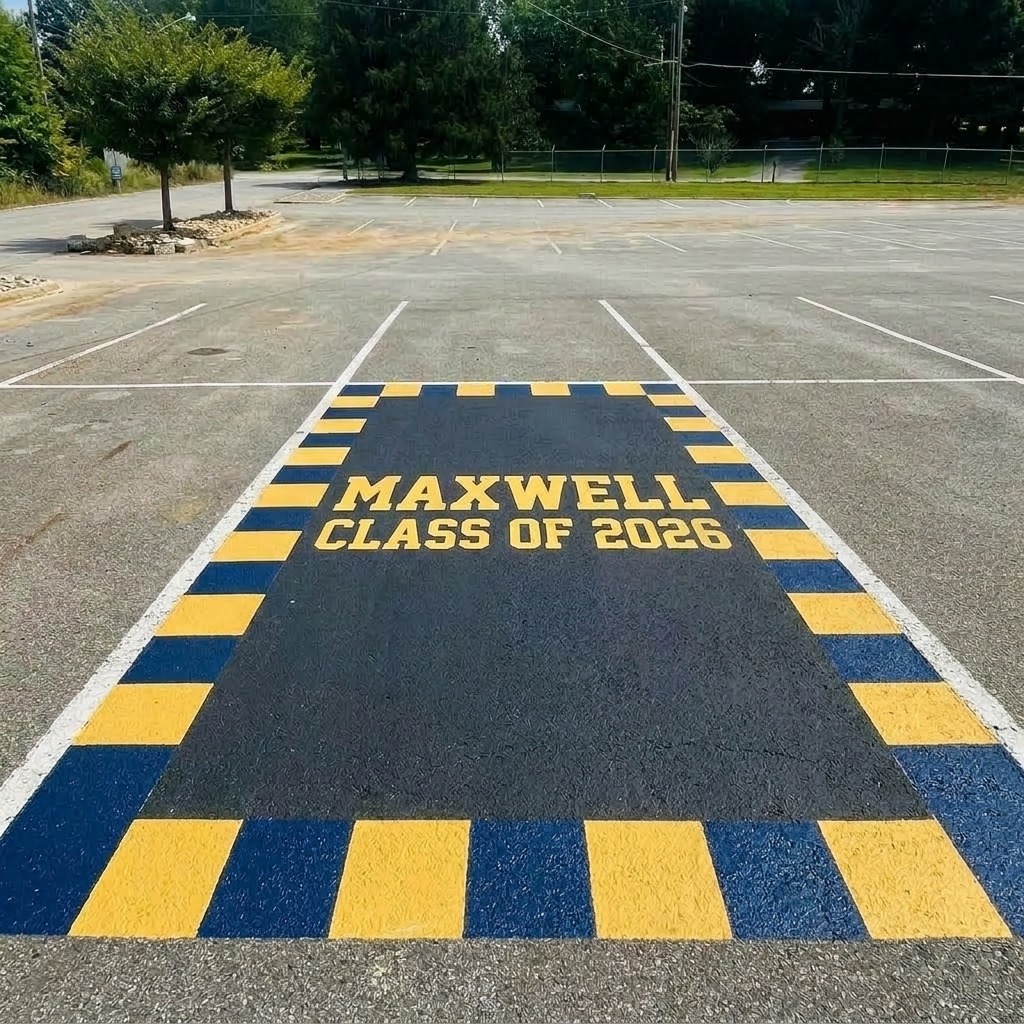
5. Rugby Sock Stripe Border
Steal a look straight off the sock cuff for this one. Thick horizontal stripes in your team colors wrap around the edge of the spot like a giant sock, framing your name or graduation year in the open space in the middle.
Materials needed: two or three team color paints, painter’s tape, letter stencils, wide brush.
Beginner tip: Do one stripe at a time and let each dry before starting the next, or the colors bleed together faster than you would think.
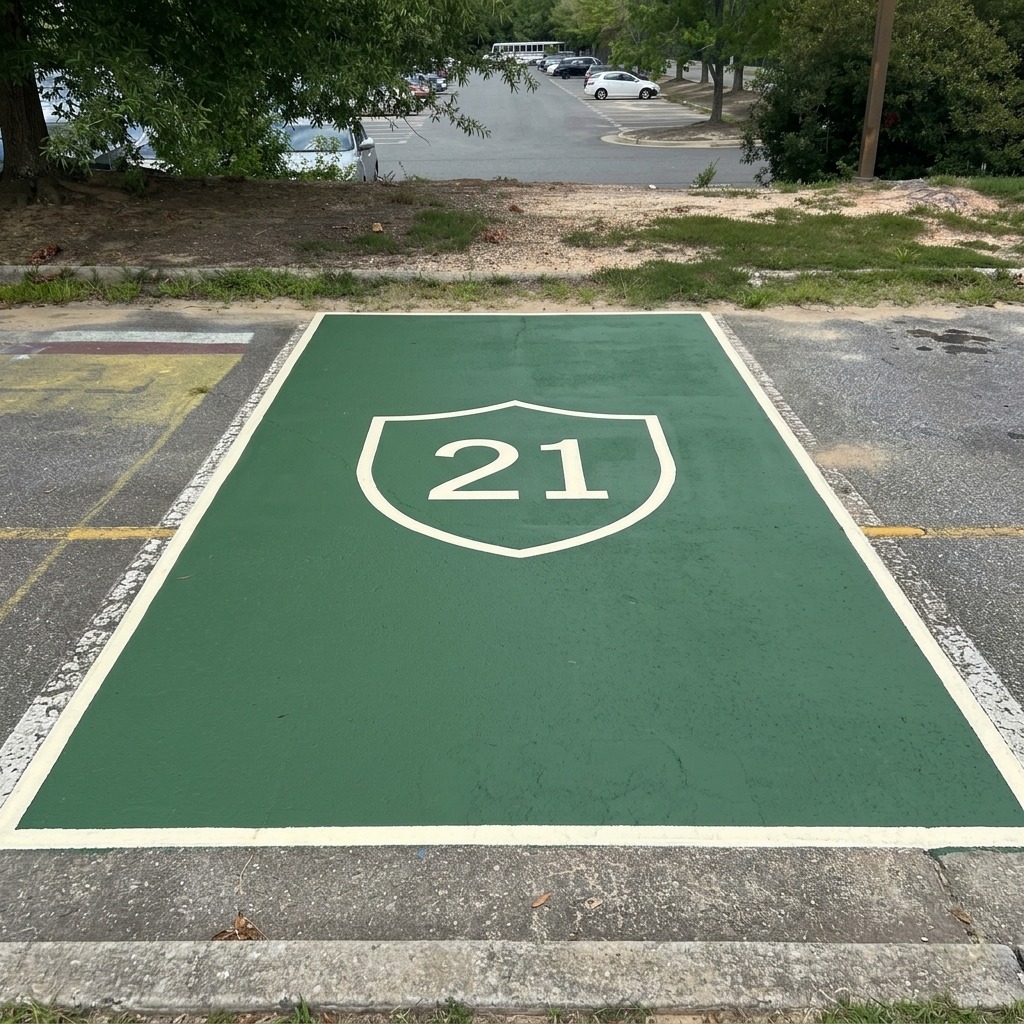
6. Position Badge Shield
This senior rugby parking spot idea is quieter and more personal, built around your position rather than a full jersey number. A plain shield shape sits in the center, your position number or initials painted inside it, with a thin contrasting border wrapping the whole thing.
Materials needed: one background color, one shield color, black paint for lettering, chalk.
Beginner tip: Keep the shield a simple rectangle with a slightly pointed bottom edge. Nothing ornate. Plain reads just as strong from a distance, and it takes half the time.
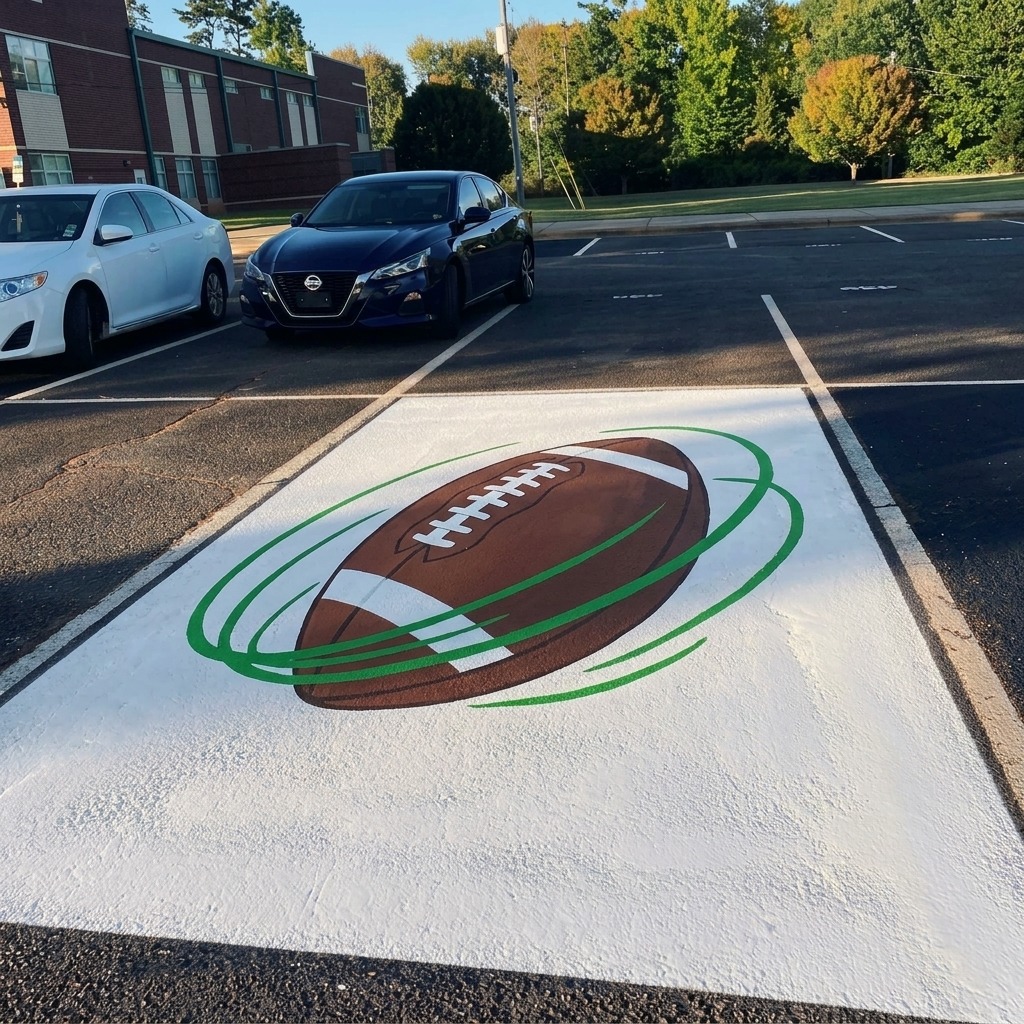
7. Spiral Pass Motion Trail
A ball caught mid spin, tilted at an angle with curved lines spinning around it like it just left someone’s hands. That spiral pass energy, frozen in paint. It looks harder than it is.
Materials needed: brown and white paint for the ball, one accent color for the motion lines, chalk, small brush.
Beginner tip: Paint the ball first, angled slightly, and let it fully dry before adding the curved motion lines so nothing smudges into it.
8. Scrum Cap Silhouette
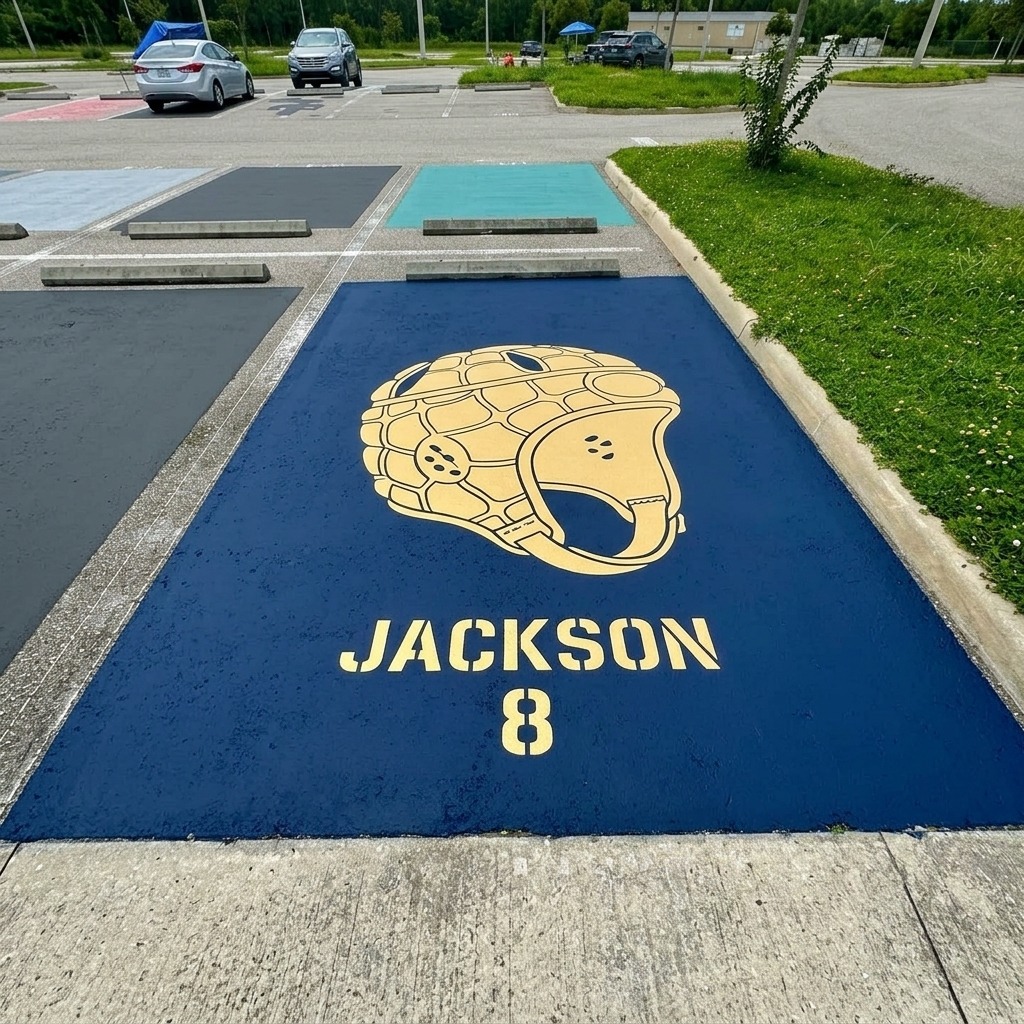
A rounded helmet shape with a couple of strap lines running down, your jersey number or name sitting just underneath. Quieter than most of the senior rugby parking spot ideas on this list, and honestly a little more personal because of it.
Materials needed: one main color for the cap, black paint for straps and lettering, chalk, medium brush.
Beginner tip: Trace a large circle first, flatten the bottom edge slightly, and the cap shape falls into place on its own before you add any straps.
9. Conversion Arc Design
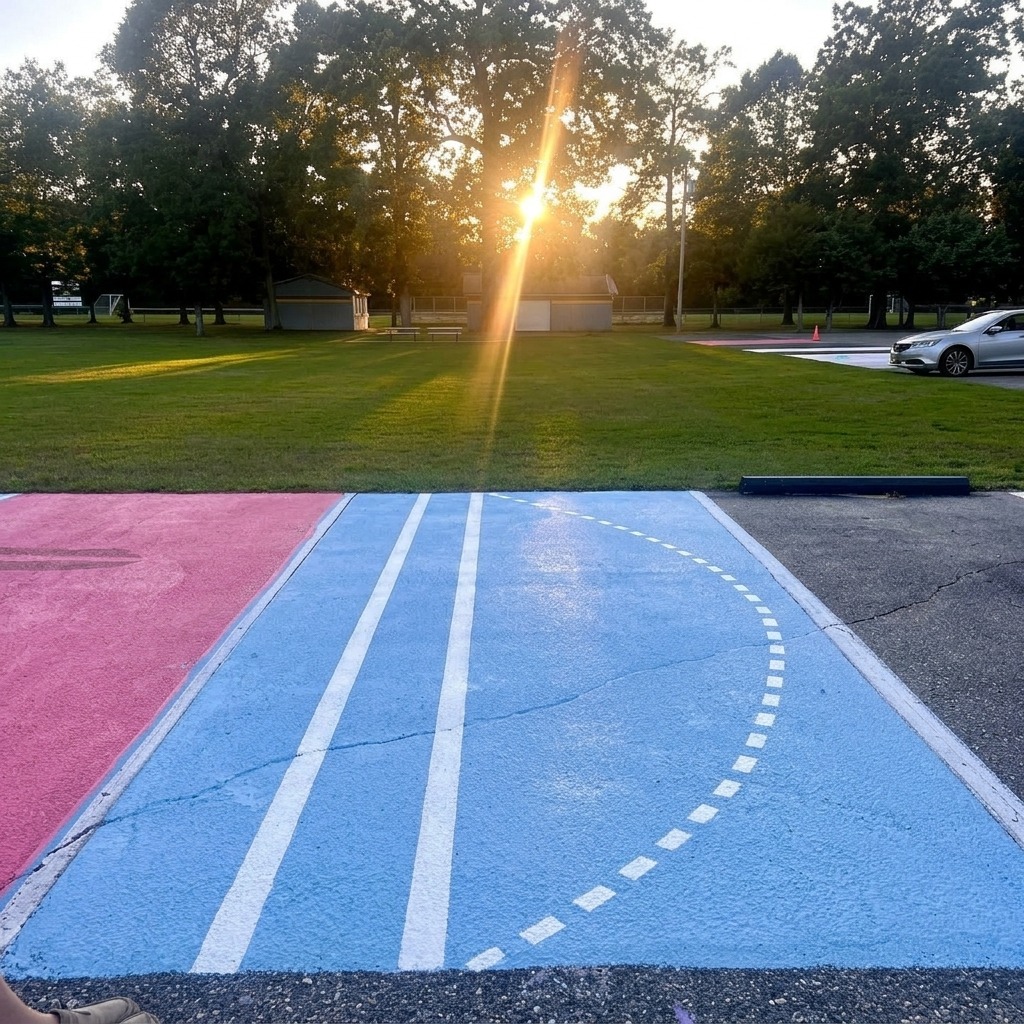
Two tall goalpost lines stand off to one side, and a curved dotted arc sweeps across the spot toward them, tracing exactly where the ball would fly on a conversion kick. Nothing but lines and one curve, and somehow it tells a whole story.
Materials needed: white paint for the posts and arc, one background color, chalk, painter’s tape.
Beginner tip: Anchor a piece of string in one corner and swing it across to trace a clean, even arc before any paint goes down.
10. Final Season Countdown
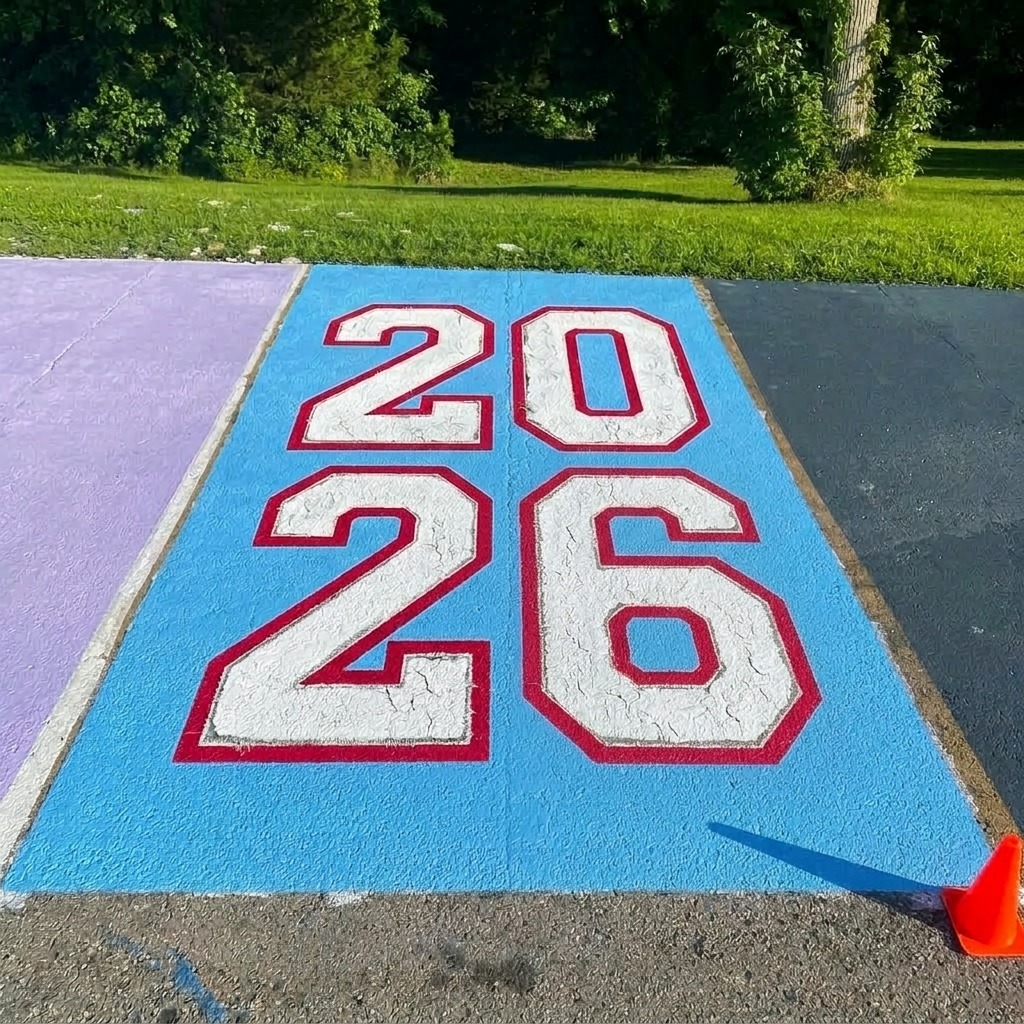
Skip the imagery altogether for this senior rugby parking spot idea. Just one massive number, your final season or your graduation year, styled with rough, worn edges like a jersey that has been through a full season already.
Materials needed: two contrasting paint colors, number stencils, chalk, wide brush.
Beginner tip: Stencil the base shape first, then rough up the edges freehand afterward so it reads as intentionally worn instead of just sloppy.
11. Try Zone End Line
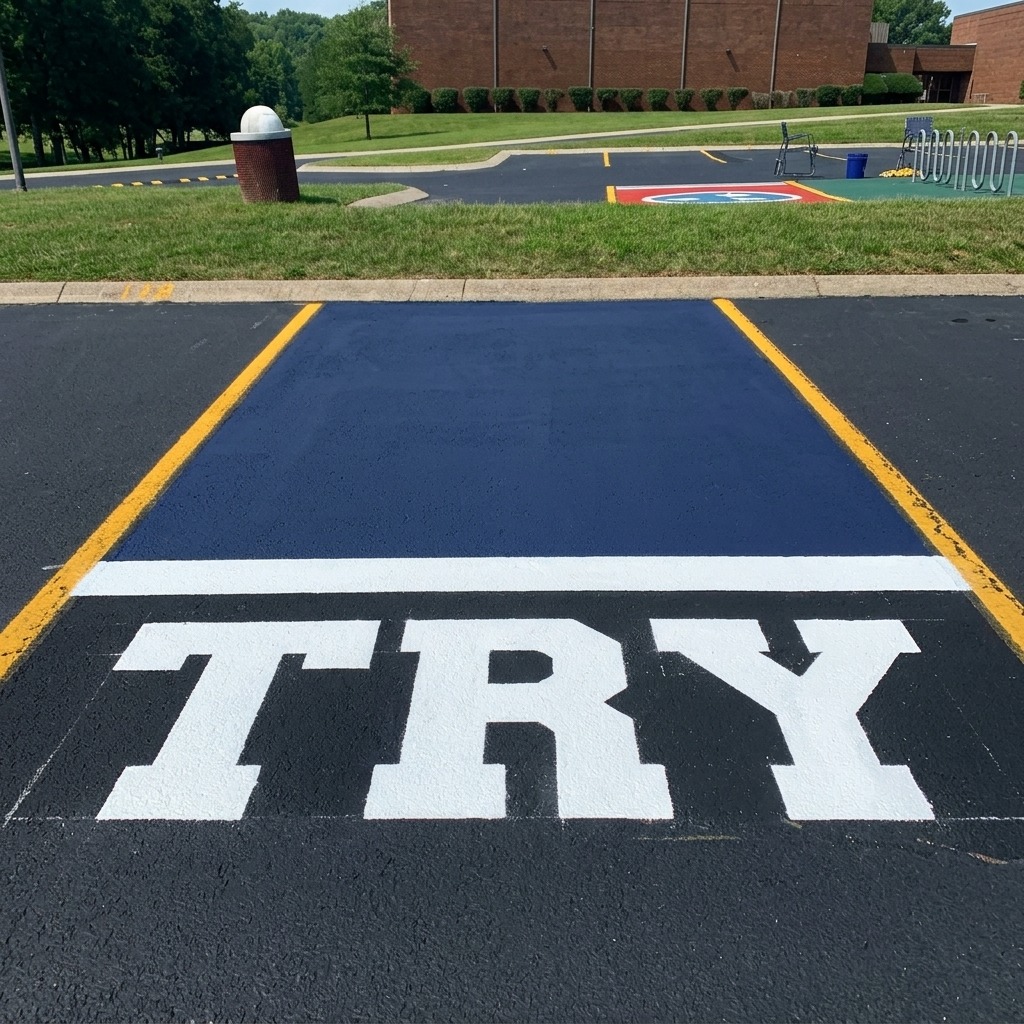
Recreate the far end of the pitch right on your senior rugby parking spot. A solid colored end zone block, a bold white try line, and the word TRY in big letters just behind it. Simple, graphic, and anyone who has ever watched a match knows exactly what they are looking at.
Materials needed: one end zone color, white paint for the line and lettering, chalk, wide brush.
Beginner tip: Paint and fully dry the end zone block before taping off the try line, so the white stays crisp against the solid color underneath.
What to Know Before You Start Painting Your Senior Rugby Parking Spot
Check with your school first about size or content rules, then pick a dry weekend with no rain in the forecast for a couple of days. Sweep the spot clean before anything else, since paint just does not bond properly over dust and loose grit.
Bring a friend along if you can swing it. A second pair of eyes checking your spacing from a normal walking distance catches things you would never notice standing right on top of your own work. That kind of small planning saves a lot of headaches later.
Two or three colors, max. Anything busier gets messy fast, and strong contrast is what keeps a senior rugby parking spot readable from a car length away instead of blurring into one confusing blob.
How to Scale Your Design Onto Your Senior Rugby Parking Spot
A design that looks sharp on a phone screen or a sheet of notebook paper can fall apart once it meets real pavement. Scaling is the step that prevents that, and it takes about twenty minutes.
Start by measuring your Senior Rugby Parking Spot, both length and width. Draw a rectangle on graph paper in the same proportions, using one square for every foot, then sketch your design inside it. You will see right away whether the ball is too big or the lettering too tight.
Next, transfer the sketch with a simple grid. Use a tape measure and chalk to mark matching one-foot squares across your Senior Rugby Parking Spot. Whatever sits in a square on paper goes in the same square on the ground, so every curve and letter stays in proportion without any guessing.
A few quick checks before any paint opens:
- Leave a margin of about six inches so nothing gets clipped by the lines.
- Walk to the far side of the lot and look at your chalk outline.
- Take a photo, since a picture shows crooked spacing faster than your eyes do.
Fix anything that looks off while it is still chalk, because chalk wipes away and paint does not. Spending this extra time on your Senior Rugby Parking Spot makes the painting itself feel almost mechanical, and the finished design looks planned instead of squeezed in.
Common Mistakes to Avoid With Your Senior Rugby Parking Spot
Skipping the painter’s tape is probably the number one mistake. Asphalt shows every wobble, so tape your edges and letters without exception if you want the final result to look clean instead of shaky.
Grabbing whatever leftover craft paint is in the garage instead of real outdoor latex is another one. It peels fast once cars start rolling over it day after day, so spend the extra few dollars on paint actually labeled for outdoor or concrete use.
And do not rush the drying time between layers. Paint over something that has not fully set and the colors just blend into mud instead of staying crisp and separate. An hour minimum between coats keeps everything sharp.
How to Make Your Design Last All Year
Once everything is dry and cured, a couple of thin coats of clear outdoor sealer protects your senior rugby parking spot from rain, sun fade, and the daily grind of tires rolling over it.
Try to avoid parking with a tire right on top of the most detailed part of the design. If a section starts fading partway through the year, a small brush and a bit of leftover paint fixes it in about ten minutes. A little upkeep here and there keeps things looking fresh clear through to graduation.
Final Thought
You earned this one. All those early practices, the mud, the seasons that felt like they would never end while you were living through them, they all lead here, to one small rectangle of pavement that is finally, actually yours.
It does not need to look professional. It just needs to look like you. Tape your lines, mix your colors, and go claim that spot. You already know how to show up and see something through, and that is really all any of these ideas are asking of you.