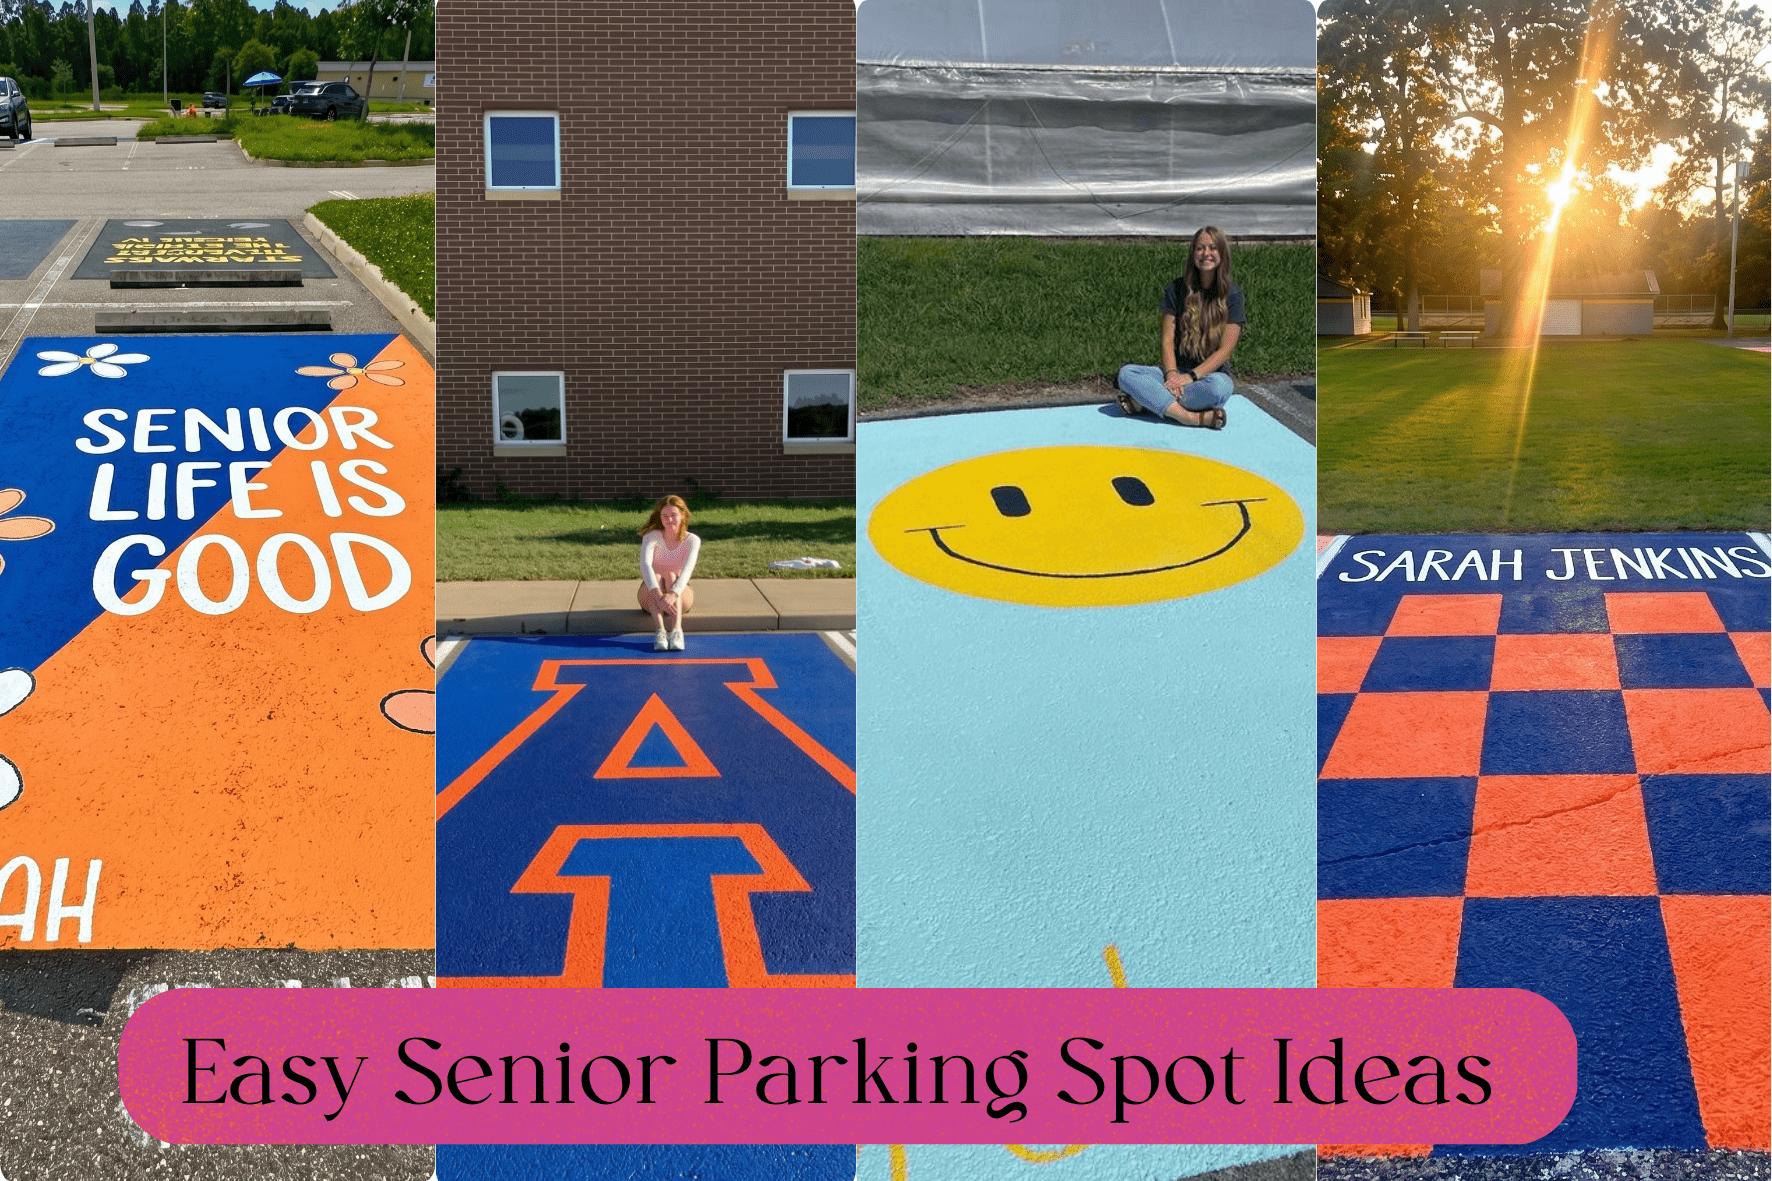
Not every senior is secretly a painter waiting to be discovered. Most people just want a parking spot that looks cool without turning into a weekend-long stress fest. If the words “be creative” make your eye twitch a little, this guide was written for you.
Here is something the artistic crowd will never tell you: simple designs almost always look better on pavement than complicated ones. Clean lines, bold colors, and a clear concept beat a chaotic, overly detailed mess every single time. An easy senior parking spot does not mean a boring one. It means a smart one.
Everything in this list was picked because it is genuinely beginner-friendly. No special skills, no art background, no expensive supplies. Each easy senior parking spot idea can be done in a single day with fewer than five materials. Let’s get into it.
Why Simple Designs Win Every Time
There is a reason the most-photographed spots in any parking lot are almost never the most complicated ones. Bold, clean designs read better from a distance, hold up longer through the school year, and are far less likely to turn into a half-finished disaster on a Saturday afternoon.
An easy senior parking spot built around two or three colors and a strong central concept will always outperform something overcrowded with detail. Pavement rewards contrast, scale, and clarity. The simpler you keep it, the more confident and intentional it looks.
12 Easy Senior Parking Spot Ideas You Can Actually Pull Off
1. Bold Initial Block Letter
Pick the first letter of your name, blow it up as large as it can go, fill it in with your favorite color, and you are done. A single oversized block letter is one of the most genuinely easy senior parking spot designs out there, and it looks polished and intentional every single time.
Materials needed: Two chalk paint colors, a large letter stencil, painter’s tape, clear sealant.
Beginner tip: Order the biggest letter stencil available on Amazon before your painting day. Bigger letters mean fewer wobbly edges and a stronger visual impact from any angle.

2. Solid Color Geometric Border
Tape off a bold geometric border around the full perimeter of your spot, fill it with one color, and paint your name or grad year in the center. Triangles, thick stripes, or angled corners all work perfectly. This is one of the most easy senior parking spot ideas because the tape does all the design work for you.
Materials needed: Two chalk paint colors, painter’s tape, letter stencils, clear sealant.
Beginner tip: Angled corner accents are easier to tape than full triangles. Tape four diagonal lines at the corners and it instantly looks like a professional design.
3. Ombre Stripe Design
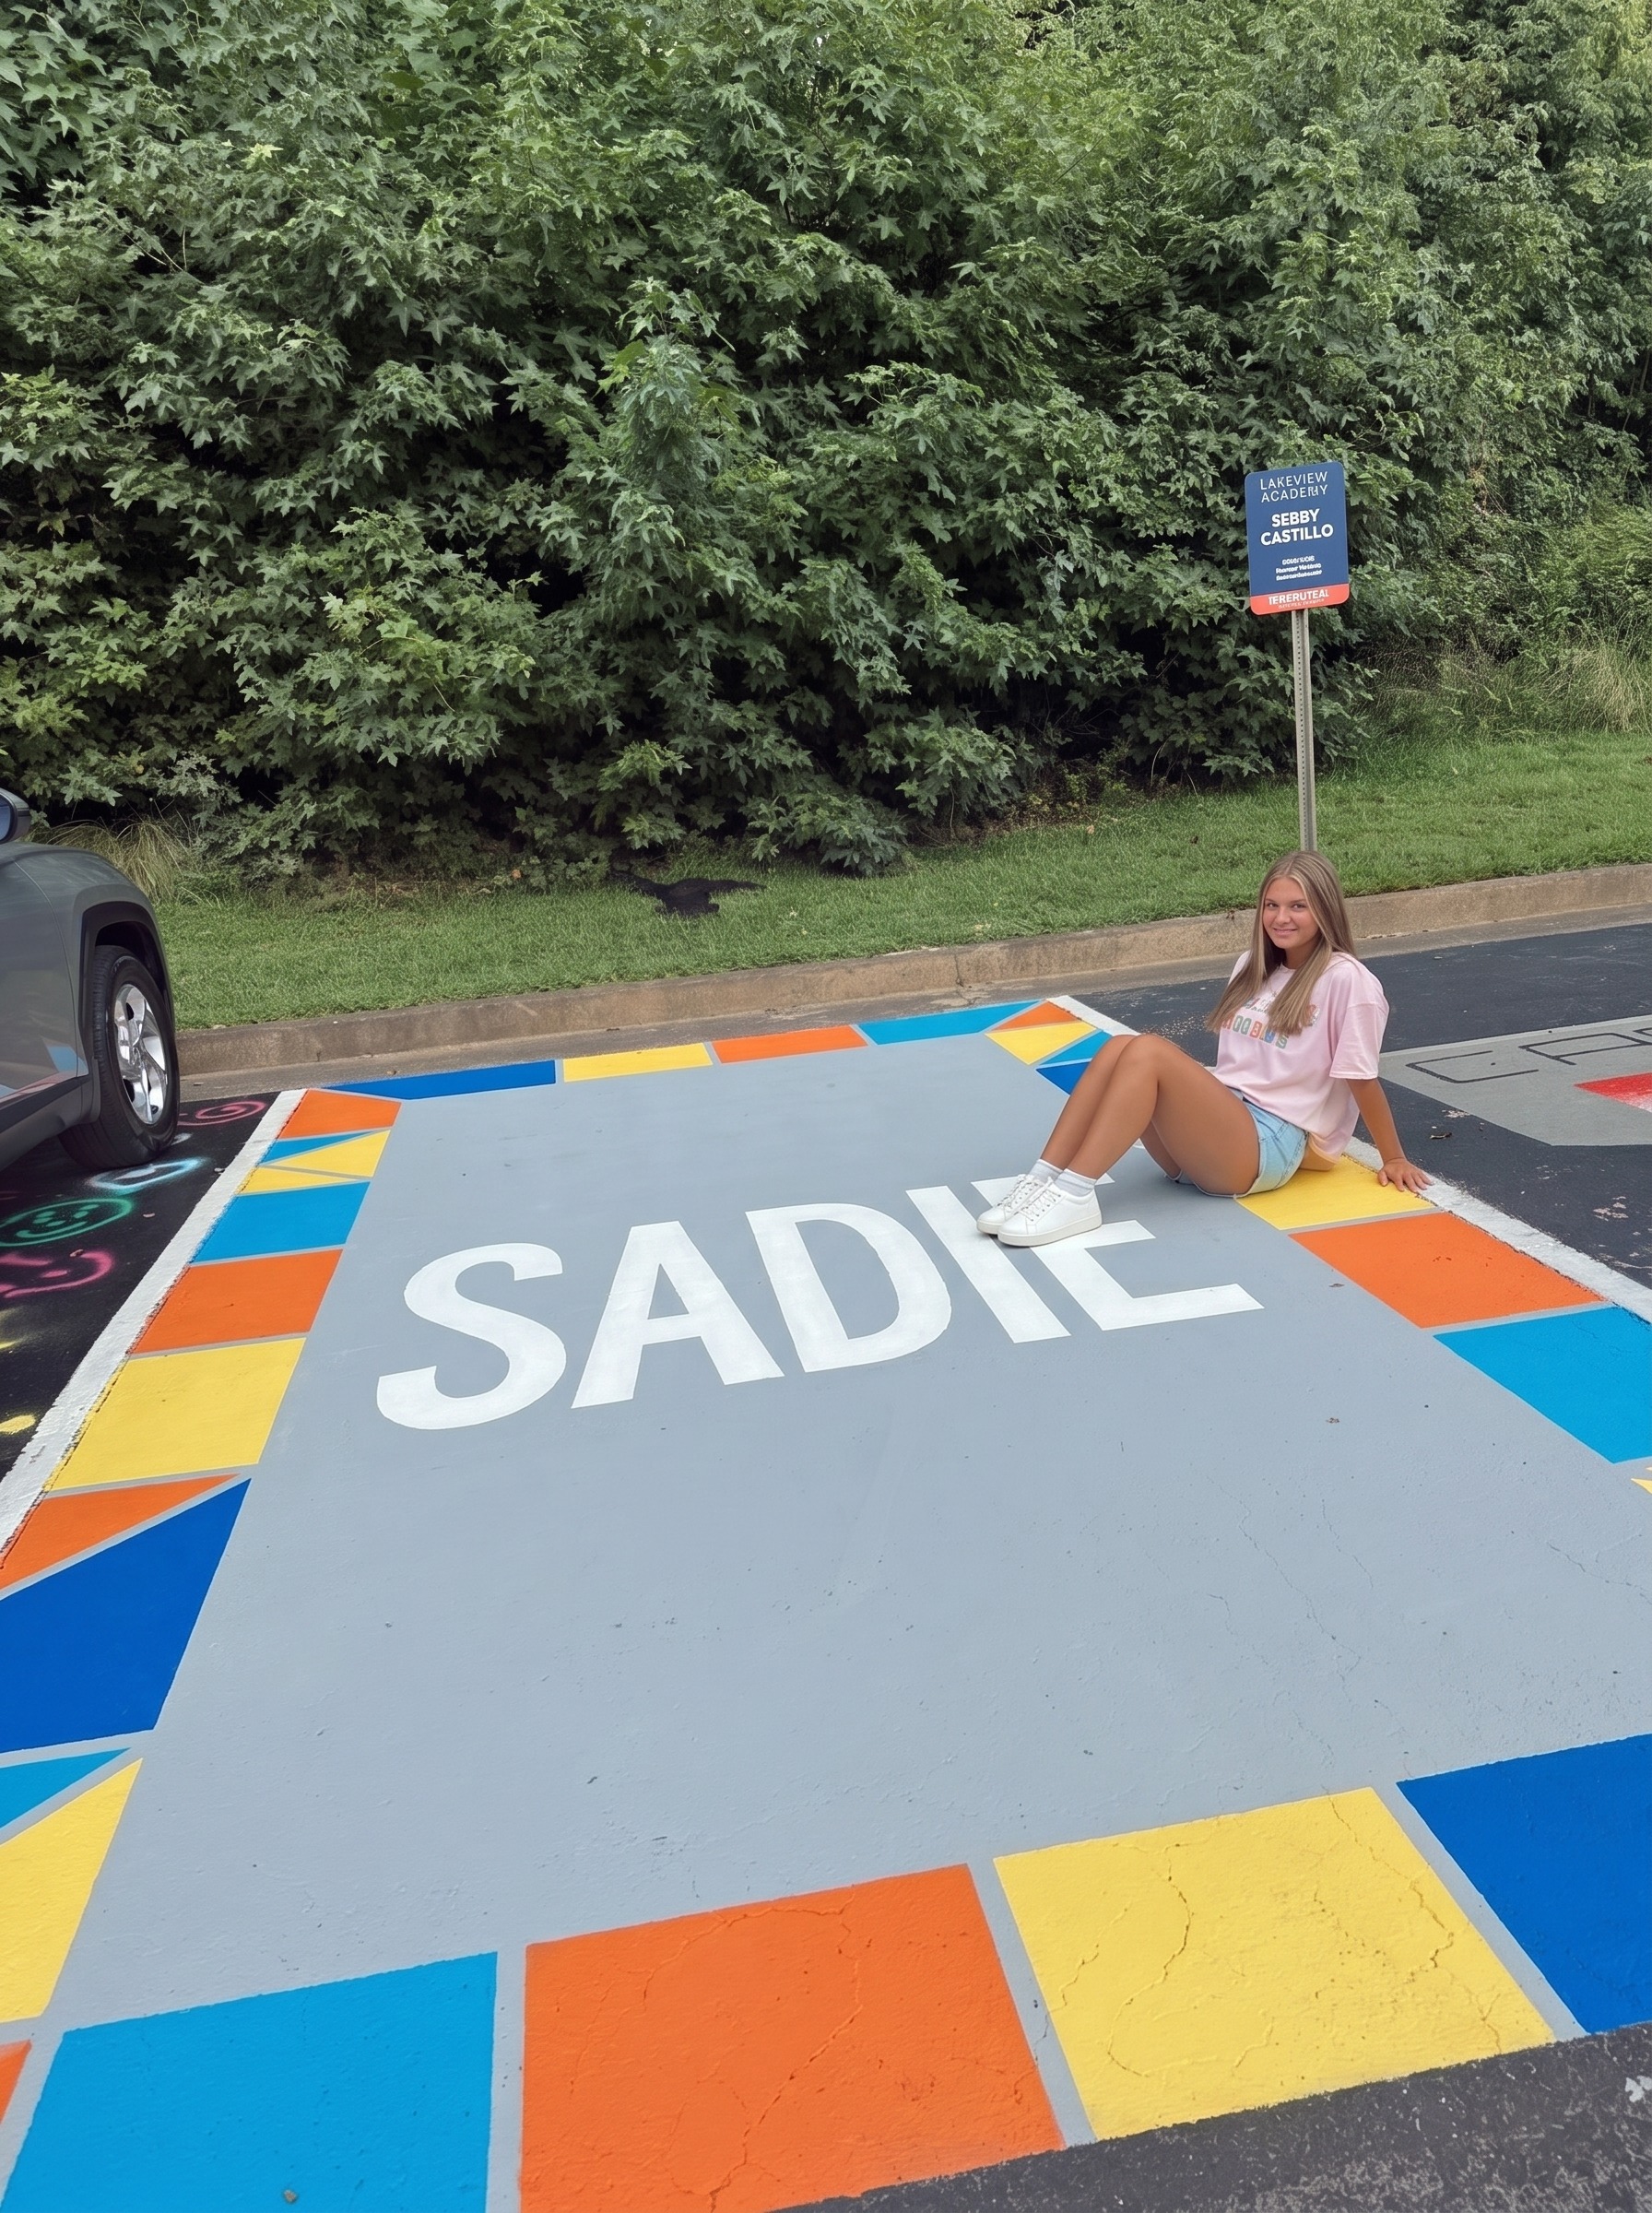
Horizontal stripes in two to three shades of the same color fading light to dark create an ombre effect that looks seriously impressive with almost no effort. Tape each stripe off separately, paint, peel, and repeat. It is repetitive but completely beginner-proof.
Materials needed: Three shades of one color chalk paint, painter’s tape, clear sealant.
Beginner tip: Use the darkest shade at the bottom and work up to the lightest at the top. That gradient direction looks the most natural and is the easiest to execute cleanly.
4. Smiley Face Statement
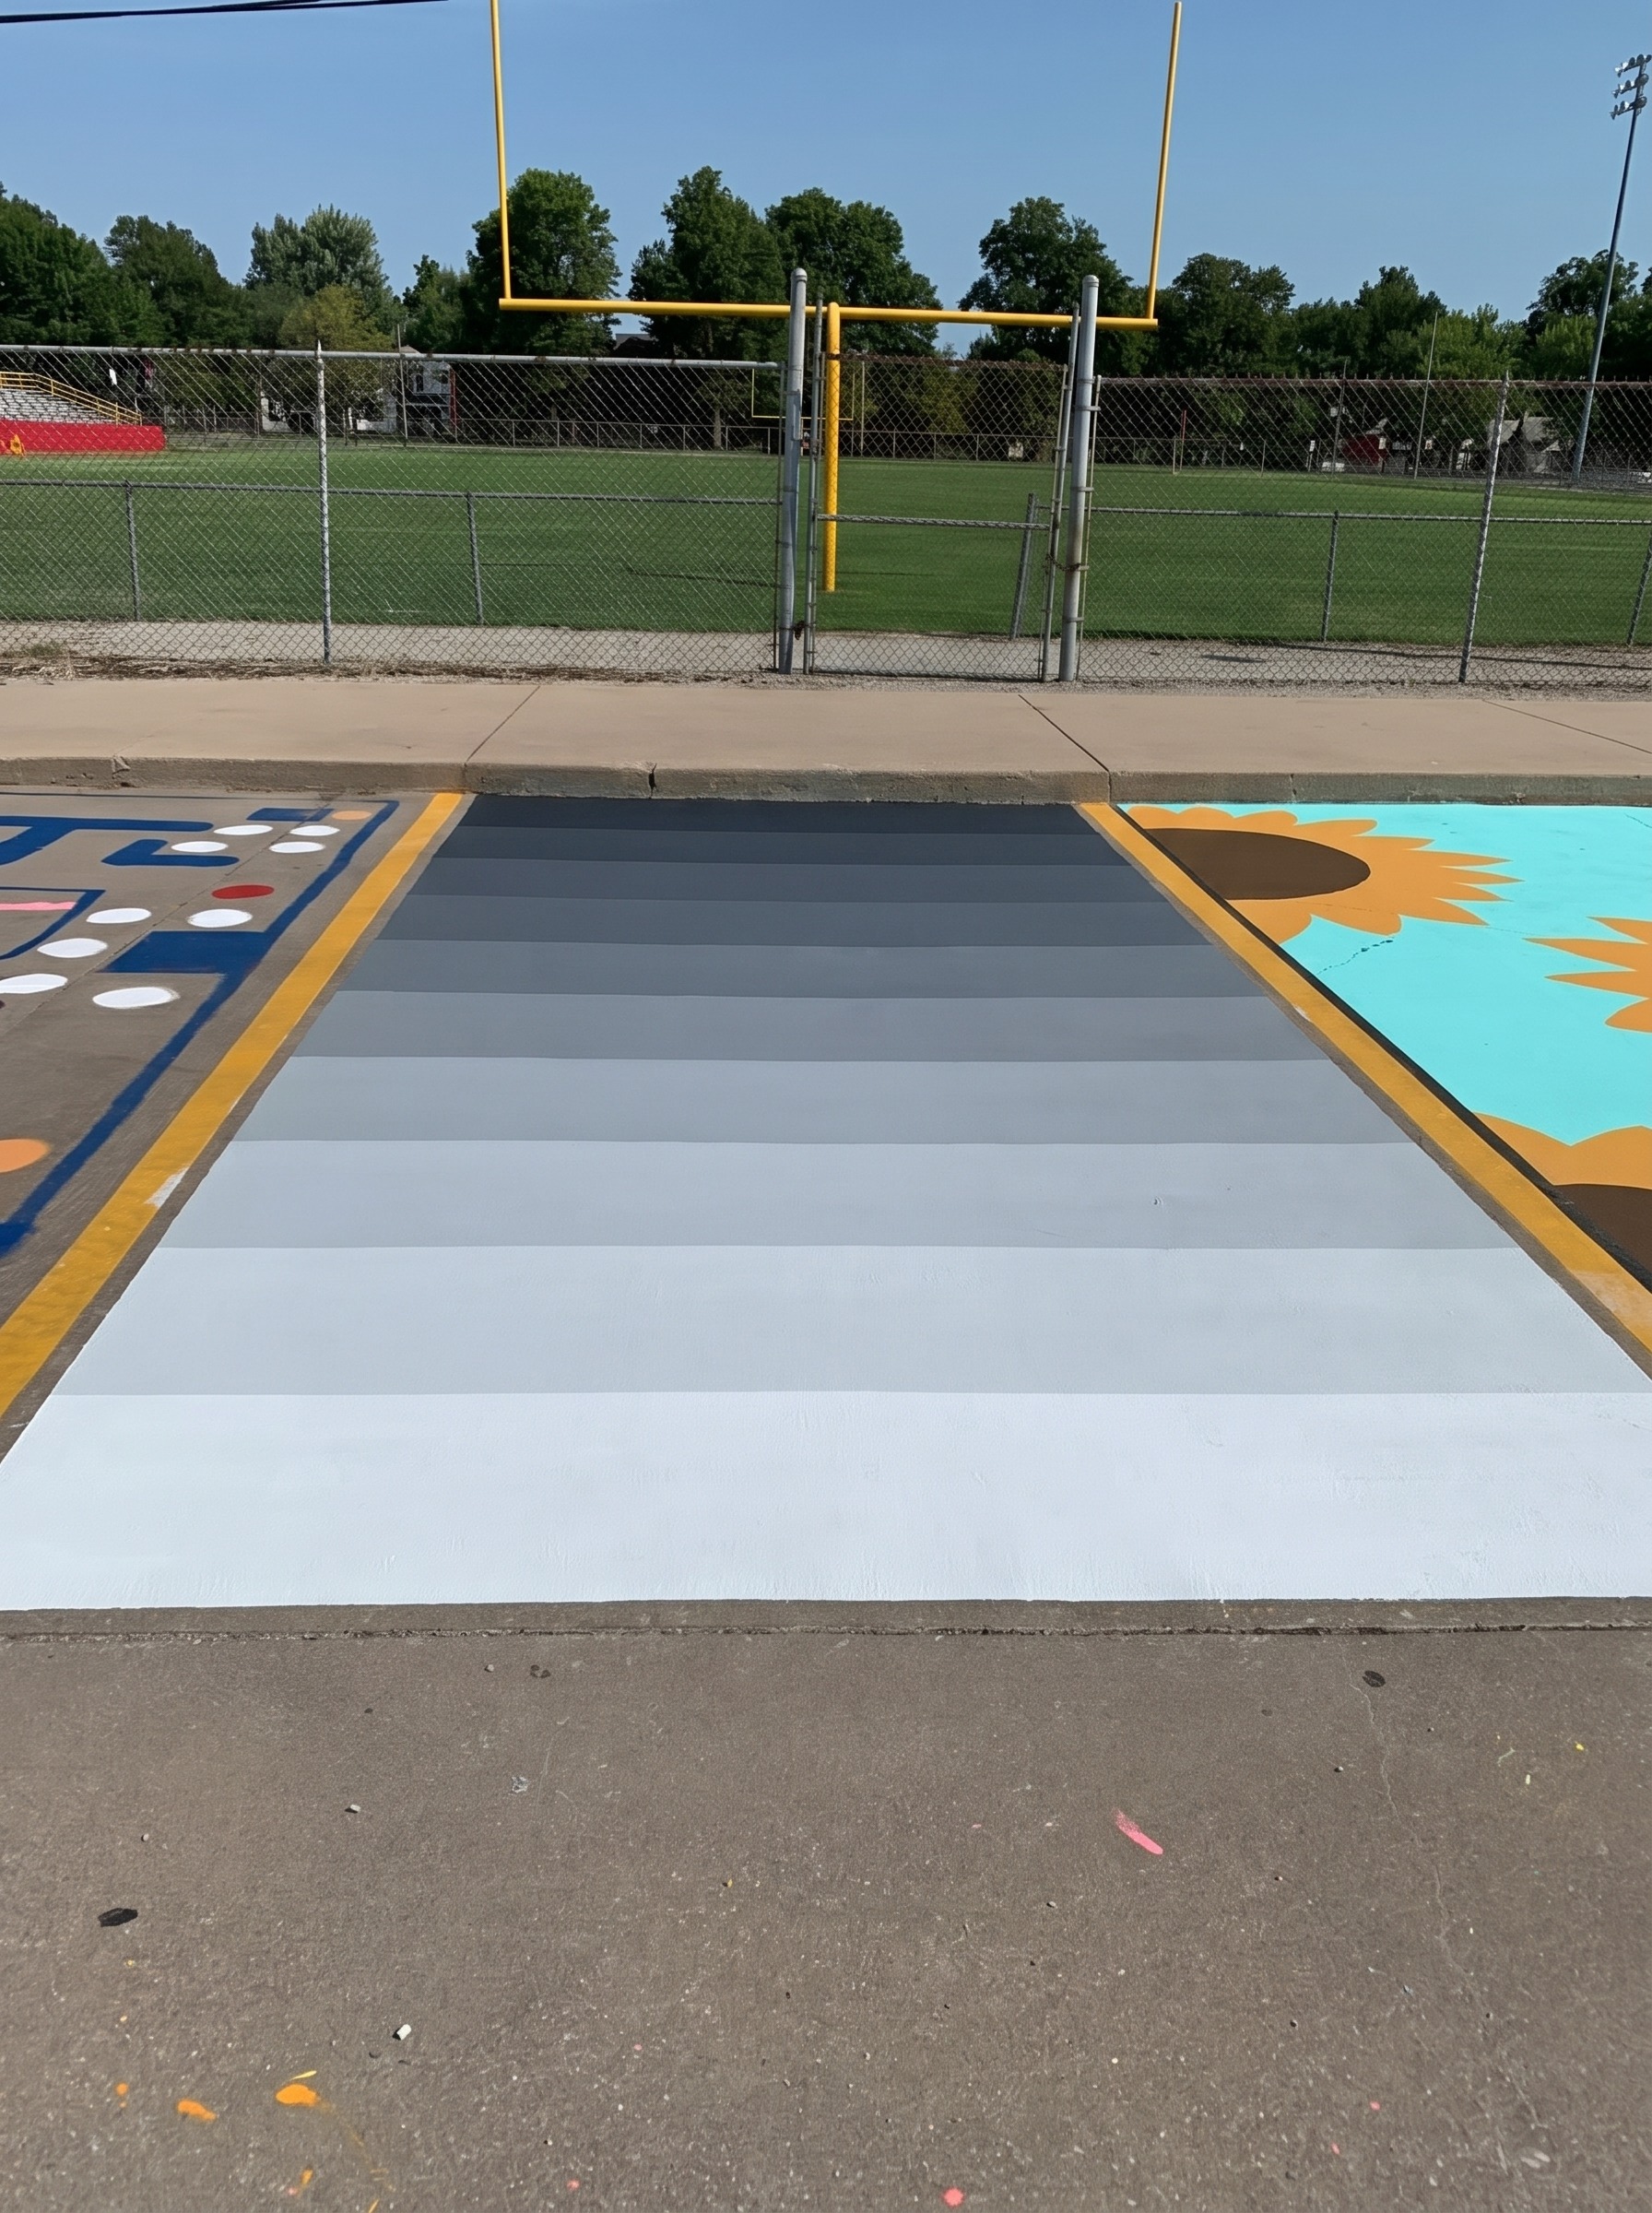
A giant smiley face centered in your spot is fast, fun, and unmistakably easy. Two circles for eyes, a curved line for the smile, and an outer circle for the face outline. Everything can be traced using bowls, plates, or a string tied to a chalk marker for the outer ring.
Materials needed: Yellow and black chalk paint, a large bowl or plate for tracing circles, chalk marker, clear sealant.
Beginner tip: Trace the outer circle first using a chalk marker tied to a string anchored at the center. Then work inward for eyes and mouth. This keeps everything proportional without any freehand drawing.

5. Gradient Sunset Background
Three horizontal bands of color in warm sunset shades (pink, orange, and yellow) create a stunning background that looks like a real piece of art. Tape each band separately, paint them one at a time, and let each dry before moving to the next. Add your name over the top in white once everything is dry.
Materials needed: Three warm-tone chalk paints (pink, orange, yellow), white paint for lettering, painter’s tape, letter stencils, clear sealant.
Beginner tip: Keep each band roughly the same height. Equal stripe widths look more deliberate and balanced than uneven ones, and you can measure them out with chalk before taping.

6. Polka Dot Pattern
Cover your spot with large, evenly spaced polka dots in two or three colors and it looks fun, bold, and completely put together. Use the bottom of a paint can, a large lid, or a bowl to trace perfectly round circles before you paint them in. No freehand required.
Materials needed: Two or three chalk paint colors, a large circular object for tracing, chalk marker, clear sealant.
Beginner tip: Map out all your circle positions in chalk first before you paint a single dot. Spacing them evenly from the start saves you from having to squeeze in awkward half-dots at the edges.

7. Simple Lightning Bolt
A single large lightning bolt centered in your spot is one of the boldest and most genuinely easy senior parking spot ideas on this list. Tape off the zigzag shape, fill it with a bright color on a dark background, and you have a design that looks like serious energy with barely any effort.
Materials needed: Dark base paint, one bright accent color, painter’s tape, clear sealant.
Beginner tip: Sketch the lightning bolt in chalk before taping. Getting the proportions roughly right in chalk first means your tape lines will go down cleanly without guessing.

8. Checkerboard Center Square
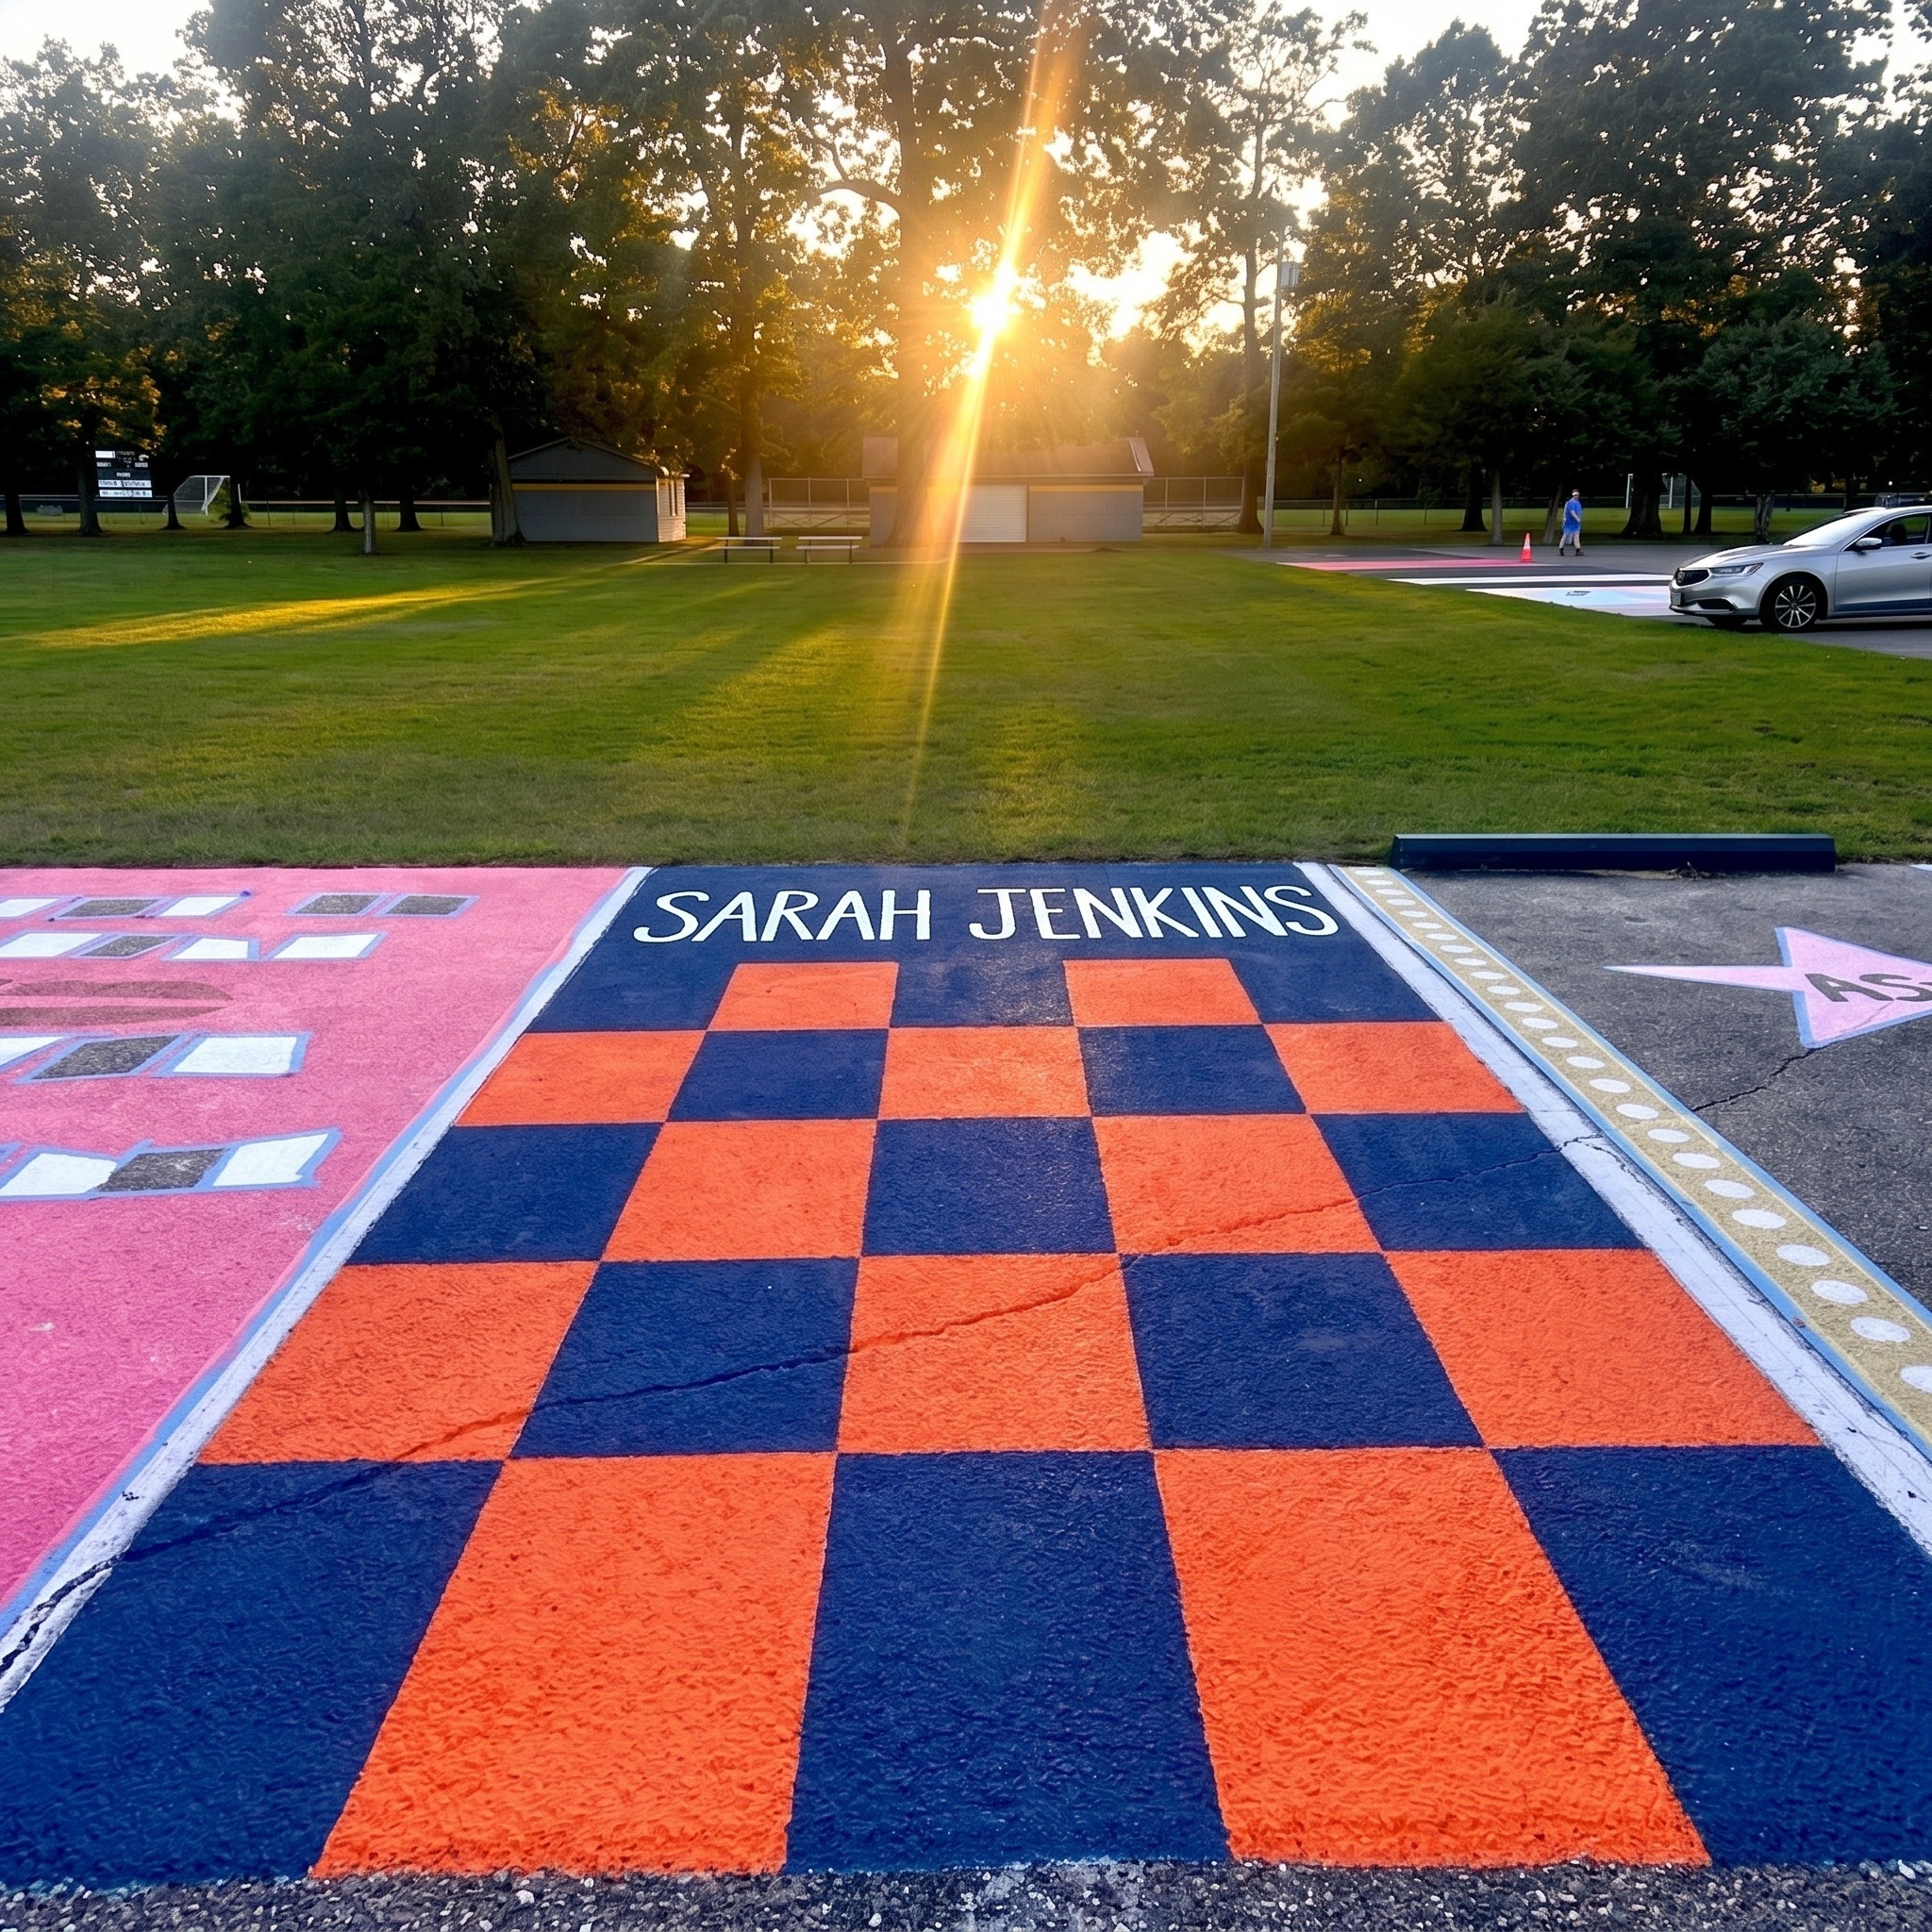
A checkerboard square in the center of your spot with your name above or below it is clean, graphic, and a classic easy senior parking spot choice. Tape off a grid of equal squares, alternate two colors, and peel the tape for instant impact. The pattern does all the visual work.
Materials needed: Two contrasting chalk paint colors, painter’s tape, letter stencils, clear sealant.
Beginner tip: Mark out your grid in chalk before taping and make sure every square is the same size. Consistent square sizing is what separates a crisp checkerboard from a messy one.
9. Stacked Name in Block Letters
Sometimes the most easy senior parking spot idea is just your name, done boldly and done well. Stack your first and last name in large block letters using stencils, pick two contrasting colors, and fill each letter cleanly. No borders, no patterns, just your name commanding the entire space.
Materials needed: Two chalk paint colors, large letter stencil set, painter’s tape, clear sealant.
Beginner tip: Lay out all your stencil letters in chalk on the ground first before you paint anything. This lets you check spacing and alignment and save yourself from having to squeeze letters in at the end.

10. Color Block Halves
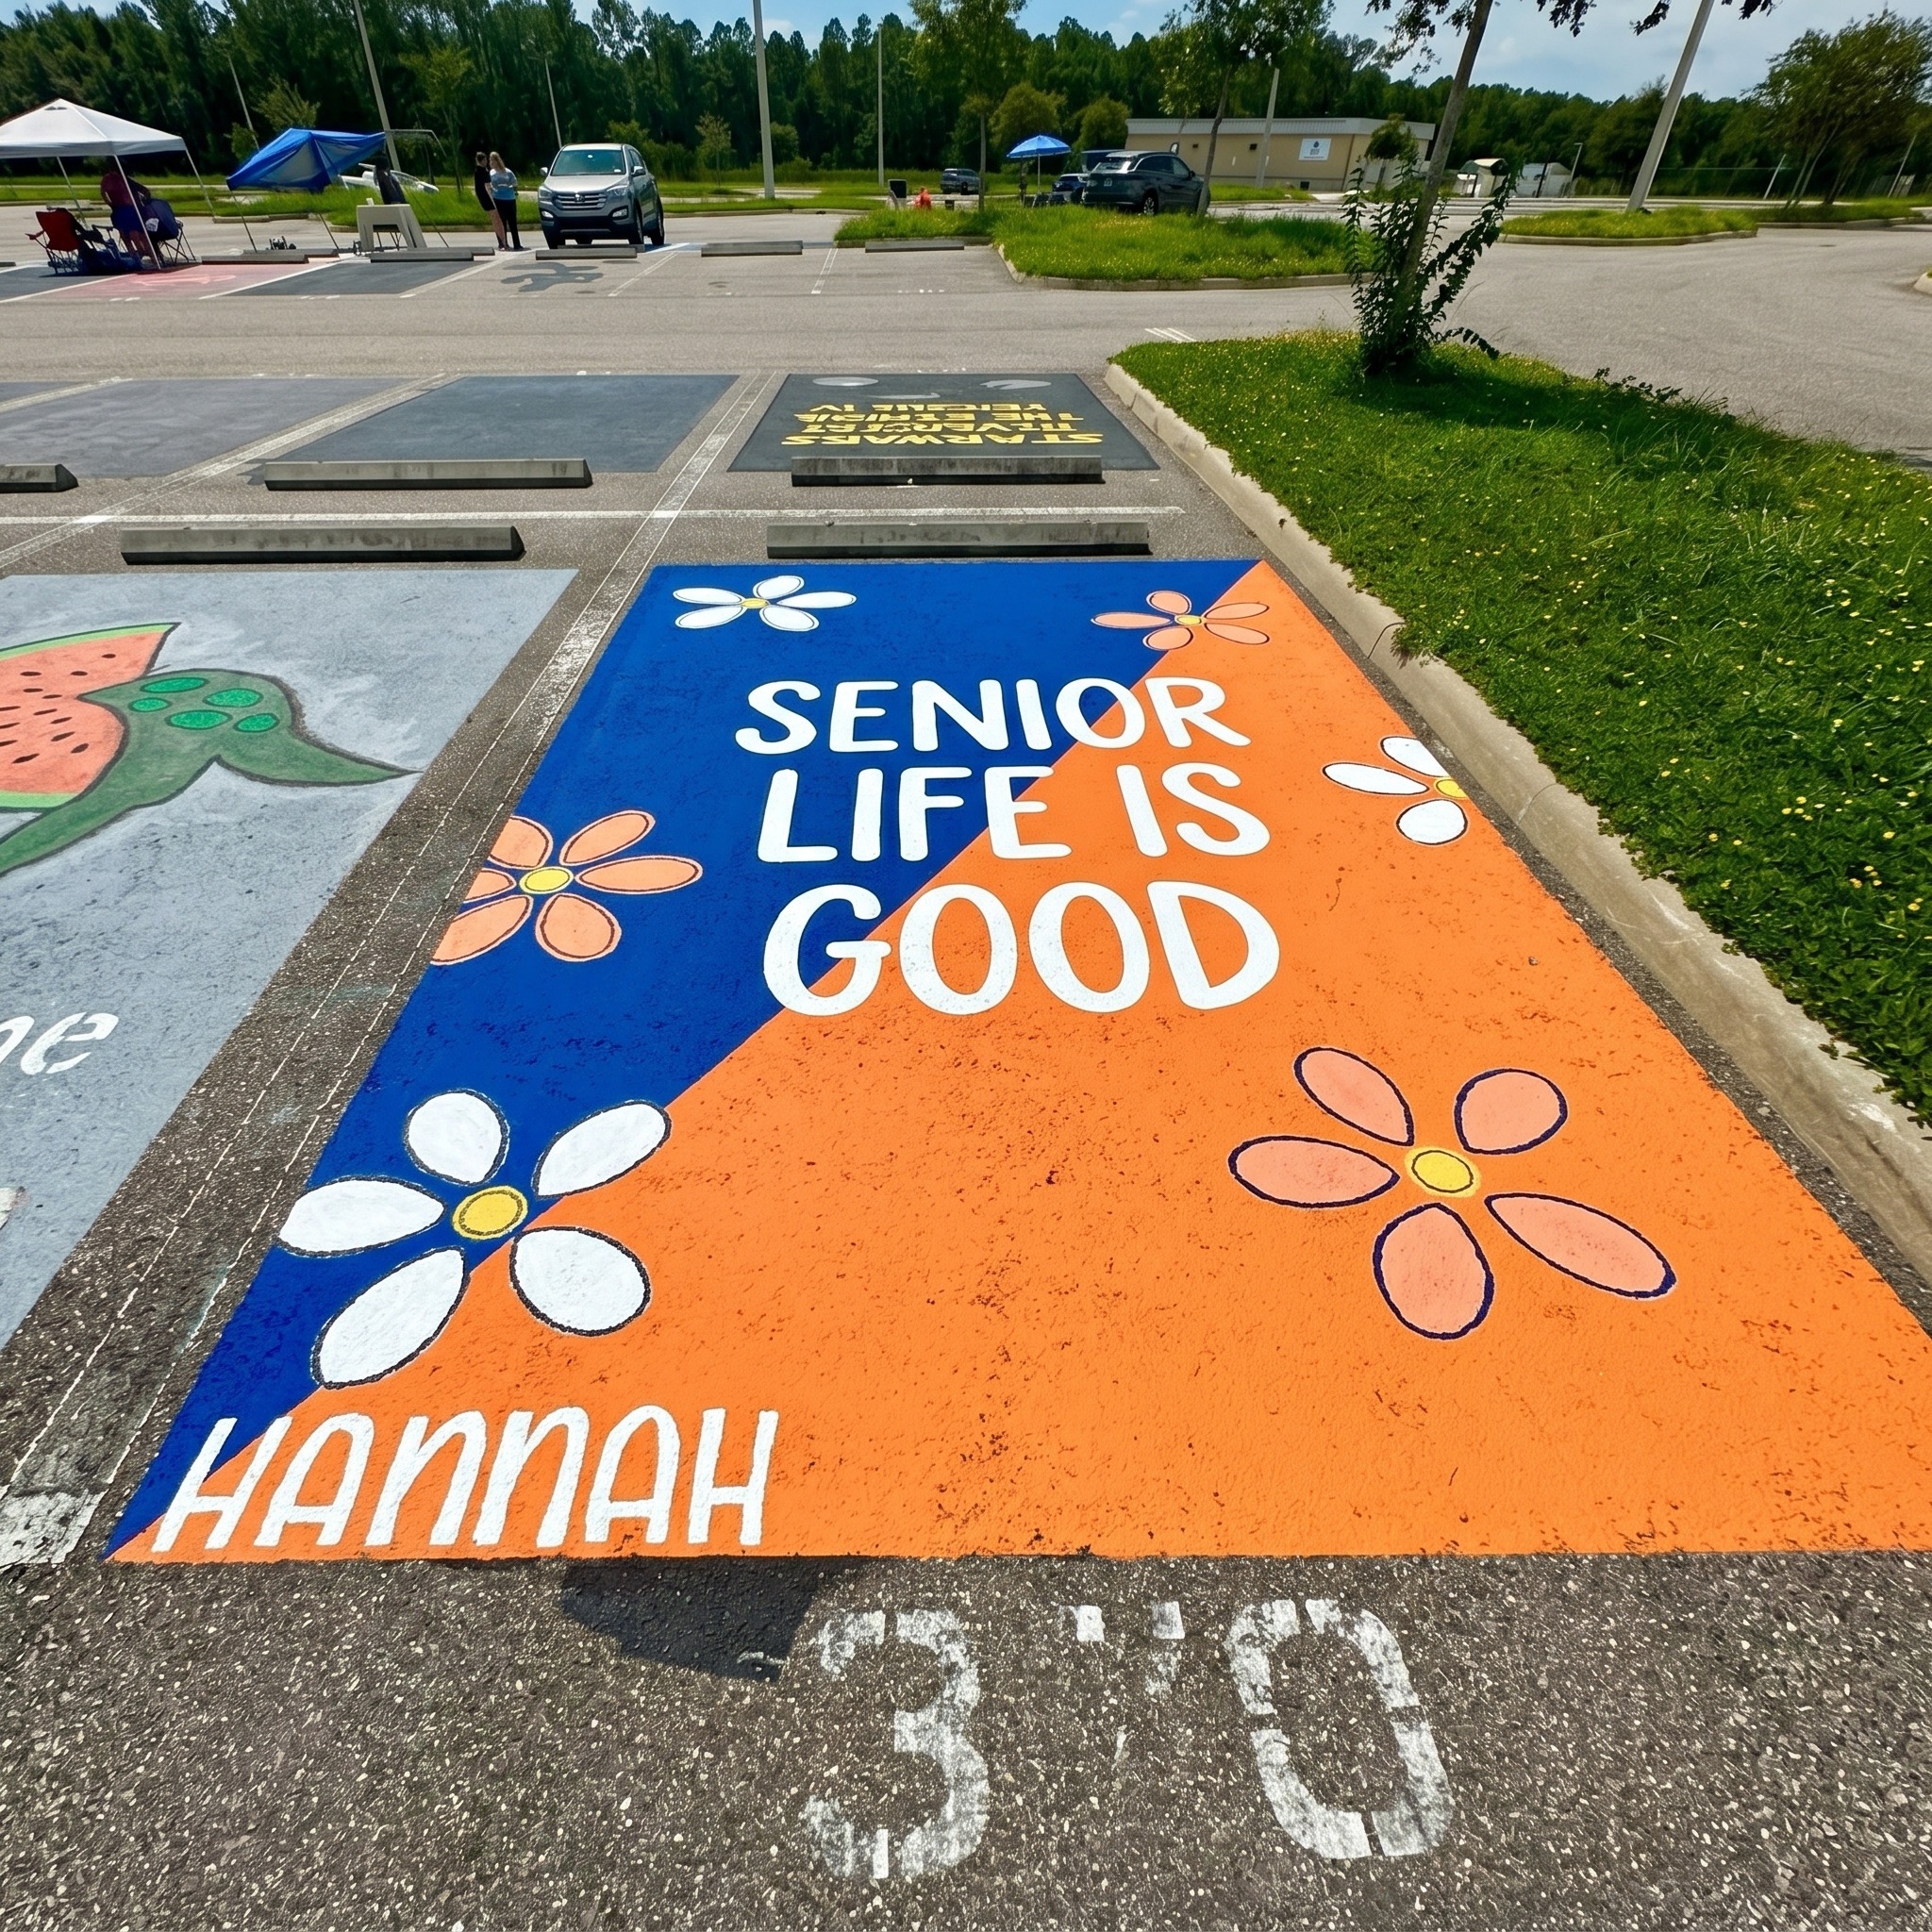
Split your parking spot straight down the middle with two completely different colors. Left half in one color, right half in another, with your name running across both halves in white or black. One piece of tape down the center and two cans of paint is all it takes.
Materials needed: Two bold chalk paint colors, white or black paint for lettering, painter’s tape, letter stencils, clear sealant.
Beginner tip: Paint the lighter half first and let it dry fully before taping the center line and painting the darker half. This prevents color bleed at the seam.
11. Star Pattern Scatter
Paint a mix of different-sized stars scattered across your entire spot in one or two accent colors on a solid base coat. Use star stencils in two or three sizes for variety. Stars of different sizes overlapping at random angles fill the whole space without requiring any layout planning.
Materials needed: Base color chalk paint, one or two accent colors, star stencils in multiple sizes, clear sealant.
Beginner tip: Start with the largest stars first and scatter them around the space, then fill gaps with smaller ones. This approach naturally balances the composition without any planning.

12. Arrow or Direction Sign
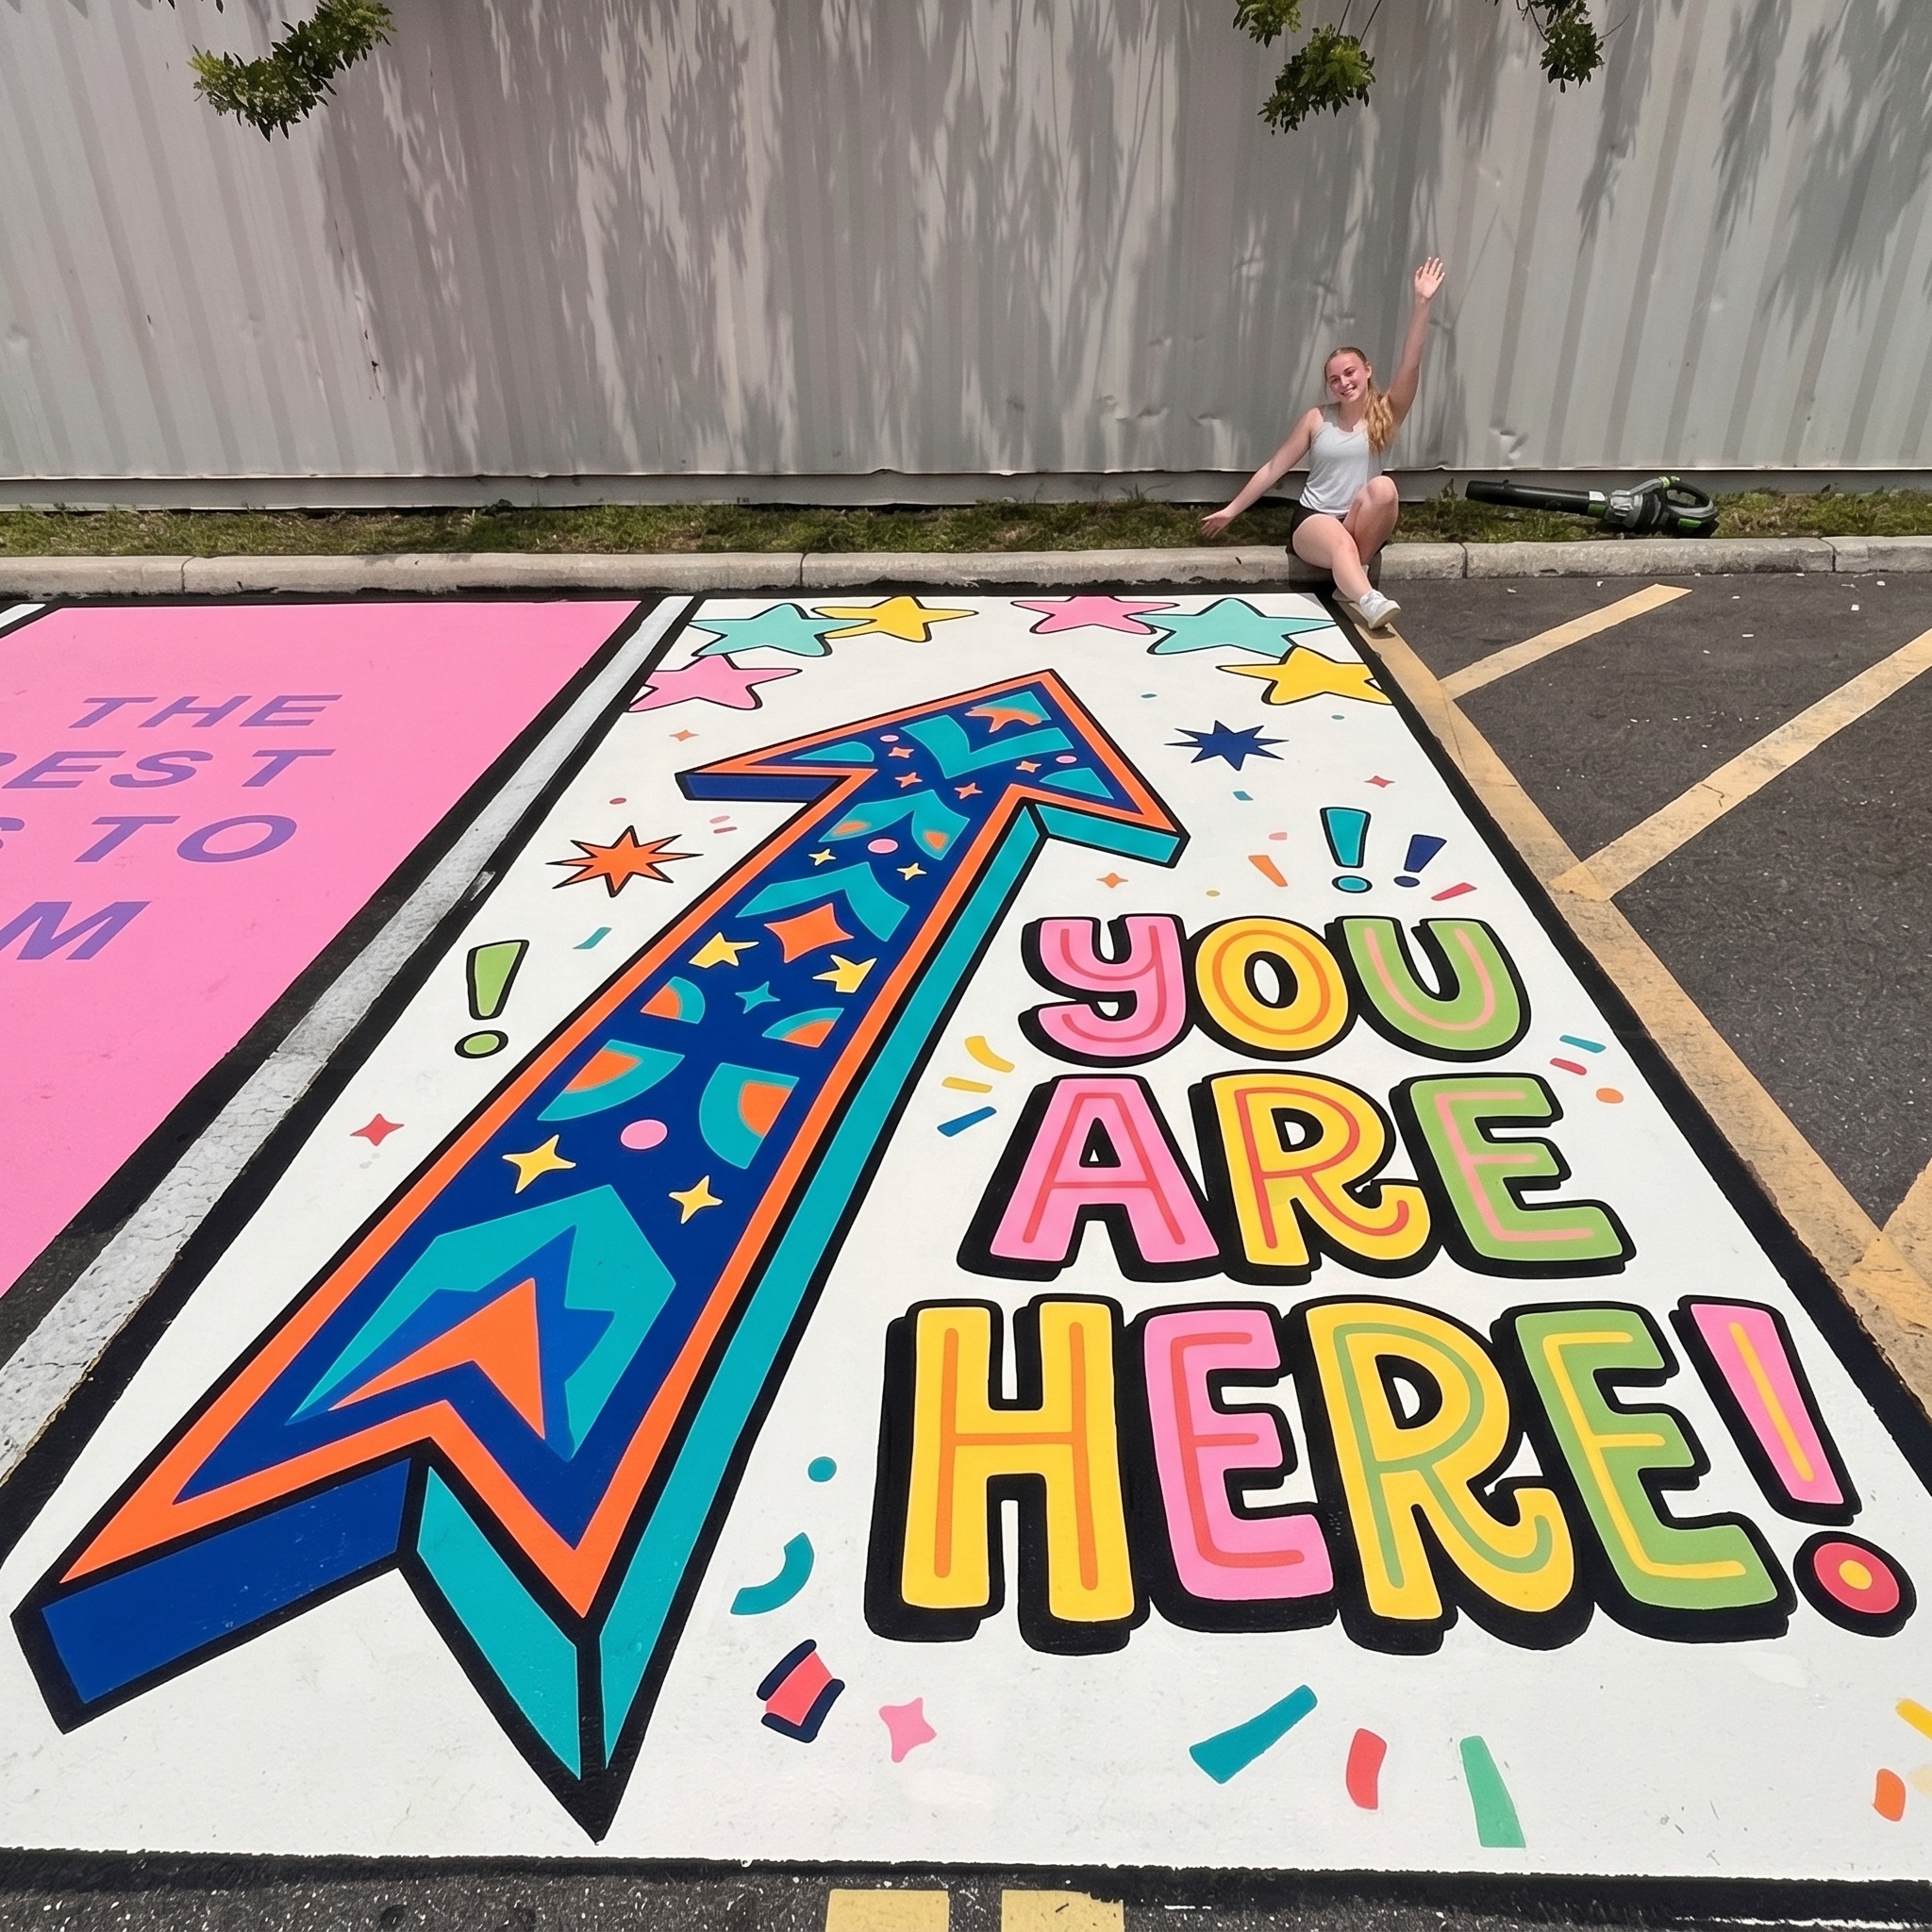
Paint a giant arrow pointing down at your spot with your name or grad year next to it. Bold, graphic, and impossible to miss. Tape off the arrow shaft and head using straight lines, fill it in with one color, and add your text in a contrasting shade. That is the whole design.
Materials needed: Two chalk paint colors, painter’s tape, letter stencils, clear sealant.
Beginner tip: Make the arrowhead wider than you think it needs to be. A chunky arrowhead reads clearly from far away, while a narrow one can look like a line with a small triangle at the end.
Mistakes to Avoid When Painting Your Easy Senior Parking Spot
The most common way an easy senior parking spot goes wrong has nothing to do with the design. It happens during prep. Painting over a dirty or damp surface is the fastest way to end up with peeling paint within the first few weeks. Sweep the spot clean, let it dry fully, and wipe down any oil or grease with dish soap the day before you paint. The second big mistake is reaching for indoor craft paint because it is cheap and available. Indoor paint is not built for pavement. It washes out, fades fast, and cracks under tire pressure. Chalk-based outdoor paint or exterior spray paint is the right call every time.
Two more issues trip people up right at the finish line. Pulling painter’s tape after the paint has gone fully hard tears edges and pulls up chunks of the design. Peel while the paint is still slightly tacky, at a 45-degree angle, and you will get clean sharp lines every time. And do not walk away without sealing. Two coats of clear outdoor sealant is the difference between a spot that looks great all year and one that fades before homecoming.
How to Make Your Easy Senior Parking Spot Last All Year
The paint you choose matters as much as the design itself. Chalk-based outdoor paint and pavement-specific exterior paint bond into the concrete surface and survive foot traffic, rain, and UV exposure far better than anything labeled for indoor use. Once your design is completely dry, apply two coats of clear outdoor sealant in a matte or satin finish. Let the first coat cure for at least four hours before you apply the second. That sealant layer is what keeps your colors looking fresh through winter rain, summer heat, and everything in between.
After the sealant is down, maintaining your easy senior parking spot is easy. Check around the one-month mark for any worn edges or faded areas and touch them up before the damage spreads. Save a small labeled jar of each paint color on painting day so you always have the exact shades ready when you need them. One last rule: do not park on the spot for a full 48 hours after painting. The surface may feel dry but the paint is still curing underneath, and tire pressure during that window can leave permanent impressions.
You Have Got This
Here is what actually matters when it comes to an easy senior parking spot: showing up and doing it. The seniors whose spots look the best are not the ones with the most talent. They are the ones who picked a clear concept, kept it simple, and committed to the execution. A two-color design with clean tape lines will beat a complicated half-finished one every single time. Simple is not the easy way out. Simple is the smart way in.
You do not need to be an artist, a painter, or even particularly crafty to end up with an easy senior parking spot you are genuinely proud of. Every idea on this list was designed for exactly that. Pick the one that feels right, gather your supplies, block off a Saturday, and go for it. Your easy senior parking spot is going to look way better than you expect. Trust the process, trust the tape, and make your mark before senior year is over.