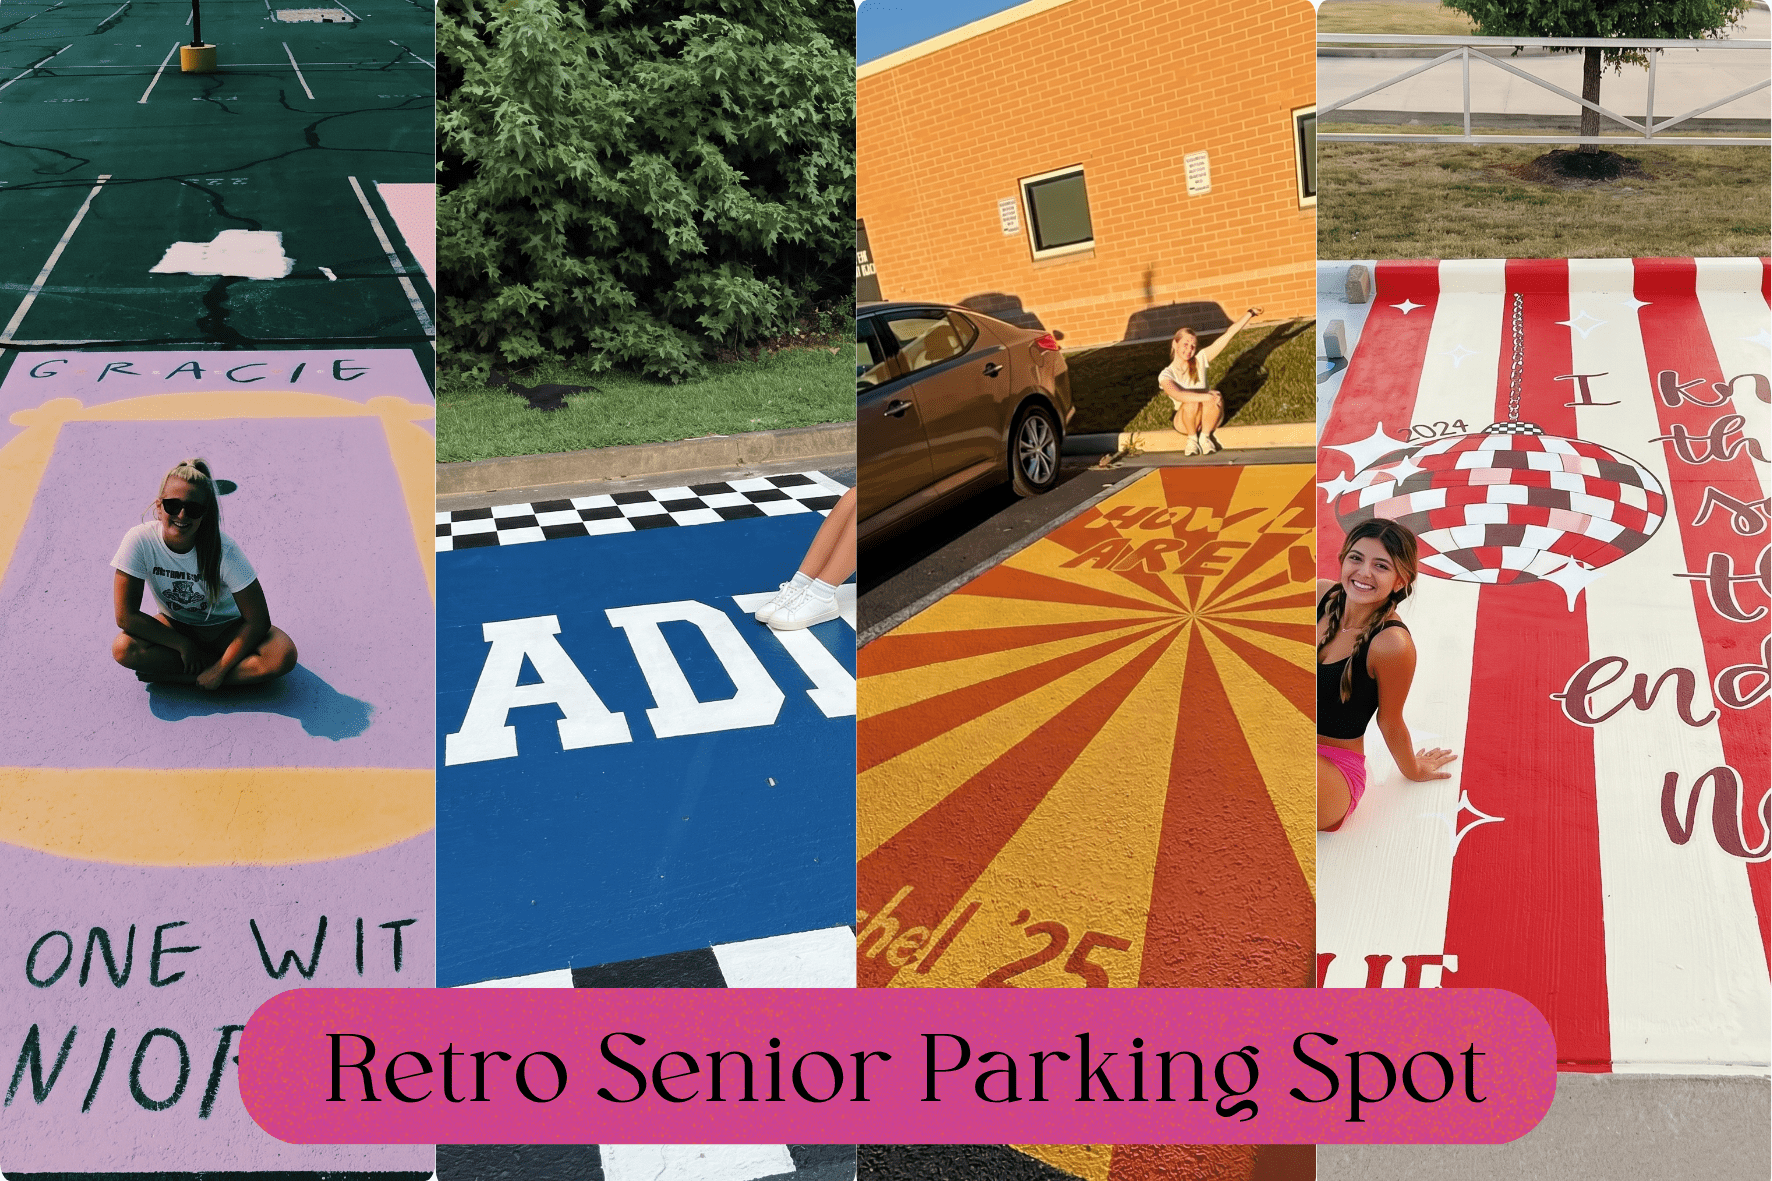
Let’s be real. Not every senior walks around with a sketchbook or spends weekends painting murals. Most of us just want something that looks cool without turning into a stressful, five-hour art project.
Here is the truth nobody tells you: you do not need to be artistic to pull off an amazing retro senior parking spot. Some of the best-looking spots out there were done by people who could barely draw a stick figure. Simple, bold, and clean designs almost always beat complicated ones because they are easier to read from a distance and hold up better over time.
This guide is for you. Every retro senior parking spot idea in this list was chosen because it is beginner-friendly, requires five materials or fewer, and can be completed in one day. Take a breath. This is going to be easier than you think.
Why Retro Works So Well for a Senior Parking Spot
The spots that get the most attention in any parking lot are not the most detailed ones. They are the ones with a clear concept, strong contrast, and a vibe you can read in two seconds. Retro aesthetics are built around exactly that: bold shapes, limited color palettes, and instantly recognizable references. That combination makes a retro senior parking spot look intentional and polished even when the actual execution is dead simple.
Retro also carries personal meaning in a way that random trendy designs do not. A cassette tape, a neon sign, a vintage license plate: these feel like something. They spark a conversation and hold up visually all year because they were never chasing a trend to begin with.
12 Retro Senior Parking Spot Ideas You Can Actually Pull Off
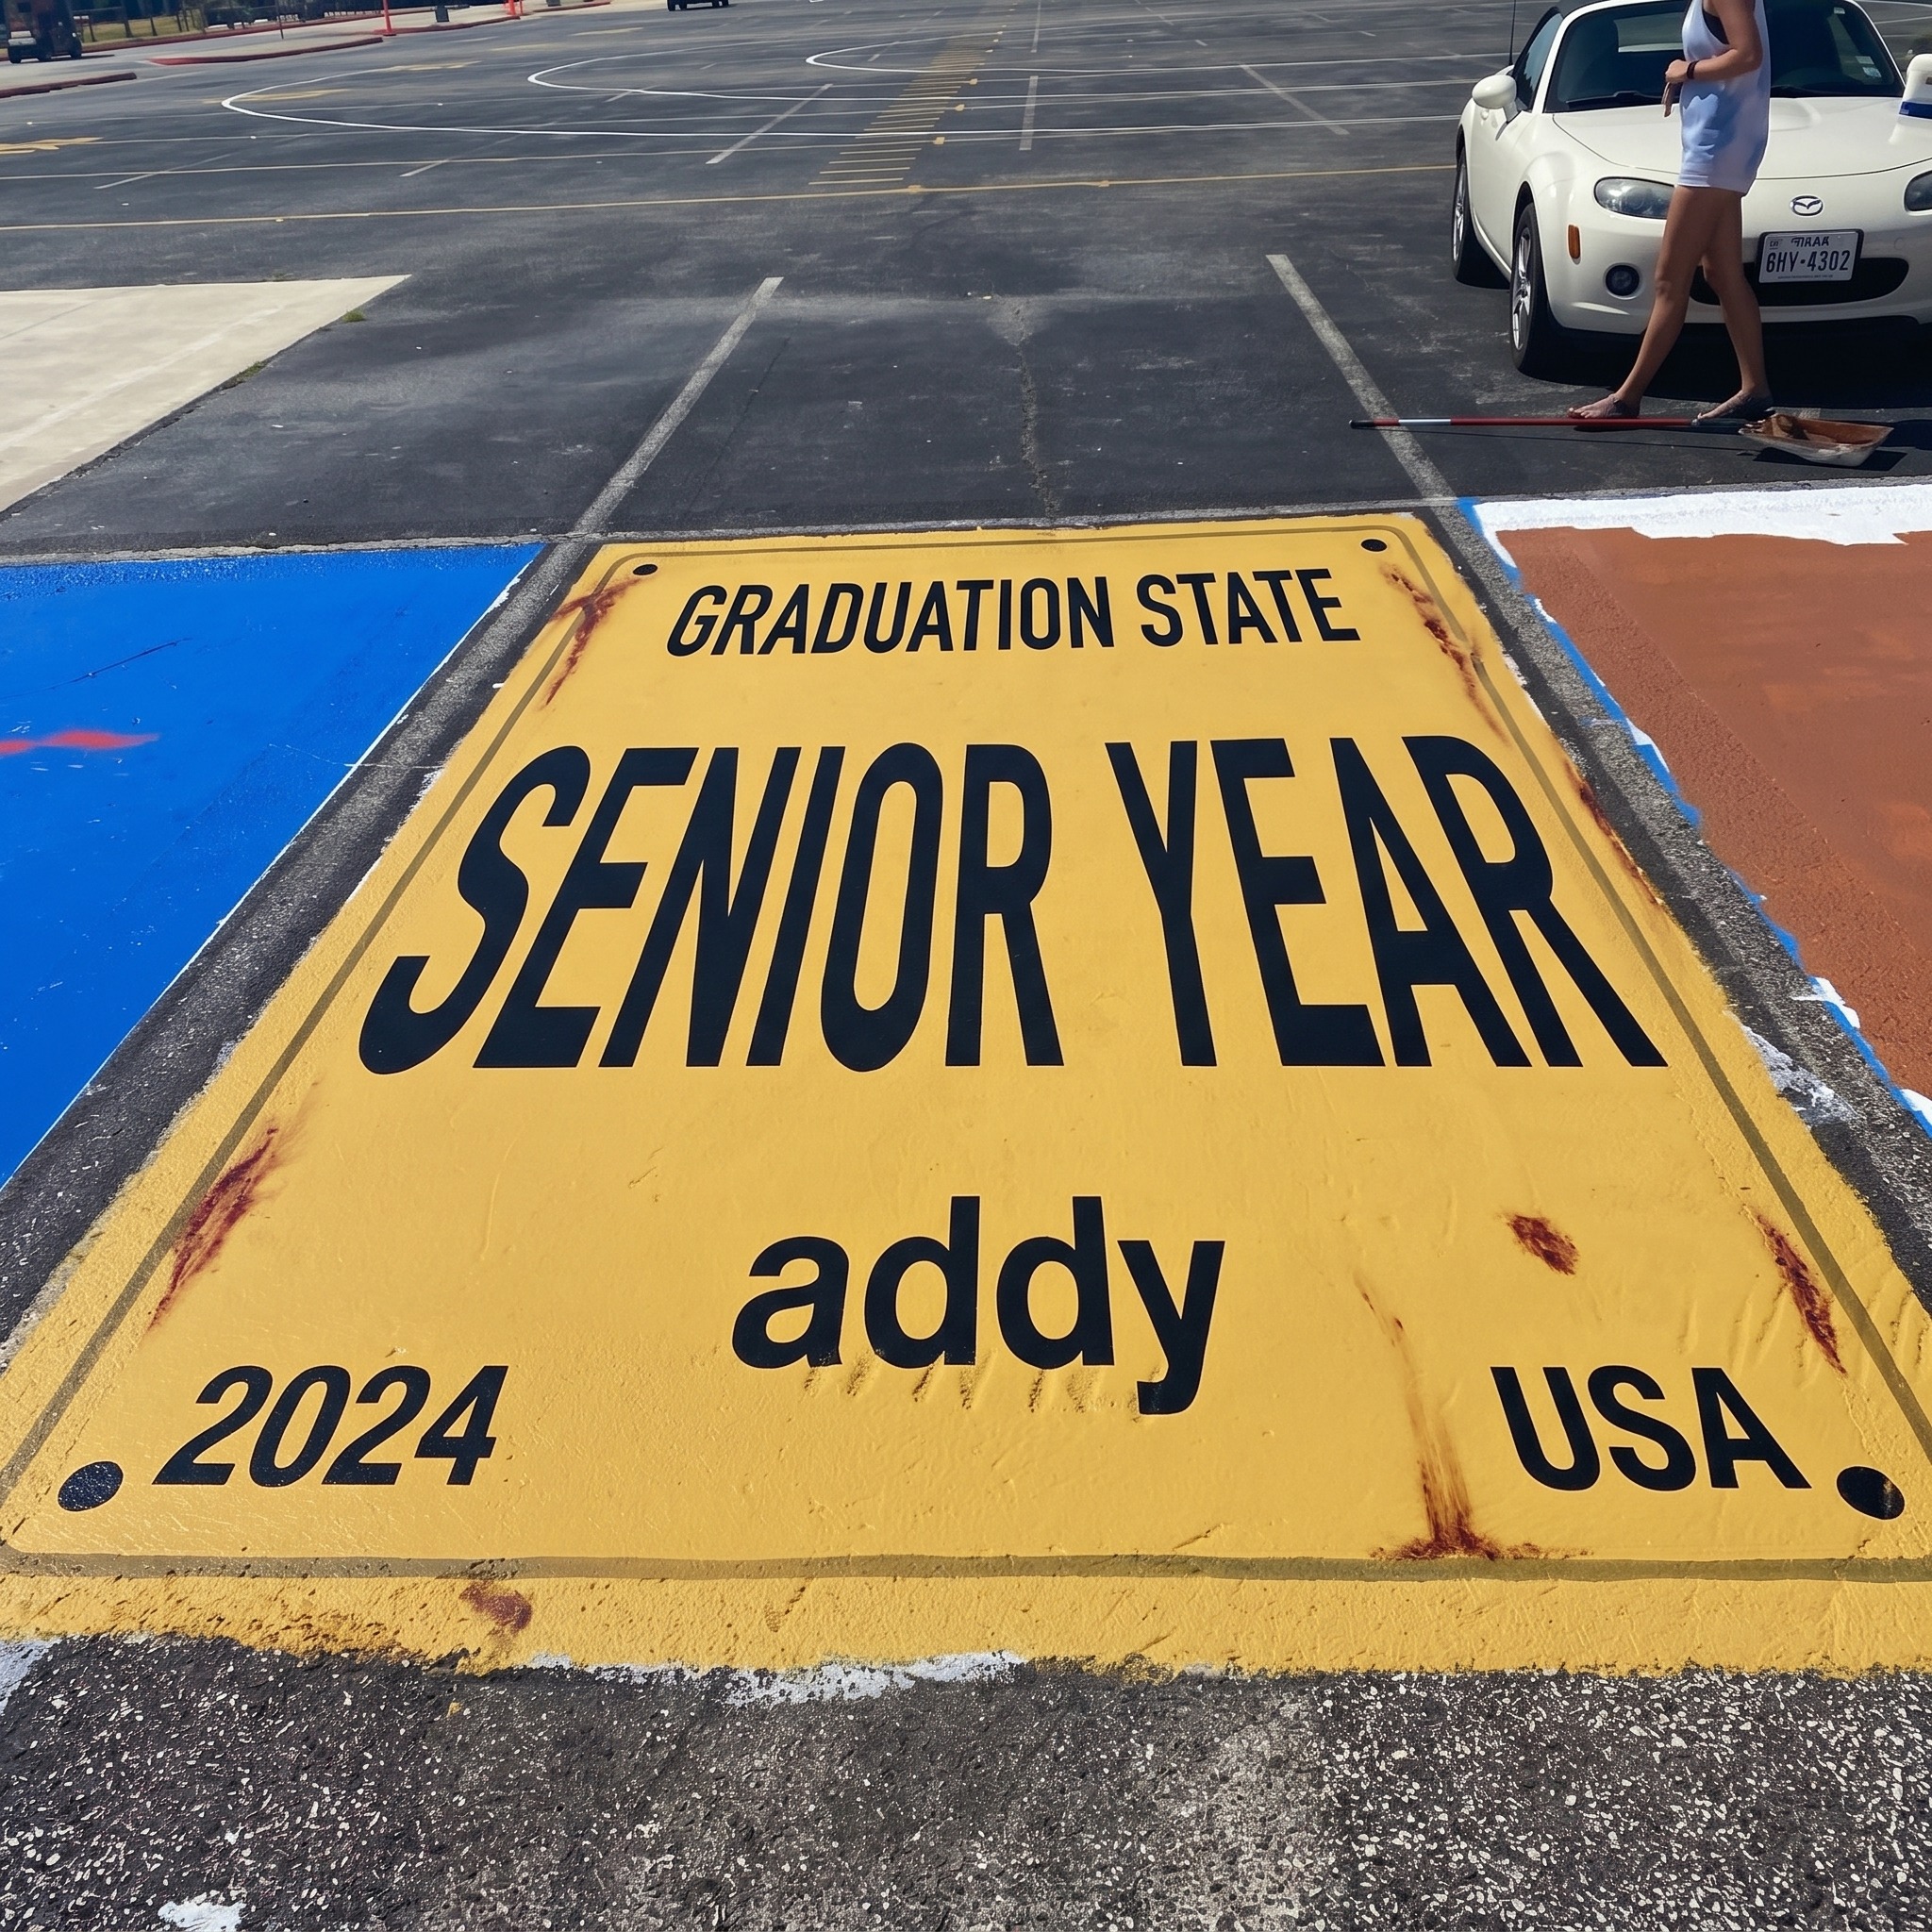
1. Vintage License Plate Style
A retro senior parking spot designed to look like an old-school license plate is one of the easiest concepts out there. You simply paint a rectangular border, add your name or graduation year in large block letters, and fill in a solid background color. Think yellow on black or white on navy, just like actual vintage plates from the 1960s and 70s.
Materials needed: Chalk paint (2 colors), painter’s tape, a stencil set for letters/numbers, clear sealant.
Beginner tip: Use painter’s tape to create perfectly straight borders. It does all the hard work for you.
2. Retro Diner Sign Vibes
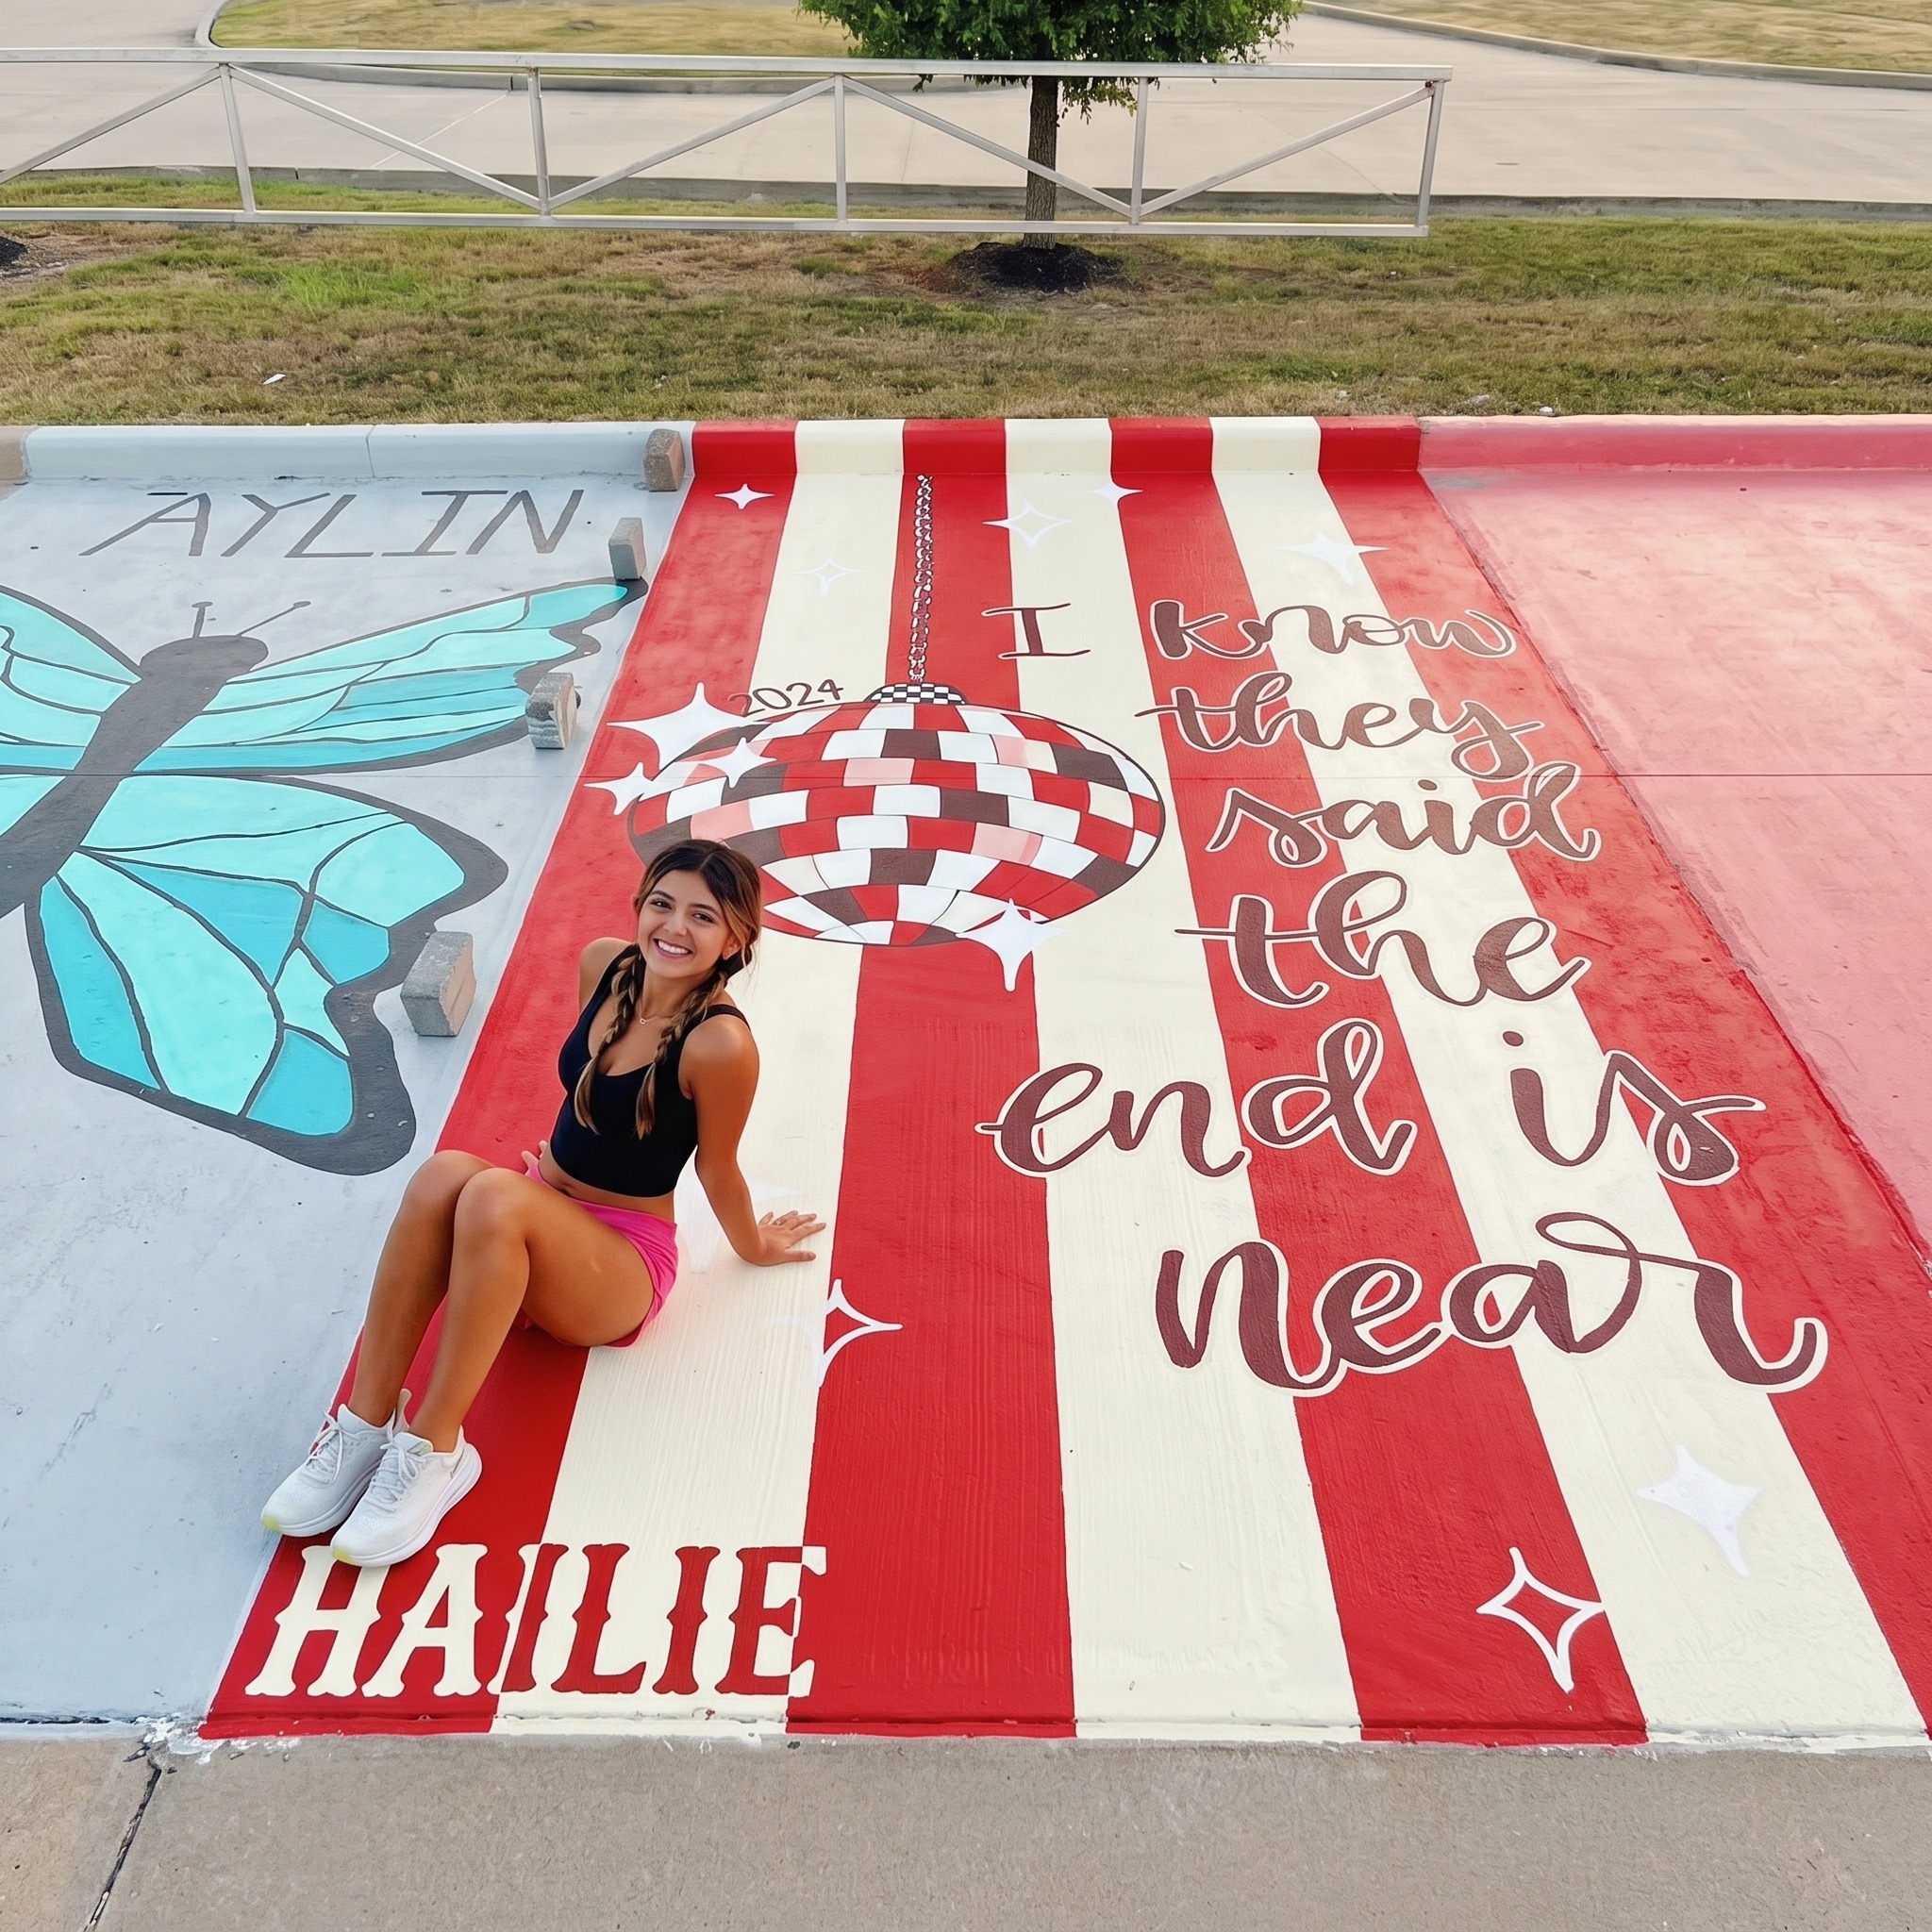
Think 1950s roadside diner. Bold red and white stripes, a checkerboard corner accent, and your name in a chunky font. This retro senior parking spot idea pulls directly from classic Americana and looks incredible even when kept super minimal.
Materials needed: Red, white, and black chalk paint, painter’s tape, letter stencils, sealant.
Beginner tip: Tape off stripes first, paint them, let them dry fully, then peel. You get crisp, professional lines every time.
3. Old School Neon Sign Look
Neon signs are having a huge moment right now and they translate perfectly into a retro senior parking spot. You paint a dark background (black or navy), then use bright neon colors like hot pink, electric green, or vivid orange to outline your name or a simple symbol. The contrast does all the heavy lifting.
Materials needed: Black base paint, 2-3 neon-colored chalk paints, a thin brush, sealant.
Beginner tip: Keep it to one or two words maximum. The simpler the design, the more it looks like an actual neon sign.

4. Retro Sunburst Pattern
A sunburst is one of the most iconic retro shapes ever, and it is shockingly easy to paint. Start from a center point and use painter’s tape to create straight lines radiating outward. Alternate two colors and you have a design that looks like it belongs in a 1970s catalog.
Materials needed: Two contrasting paint colors, painter’s tape, chalk marker for center dot, sealant.
Beginner tip: Use chalk to lightly sketch your center point and mark where each tape line should go before you commit. It takes two extra minutes and saves you a lot of headaches.

5. Classic Varsity Letter Design
Pull that old varsity jacket energy into your retro senior parking spot. A giant block letter representing your school initial surrounded by a bold border in school colors is clean, simple, and deeply nostalgic. It reads clearly from any angle and takes almost no artistic skill to execute.
Materials needed: School-color chalk paints (2 colors), large letter stencil, painter’s tape, sealant.
Beginner tip: Get the largest letter stencil you can find. Bigger always looks better on pavement.

6. Retro Cassette Tape
Nothing says retro quite like a cassette tape, and this retro senior parking spot idea is way easier to paint than it looks. You outline the basic cassette shape using painter’s tape, fill it in with one color, add two circles for the tape reels, and write your name on the label area. Done.
Materials needed: Black, white, and one accent color paint, painter’s tape, circular stencil or bowl for reel shapes, sealant.
Beginner tip: Use a small bowl or cup to trace the tape reel circles. You do not need a compass or any special tool.

7. Vintage Polaroid Frame
A polaroid photo frame is another retro senior parking spot concept that looks wildly impressive but requires almost zero artistic skill. You paint a white rectangle with a thicker border at the bottom to mimic the classic polaroid shape. Add your name or graduation year in the white border space below. That is literally it.
Materials needed: White and black chalk paint, painter’s tape, letter stencils, sealant.
Beginner tip: Keep the center of the polaroid a solid color or paint a simple solid shape like a star or heart inside. Avoid anything detailed in the center frame.
8. Retro Rainbow Arch
Rainbow arches were everywhere in the 70s and 80s and they are making a serious comeback. Paint a series of curved arches in different colors across your spot. Painter’s tape handles the curves if you bend it slowly, and the result looks stunning with barely any effort.
Materials needed: 4-5 paint colors, painter’s tape, sealant.
Beginner tip: Paint from the outermost arch inward. Let each color dry before taping the next section to keep the lines clean.

9. Old School Pinstripe Design
Pinstripes are one of the sleekest retro senior parking spot options for someone who wants something understated but still eye-catching. Thin parallel lines in a contrasting color over a bold base coat give off serious vintage car vibes. The entire design is made with painter’s tape.
Materials needed: Base color paint, contrasting pinstripe color, painter’s tape (thin masking tape works great), sealant.
Beginner tip: Use thin automotive masking tape for the pinstripes instead of regular painter’s tape. It comes in narrower widths and gives you that authentic pinstripe look.

10. Retro Checkerboard Border
A checkerboard border around your retro senior parking spot is a classic that never goes wrong. You tape off a grid around the perimeter, alternate two colors, and fill in your name or graduation year in the center. The checkerboard pattern does all the visual heavy lifting.
Materials needed: Two contrasting paint colors, painter’s tape, letter stencils, sealant.
Beginner tip: Make your checkerboard squares the same size by measuring and marking with chalk before you tape. Equal squares make the whole thing look intentional and polished.

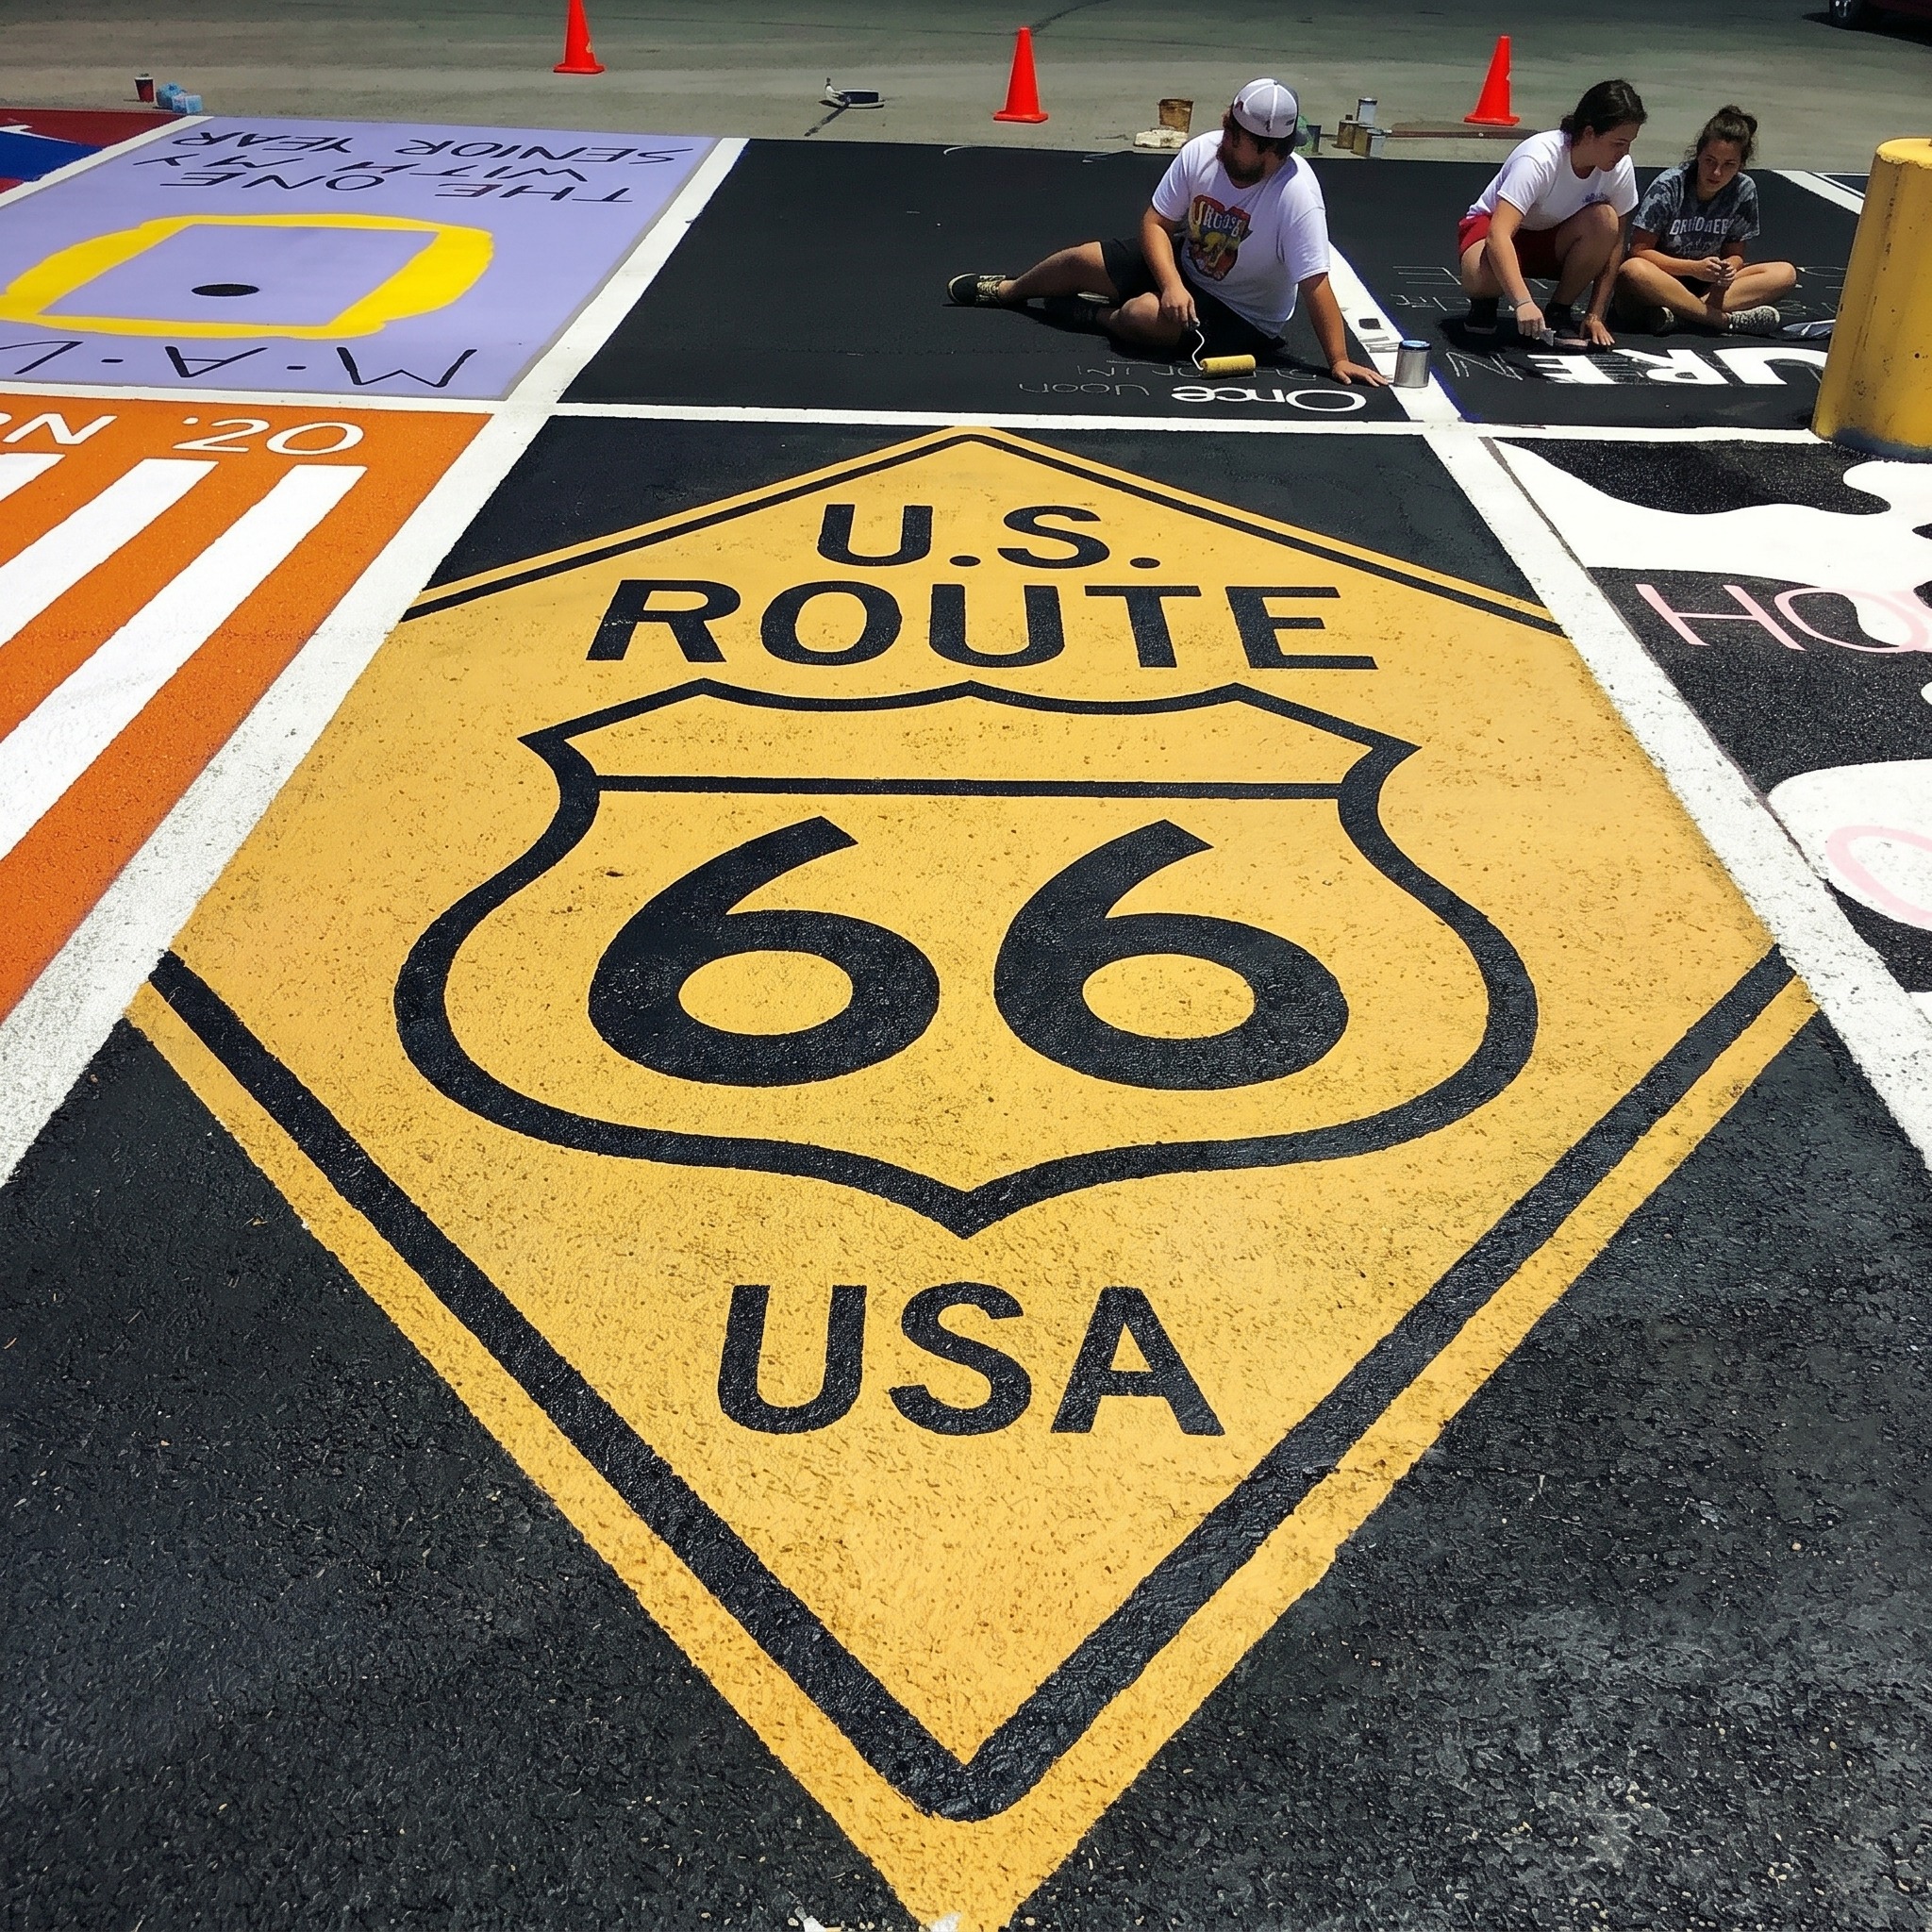
11. Vintage Road Sign Look
Old highway signs from the mid-20th century have an instantly recognizable look: bold shapes, limited colors, and clear lettering. Turning your spot into a vintage road sign is as simple as taping off a circle, diamond, or shield shape and adding your name inside with stencils.
Materials needed: Two paint colors (yellow and black are classic), painter’s tape, shape stencil or template, letter stencils, sealant.
Beginner tip: Diamond shapes are the easiest to tape off cleanly. Use four pieces of tape at 45-degree angles and you have a perfect diamond every time.
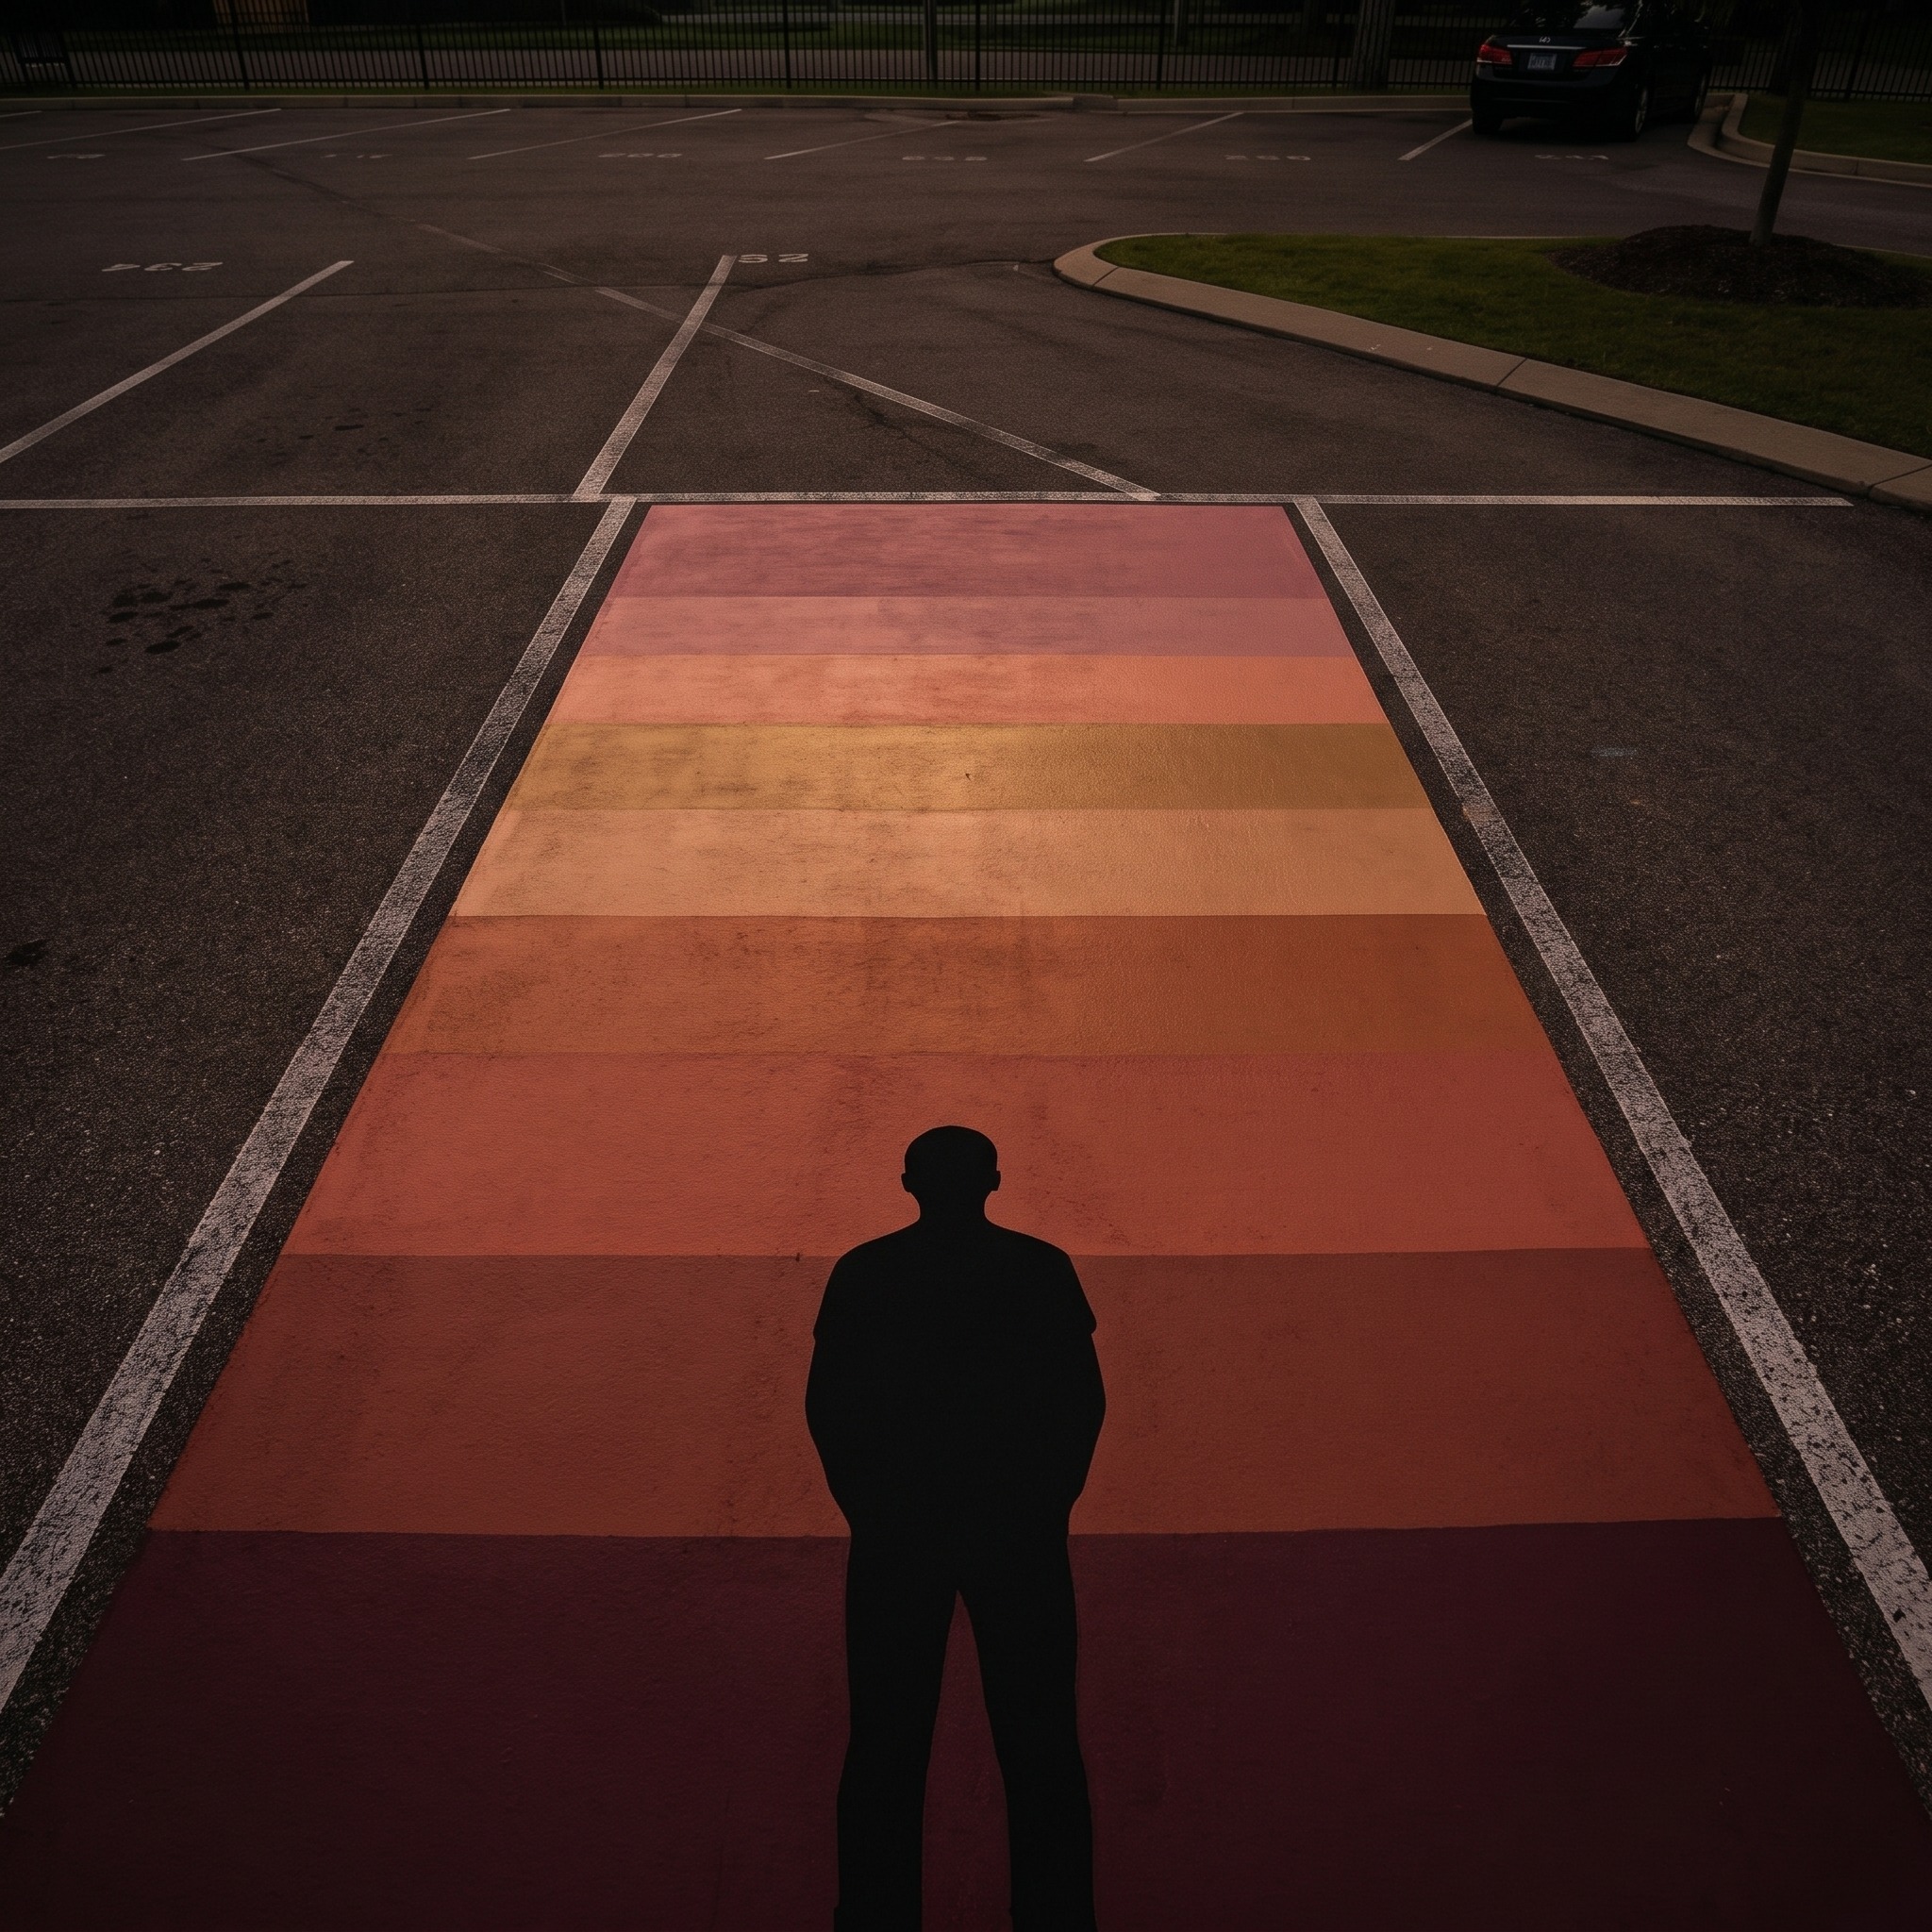
12. Retro Sunset Silhouette
A simple two-layer sunset with a solid silhouette in the foreground is one of the most visually striking designs you can do as a beginner. Paint the background in gradient-style horizontal bands by taping each one off separately, then add a single simple silhouette shape in black over the top.
Materials needed: 3-4 warm paint colors (orange, coral, yellow, pink), black paint for silhouette, painter’s tape, sealant.
Beginner tip: Keep the silhouette extremely simple. A palm tree, mountain range, or skyline outline looks incredible when it is just a solid black shape.
Mistakes to Avoid When Painting Your Retro Senior Parking Spot
The biggest mistakes people make with a retro senior parking spot happen before a single drop of paint hits the ground. Skipping surface prep is the most common one. Painting over a dirty or damp surface causes paint to peel fast. Sweep the spot clean, let it dry completely, and scrub any grease with dish soap the day before. The second mistake is using indoor craft paint instead of chalk-based outdoor paint or exterior spray paint. Regular craft paint washes out in the first rain and cracks under tire pressure within weeks.
Two more mistakes finish off even well-planned designs. Pulling painter’s tape after the paint has fully hardened tears the edges and ruins crisp lines. Peel it while the paint is still slightly tacky and pull at a 45-degree angle. And whatever you do, do not skip the sealant. Two coats of clear outdoor sealant is the only thing standing between your finished design and a month of foot traffic, UV exposure, and weather. Most beginners skip it and end up with a faded spot before the semester is over.
How to Make Your Retro Senior Parking Spot Last All Year
Getting a retro senior parking spot to hold up from the first week of school through graduation comes down to two things: the right paint and proper sealing. Use chalk-based outdoor paint or pavement-specific paint, not indoor craft paint. Pavement paint bonds deeper into the concrete and survives rain, UV exposure, and temperature swings far better. Once the design is fully dry, apply two coats of clear outdoor sealant in a matte or satin finish. Let the first coat cure for at least four hours before applying the second. That sealant layer is what actually keeps your colors vivid month after month.
After that, maintenance is minimal. Do a quick check around the one-month mark and touch up any edges or high-traffic areas that look worn. Before you pack up on painting day, save a small amount of each color in a labeled jar so you have the exact shades on hand when you need them. One last thing: wait a full 48 hours before driving onto a freshly painted spot. The paint feels dry on the surface long before it finishes curing underneath, and tire pressure during that window can leave permanent marks.
Final Thought
Here is the thing about a retro senior parking spot that nobody says out loud: it does not have to be perfect to be amazing. The spots people stop and photograph are not always the most technically impressive ones. They are the ones that feel confident. A bold color choice, clean tape lines, and a design you actually connected with will always outshine a complicated mess that took twice as long. Simple is not settling. Simple is a strategy.
You have everything you need to pull this off. Pick one idea from this list, grab your tape and paint, and give yourself a full Saturday to make it happen. Do not overthink the design, do not second-guess your color choices, and do not skip the sealant at the end. Your retro senior parking spot is going to look exactly as good as you want it to. Go prove it to yourself.